
Rice with bacon
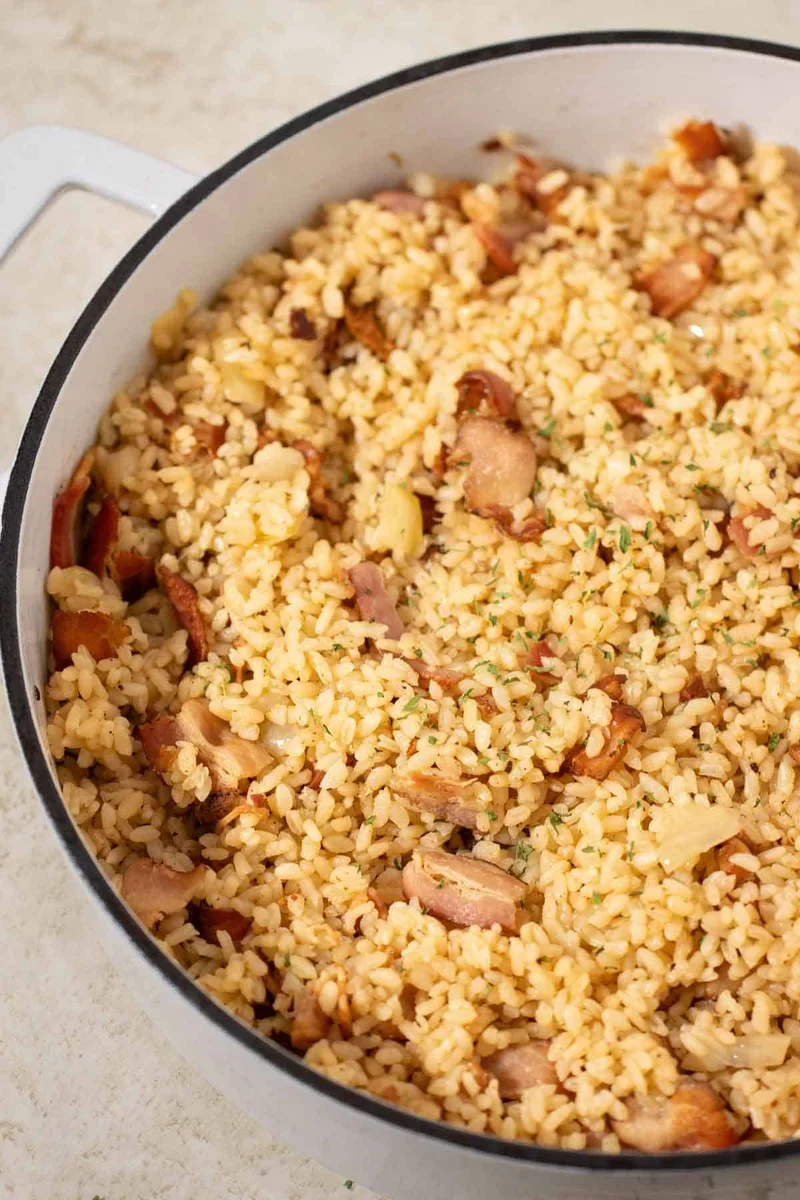
This American-style rice combines medium-grain grains with bacon, onion and beef stock for a savoury, filling dish. Serve it on its own or alongside a simple vegetable or salad.
Ingredients
- 227 g (½ lb)bacon
- 1yellow onion
- 710 ml (3 cups)water
- 2beef stock cubes
- 1 teaspoonsalt
- 480 ml (2 cups)medium-grain rice
Instructions
- 1
Cook bacon and onion
Cut the bacon into pieces about 2.5 cm (1 inch) long. Peel and dice the onion into pieces about 1.3 cm (½ inch). Cook the bacon in a large frying pan over high heat for 8 minutes, stirring 3 or 4 times so it does not burn. Add the onion and cook with the bacon for 2 minutes.
- 2
Add stock and rice
Pour in the water and stir, scraping the bottom of the pan. Add the salt and crumble in the stock cubes, then stir and bring the water to the boil. Reduce the heat to medium-high, add the rice and stir. Cover and cook for 8 minutes, or until most of the water has evaporated.
- 3
Finish cooking
Stir the rice, then gather it into a mound in the centre of the pan and cover it. Reduce the heat to medium and cook for a further 20 minutes.
What is rice with bacon?
This is a simple American-style rice dish cooked with bacon, onion and beef stock. The bacon adds savoury richness, while the rice makes it substantial enough to serve as a main or as a side.
The method builds flavour in the pan before the rice cooks in the seasoned liquid. Medium-grain rice suits the dish because it cooks up tender and holds together well.
Nutrition and macros by portion
The nutrition label shows one serving as written: 671 calories, 15g protein, 97g carbs, 23g fat.
| Portion | Adjustment | kcal | Protein | Carbs | Fat |
|---|---|---|---|---|---|
| Lighter | Less bacon, more vegetables | 470 kcal | 11g | 68g | 16g |
| This serving | As written | 671 kcal | 15g | 97g | 23g |
| Hungry | Larger rice portion | 1007 kcal | 23g | 146g | 35g |
The rice supplies most of the carbohydrates, while bacon contributes much of the fat and some of the protein; the stock cubes also contribute sodium. For a more balanced plate, serve a portion with plenty of vegetables or salad.
Build flavour in the pan
Bacon first: cut it into even pieces so they cook at a similar pace. Stir a few times over the 8 minutes to help it brown without scorching.
Onion next: add it to the bacon for the final 2 minutes of frying. This softens it and lets it take on some of the bacon flavour.
Get the stock right
Scrape the pan: when adding the water, stir along the bottom to loosen the browned bits left by the bacon. They add flavour to the cooking liquid.
Season carefully: crumble in the beef stock cubes and add the stated salt. Stir until they are mixed into the water before adding the rice.
Watch the rice as it cooks
First stage: after adding the rice, cover the pan and cook for 8 minutes over medium-high heat. The cue to move on is that most of the water has evaporated.
Final stage: stir, mound the rice in the centre and cover it again. Cook over medium heat for 20 minutes, as directed, to finish cooking the grains.
Choose the right pan
Use a large pan with a lid so the rice can spread out during the first covered stage and be covered securely for the final cooking. Keep the heat controlled after the water boils, particularly once the rice is covered.
How to serve it
As a main: serve the rice in bowls with a green salad or steamed vegetables alongside. Their freshness makes a useful contrast to the savoury bacon.
As a side: pair it with simply cooked vegetables or a plain protein, keeping other parts of the meal lightly seasoned since the rice contains bacon and stock cubes.
Recipe notes & tips
- Cut the bacon and onion to even sizes so they cook consistently.
- Stir the bacon several times during frying to reduce the chance of it catching.
- Scrape the bottom of the pan as you add the water to lift the browned residue.
- Bring the liquid to the boil before adding the rice.
- Keep the lid on during both covered cooking stages.
- Let the rice finish the full 20-minute final stage before serving.
Variations
- Add garlic: stir a little minced garlic in with the onion for extra savoury flavour.
- Include vegetables: add diced carrots with the onion so they cook in the bacon fat.
- Use chicken stock: swap the beef cubes for chicken stock cubes for a milder flavour.
- Add herbs: finish with chopped parsley for a fresh note.
- Add heat: serve with sliced chilli or a pinch of chilli flakes.
Common mistakes to avoid
- Burning the bacon: stir it 3 or 4 times during the 8-minute frying period.
- Skipping the pan scrape: stir the water around the pan bottom to loosen the browned bits.
- Adding rice too early: wait until the water has come to the boil.
- Lifting the lid repeatedly: keep the pan covered during the timed cooking stages.
- Using high heat to finish: reduce it to medium for the final 20 minutes.
How to store
Cool leftovers promptly and refrigerate in a covered container for up to 3 days. Reheat until piping hot, adding a small splash of water if the rice seems dry.
Frequently asked questions
Can I use long-grain rice?
The recipe calls for medium-grain rice, which gives a tender, cohesive result. Long-grain rice may cook differently, so follow its packet guidance and check for doneness.
Can I use low-sodium stock cubes?
Yes. You can use lower-sodium beef stock cubes, but the finished dish may taste less salty; adjust the added salt to suit.
Why does the recipe mound the rice?
The method gathers the rice into the centre of the pan before the final covered cooking stage. Follow this step and keep the heat at medium.
How do I know when the first cooking stage is done?
After 8 minutes covered, most of the water should have evaporated. Then stir, mound the rice and continue cooking for 20 minutes.
Can I serve this as a side dish?
Yes. The recipe works as either a main dish or a side; serve it with simply cooked vegetables or another lightly seasoned accompaniment.
Cook it from the original
This recipe comes from foodmetamorphosis.com. Their page has the author’s own photos, notes and tips — the best place to cook it from.
Open the recipe on foodmetamorphosis.com