
Black Rice in Rice Cooker Recipe
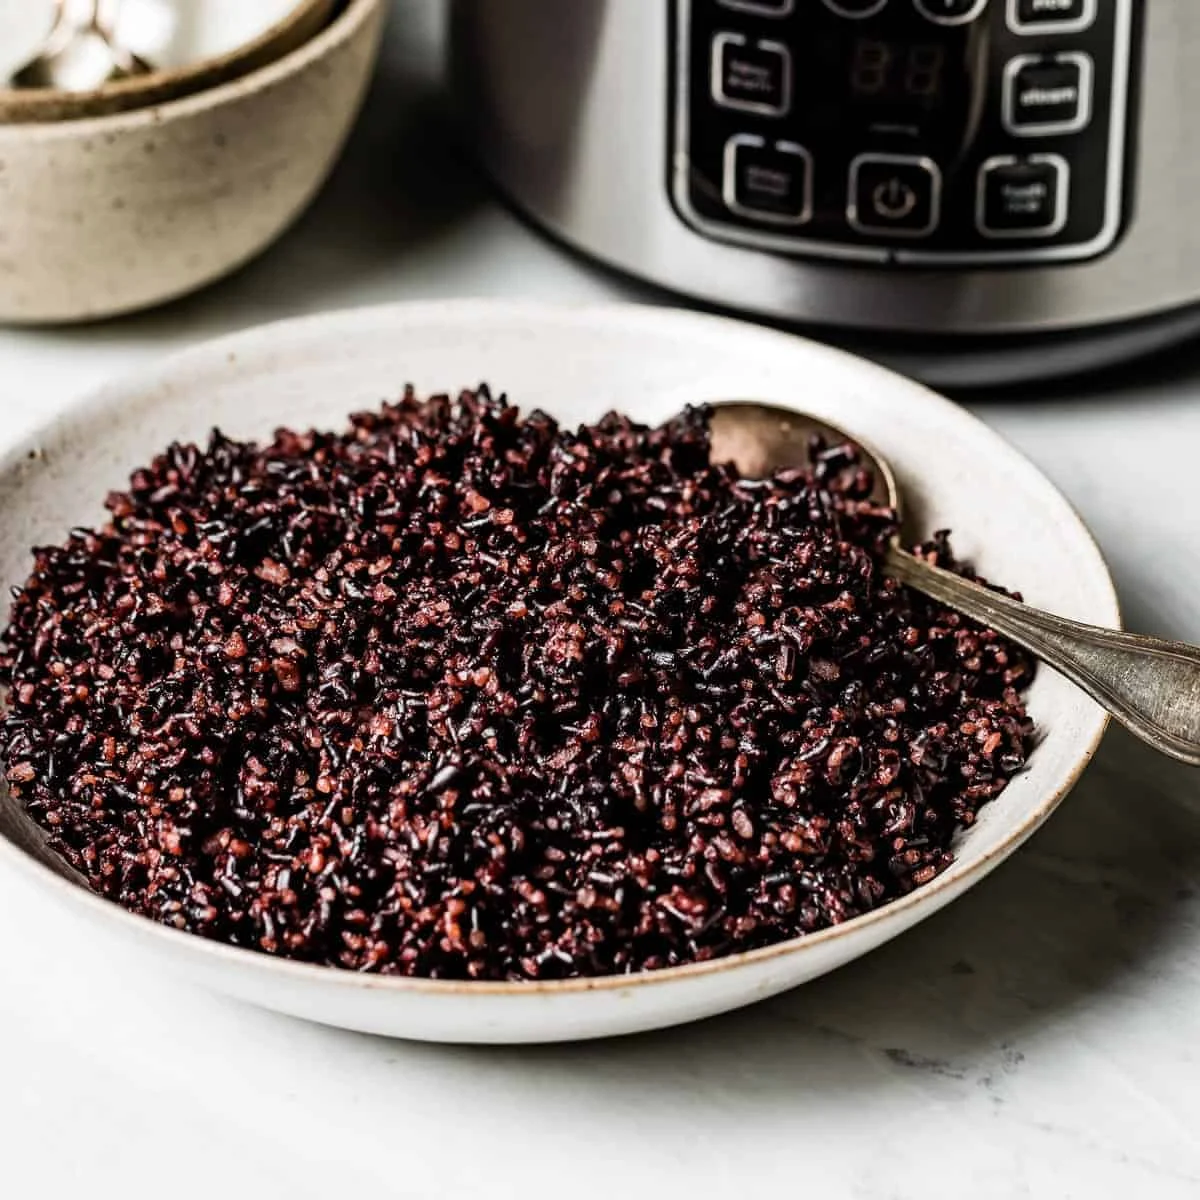
Black rice cooks with little hands-on effort in a rice cooker, making a useful base for bowls and side dishes. Rinsing it first and using the brown rice setting helps the grains cook through evenly.
Ingredients
- 1 tablespoon (15 ml)vegetable oil
- 1 cup (about 190 g)black rice
- 1¾ cups (about 415 ml)water, vegetable stock or chicken stock
- ½ teaspoon (optional)kosher salt
Instructions
- 1
Rinse the rice
Put the black rice in a medium-mesh strainer and rinse it under cold running water until the water runs clear.
- 2
Oil the insert
Coat the rice cooker insert with 1 tablespoon of vegetable oil to help prevent sticking. Use a sheet of paper towel to spread the oil evenly over the surface.
- 3
Add the ingredients
Add the rinsed rice, your chosen liquid and the salt, if using, to the cooker. Stir to combine.
- 4
Select the setting
Put the lid on and choose the brown rice setting. If your cooker does not have one, press “cook”.
- 5
Cook the rice
Let the rice cook until done; this should take about 50–60 minutes.
- 6
Fluff and serve
When cooking is complete, open the lid and fluff the rice with a fork before serving.
What is black rice?
Black rice is a whole-grain rice variety with dark, pigmented bran and a chewy texture when cooked. It is used in a range of Asian cuisines, both in savoury dishes and in sweet preparations.
This rice-cooker version keeps the method simple: rinse the grains, add liquid and let the cooker handle the cooking. The brown rice setting is a helpful choice because black rice generally needs more time than white rice.
Nutrition and macros by portion
The nutrition label shows one serving as written: 268 calories, 5g protein, 48g carbs, 6g fat.
| Portion | Adjustment | kcal | Protein | Carbs | Fat |
|---|---|---|---|---|---|
| Lighter | Use less oil | 188 kcal | 4g | 34g | 4g |
| This serving | As written | 268 kcal | 5g | 48g | 6g |
| Hungry | Serve a larger portion | 402 kcal | 8g | 72g | 9g |
Most of the carbohydrates in a serving come from the black rice, while the vegetable oil supplies most of the fat; the rice contributes a modest amount of protein. Serve it with vegetables and a protein-rich topping to make a more balanced plate.
Rinsing the grains
Rinsing: Run cold water through the rice in a medium-mesh strainer until it looks clear. This removes loose surface starch and any dust from the grains.
Draining: Let excess water run off before adding the rice to the cooker, so it does not unnecessarily alter the measured cooking liquid.
Oil and liquid choices
Oil: A thin coating on the cooker insert helps reduce sticking and makes serving easier. Spread it across the base and sides rather than leaving it in one pool.
Liquid: Water gives the rice a straightforward flavour, while vegetable or chicken stock brings extra savouriness. Use the same measured quantity whichever liquid you choose.
Using the rice cooker
Setting: Choose the brown rice programme if your machine has one; otherwise, use its standard cook function. Rice cookers vary, so use the cooker’s indicator to tell when its cycle has finished.
Timing: The recipe gives a cooking range of 50–60 minutes. Keep the lid closed during the cycle so heat and steam stay inside.
Checking the texture
Doneness: The rice should be cooked through but retain a pleasantly chewy bite. If it is still too firm when the cycle ends, follow your cooker’s instructions for continuing the cook cycle.
Fluffing: Loosen the grains gently with a fork before serving. This helps separate them without crushing the cooked rice.
Serving ideas
As a side: Serve the rice alongside vegetables, tofu, fish or meat, or use it as the base of a bowl. Its distinct colour and chewy texture pair well with saucy toppings.
For a fuller meal: Add a source of protein and vegetables, then season the finished bowl to suit the accompanying dish.
Recipe notes & tips
- Rinse the rice until the water runs clear, then let it drain before measuring it into the cooker.
- Spread the oil over the whole insert to help limit sticking.
- Measure the liquid rather than estimating it.
- Use stock instead of water when you want a more savoury result.
- Keep the lid closed while the rice cooks.
- Fluff the cooked grains gently with a fork just before serving.
Variations
- Use vegetable stock: Swap it for the water for a savoury, meat-free version.
- Use chicken stock: Choose it in place of water for a richer savoury flavour.
- Skip the salt: Leave out the optional kosher salt and season the rice when serving.
- Add a topping: Serve with cooked vegetables and a protein of your choice for a more complete bowl.
Common mistakes to avoid
- Skipping the rinse: Rinse until the water runs clear to wash away loose surface starch.
- Leaving the insert dry: Coat it with the tablespoon of oil to help prevent sticking.
- Guessing the liquid: Measure the water or stock so the rice cooks as intended.
- Opening the lid repeatedly: Keep it closed through the cooking cycle to retain steam.
- Expecting white-rice timing: Allow about 50–60 minutes for the rice to cook.
- Mashing the grains: Fluff with a fork gently rather than stirring vigorously.
How to store
Cool leftover rice promptly, transfer it to an airtight container and refrigerate for up to 3–4 days. Reheat until steaming hot, adding a small splash of water if it seems dry; freeze portions for longer storage.
Frequently asked questions
Can I use water instead of stock?
Yes. Water is one of the recipe’s options; vegetable or chicken stock can be used instead for a more savoury flavour.
Which rice-cooker setting should I use?
Use the brown rice setting if your cooker has one. If it does not, use the standard “cook” function.
How long does black rice take in a rice cooker?
The cooking time is about 50–60 minutes. The exact duration depends on the rice cooker.
Do I need to add the salt?
No. The kosher salt is optional, so you can leave it out or season the rice to taste when serving.
Why should I rinse the rice first?
Rinsing under cold running water until it runs clear removes loose surface starch and any dust. Drain it before adding it to the cooker.
Cook it from the original
This recipe comes from foolproofliving.com. Their page has the author’s own photos, notes and tips — the best place to cook it from.
Open the recipe on foolproofliving.com