
Blistered Shishito Peppers Recipe
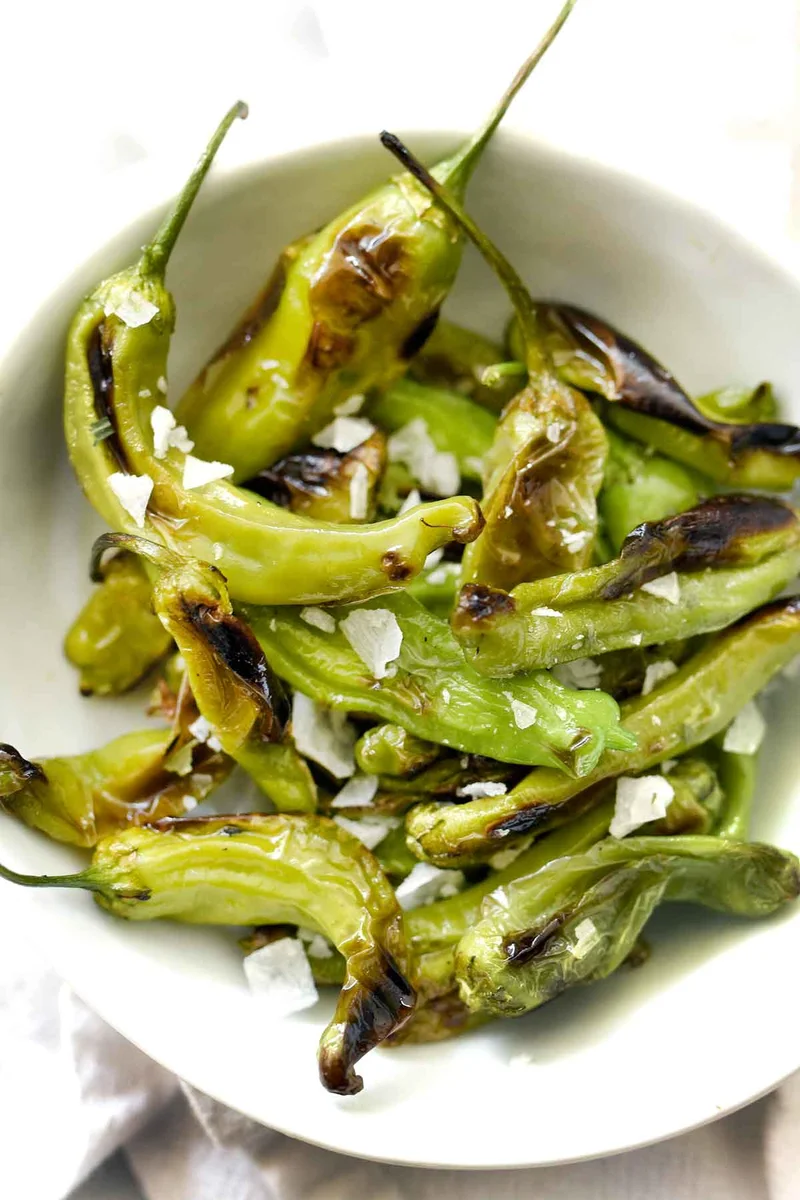
Shishito peppers are quickly blistered in a very hot cast-iron pan, then finished with lemon, olive oil and flavoured salt. They make a simple snack, side dish or bite-size starter.
Ingredients
- 227 g (8 ounces)shishito peppers
- 1/2 lemon, slicedlemon
- to tasteextra-virgin olive oil
- to tastekosher or flavoured salts
Instructions
- 1
Heat the pan
Set a large cast-iron skillet over high heat and let it become hot.
- 2
Blister the peppers
Put the peppers into the hot, dry skillet; do not add oil. Turn them occasionally, then add a few lemon slices. Cook for about 5 minutes, until the peppers smell fragrant and begin to blister. Nudge the lemon slices so they do not stick.
- 3
Finish and serve
Transfer the peppers to a serving bowl. Drizzle with a little olive oil, squeeze over some more lemon and sprinkle with flavoured salt. Serve immediately.
What are shishito peppers?
Shishito peppers are small, mild East Asian peppers commonly associated with Japanese cooking. Their thin skins and compact size make them well suited to a quick cook over high heat.
This version keeps the preparation simple: a dry, hot skillet blisters the peppers, while lemon and flavoured salt add a bright, savoury finish.
Nutrition and macros by portion
The nutrition label shows one serving as written: 20 calories, 1g protein, 5g carbs, 0g fat.
| Portion | Adjustment | kcal | Protein | Carbs | Fat |
|---|---|---|---|---|---|
| Lighter | Use less finishing oil | 14 kcal | 1g | 4g | 0g |
| This serving | As written | 20 kcal | 1g | 5g | 0g |
| Hungry | Make a larger batch | 30 kcal | 2g | 8g | 0g |
The peppers provide most of the carbohydrates, while the olive oil contributes the fat; this recipe has little protein. To make it part of a more balanced plate, serve it alongside a protein-rich main and a filling grain or starchy side.
Why use a dry, hot pan?
Dry skillet: the recipe starts without oil in the pan so the peppers can blister directly against the hot surface. Use a large skillet and allow it to heat before adding them.
Cast iron: a heavy cast-iron pan holds heat well, helping the peppers colour as they cook. Turn them now and then so different sides meet the pan.
When to add the lemon
Lemon slices: add a few after the peppers have started cooking rather than at the beginning. Move them if they begin to stick to the skillet.
Fresh squeeze: finish with more lemon once the peppers are in the serving bowl. This gives the dish a fresh citrus note alongside the cooked slices.
Look for blistered skins
Visual cue: the peppers are ready when they begin to blister and smell fragrant. The recipe allows about 5 minutes, but the precise pace can vary with the pan and heat.
Keep them moving occasionally, rather than leaving every pepper on one side for the whole cook. Serve them straight away for their best freshly blistered texture.
Choose the finishing salt
Flavoured salts: sprinkle them over the peppers just before serving, so their seasoning stays on the surface. Kosher salt is the simpler option if you do not have a flavoured salt.
Olive oil: add only a little as a finishing drizzle after cooking. It is not used to coat the pan or fry the peppers.
Serving ideas
As a snack: serve the peppers hot from the pan in a bowl, with the lemon and salt already added. They also work as a small starter or a side dish.
Alongside a meal: pair them with rice, grilled fish, tofu or other simple savoury dishes. Their lemony, salty finish complements food with milder flavours.
Recipe notes & tips
- Heat the cast-iron skillet before adding the peppers.
- Keep the pan dry while the peppers blister.
- Turn the peppers occasionally to expose different sides to the hot surface.
- Add the lemon slices after the peppers have begun cooking.
- Nudge the lemon slices if they start sticking.
- Finish with olive oil and flavoured salt just before serving.
Variations
- Smoky salt: use a smoked flavoured salt for a deeper savoury finish.
- Citrus change: add a little extra lemon juice at the table for more tang.
- Sesame finish: scatter toasted sesame seeds over the peppers just before serving.
- Garlic note: add a small amount of finely chopped garlic after cooking so it does not burn in the hot pan.
Common mistakes to avoid
- Adding oil to the pan: the method calls for blistering the peppers in a dry skillet; drizzle with oil after cooking.
- Starting with a cool skillet: wait until the cast iron is hot before adding the peppers.
- Leaving peppers unturned: turn them occasionally so several sides can blister.
- Letting lemon stick: nudge the slices around the pan as they cook.
- Cooking past the cues: take the peppers off when fragrant and beginning to blister, around 5 minutes.
- Serving them later: bring them to the table immediately for their freshly cooked texture.
How to store
These peppers are best served immediately. If you have leftovers, refrigerate them in a covered container and eat within 3 days; reheat briefly in a hot skillet, knowing they may be softer than when freshly cooked.
Frequently asked questions
Are shishito peppers spicy?
They are generally mild, though an individual pepper can be hotter than the others. The recipe does not require a chilli adjustment.
Can I make these without a cast-iron skillet?
Yes, use a large, heavy skillet that can be heated over high heat. The key is a hot pan and enough room for the peppers to contact its surface.
Should I oil the peppers before cooking?
No. This method cooks them in a dry skillet and adds a little olive oil after they are transferred to a bowl.
How do I know when the peppers are ready?
They should smell fragrant and show the beginnings of blistering. The cooking time is about 5 minutes.
Can I prepare them ahead?
They are best cooked and served straight away. You can have the lemon and salt ready beforehand, then blister the peppers just before serving.
What can I use instead of flavoured salt?
Use kosher salt, as listed in the recipe. Add it to taste after the olive oil and lemon.
Cook it from the original
This recipe comes from foodiecrush.com. Their page has the author’s own photos, notes and tips — the best place to cook it from.
Open the recipe on foodiecrush.com