
Victoria Sponge Cake
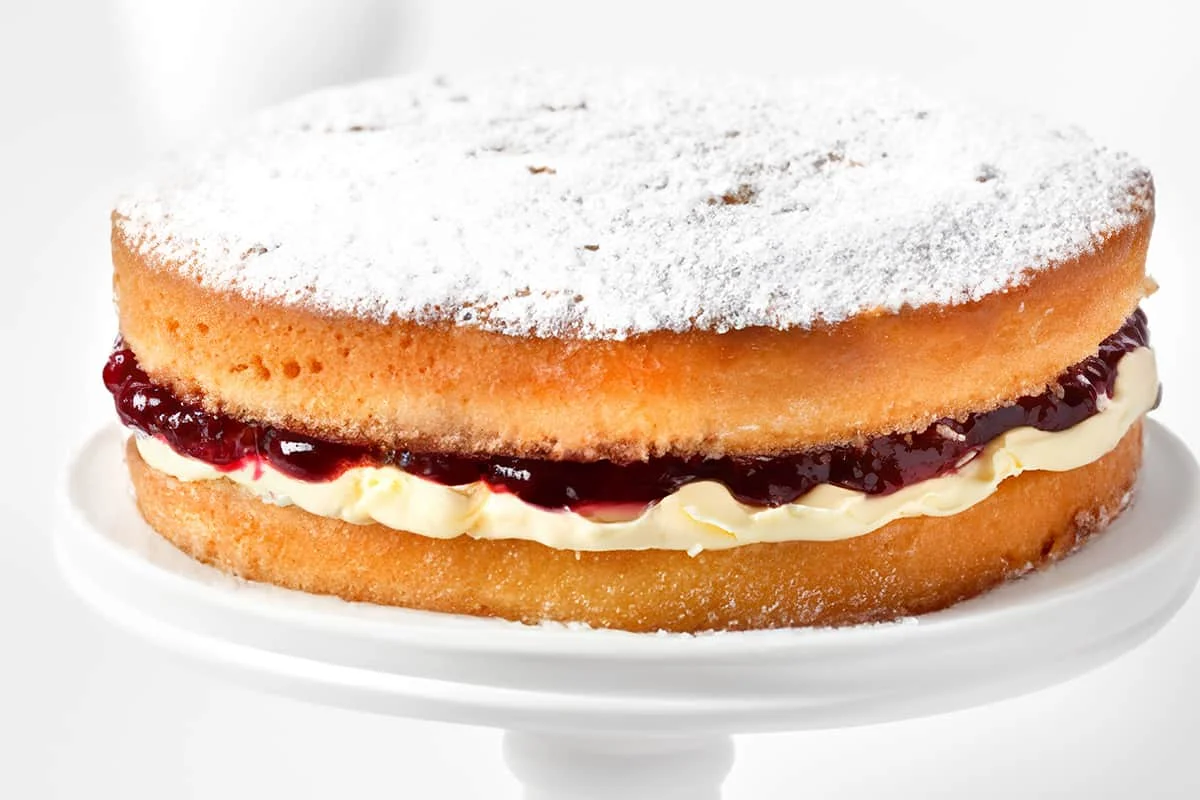
Victoria sponge is a classic English layer cake with light vanilla sponge, buttercream and fruity jam. It makes a celebratory centrepiece but is simple enough to bake for afternoon tea.
Ingredients
- 300 g (1 1/2 cups)granulated sugar
- 454 g (2 cups)butter, very soft
- 4eggs
- 281 g (2 1/4 cups)plain flour
- 2 teaspoonsbaking powder
- 2 teaspoonsvanilla extract
- 90 ml (6 tablespoons)milk
- 113 g (1/2 cup)butter, softened
- 60 g (1/2 cup), plus a little to sprinkle on topicing sugar
- 1/2 teaspoonvanilla extract
- 80 g (1/4 cup)raspberry jam or strawberry jam
Instructions
- 1
Preheat the oven
Heat the oven to 180°C (350°F).
- 2
Mix the cake batter
Put the very soft butter and granulated sugar in a mixer and blend. Add the remaining cake ingredients and mix until combined.
- 3
Bake the sponges
Divide the batter between 2 greased 20 cm (8-inch) round cake tins. Bake for 25–30 minutes.
- 4
Cool the cakes
Leave the cakes in their tins for 10 minutes, then turn them out onto a wire rack and let them cool completely.
- 5
Make the buttercream
Beat the softened butter with the vanilla extract and icing sugar until smooth and creamy.
- 6
Spread the buttercream
Cover the flat side of one sponge with the buttercream.
- 7
Add the jam
Spread the strawberry or raspberry jam over the buttercream.
- 8
Sandwich and finish
Place the second sponge on top. Dust with a little icing sugar just before serving.
What is a Victoria sponge?
This English layer cake takes its name from Queen Victoria and is traditionally made with two sponge layers and a jam filling. This version adds vanilla buttercream between the layers as well as jam.
The simple combination works because the soft, lightly flavoured sponge lets the fruit filling stand out, while the buttercream brings richness.
Nutrition and macros by portion
The nutrition label shows one serving as written: 706 calories, 6g protein, 64g carbs, 48g fat.
| Portion | Adjustment | kcal | Protein | Carbs | Fat |
|---|---|---|---|---|---|
| Lighter | Smaller slice, more berries | 494 kcal | 4g | 45g | 34g |
| This serving | As written | 706 kcal | 6g | 64g | 48g |
| Hungry | Larger slice | 1059 kcal | 9g | 96g | 72g |
The flour and sugar supply most of the carbohydrates, while the cake and filling butter account for much of the fat. Eggs contribute some protein, though this is primarily a rich, sweet bake. Serve a slice with fresh fruit to add a fresher contrast to the plate.
Getting the sponge right
Soft butter: the cake butter should be very soft so it blends smoothly with the sugar. Mix in the remaining ingredients only until combined.
Even layers: divide the batter between the two tins as evenly as you can. This helps the cakes bake at a similar rate and makes assembly easier.
Making smooth buttercream
Softened butter: use butter that is soft enough to beat easily, but not melted. Beat it with the icing sugar and vanilla until the mixture looks creamy.
Icing sugar: add it with the butter and vanilla as directed, and continue beating until no dry patches remain.
Checking when the cakes are baked
Timing: bake for 25–30 minutes at 180°C. The recipe does not give a separate doneness test, so check the cakes towards the end of the baking time.
Cooling: give the cakes 10 minutes in their tins before turning them out. Cool them completely before adding the buttercream so the filling holds its shape.
Layering the filling
Buttercream first: spread it over the flat side of one cooled sponge, keeping the layer reasonably even.
Jam next: spread the jam over the buttercream, then set the second sponge on top. A final dusting of icing sugar goes on just before serving.
Serving the cake
Serve the cake in slices with tea or coffee. Fresh berries make a simple accompaniment and complement the jam.
For neater slices, use a sharp knife and wipe it between cuts. Dust the top shortly before bringing the cake to the table.
Recipe notes & tips
- Bring the cake butter to a very soft consistency before mixing.
- Grease both tins before dividing the batter between them.
- Try to split the batter evenly so the layers finish at a similar height.
- Let the sponges cool completely before spreading on the buttercream.
- Dust the cake with icing sugar just before serving for a fresh finish.
Variations
- Strawberry filling: use strawberry jam in place of raspberry jam.
- Raspberry filling: choose raspberry jam for a sharper fruit flavour.
- Extra vanilla: add a little more vanilla to the buttercream if you want its flavour to stand out.
- Fresh berries: serve sliced berries alongside the cake for a fruity accompaniment.
- Simple finish: leave off the icing sugar dusting if you prefer a plain top.
Common mistakes to avoid
- Cold cake butter: it may not blend smoothly with the sugar; soften it well before mixing.
- Uneven layers: differing amounts of batter can bake at different rates; divide it as evenly as possible.
- Overbaking: the sponge can dry out; check it as it approaches the end of the 25–30-minute bake.
- Warm sponges: buttercream can soften on contact; cool the cakes completely before filling.
- Early dusting: icing sugar can disappear into the surface; sprinkle it on shortly before serving.
How to store
Keep the assembled cake covered in the fridge for up to 3 days. Bring slices towards room temperature before serving for a softer buttercream; avoid heating the assembled cake, as the filling may melt.
Frequently asked questions
Can I use strawberry jam instead of raspberry?
Yes. The recipe allows either strawberry or raspberry jam.
Can I assemble the cake while the sponges are warm?
Wait until they have cooled completely. Warm sponge can soften the buttercream and make the filling harder to spread neatly.
How do I know when the sponges are done?
The recipe gives a baking time of 25–30 minutes at 180°C but no additional doneness cue. Check the cakes near the end of that range.
Why does the recipe use two cake tins?
The batter is divided between 2 greased 20 cm (8-inch) round tins to make the two layers needed for the sandwich cake.
When should I add the icing sugar on top?
Dust the cake just before serving, as directed, so the finish looks fresh.
Cook it from the original
This recipe comes from errenskitchen.com. Their page has the author’s own photos, notes and tips — the best place to cook it from.
Open the recipe on errenskitchen.com