
Chocolate Peanut Butter Truffles
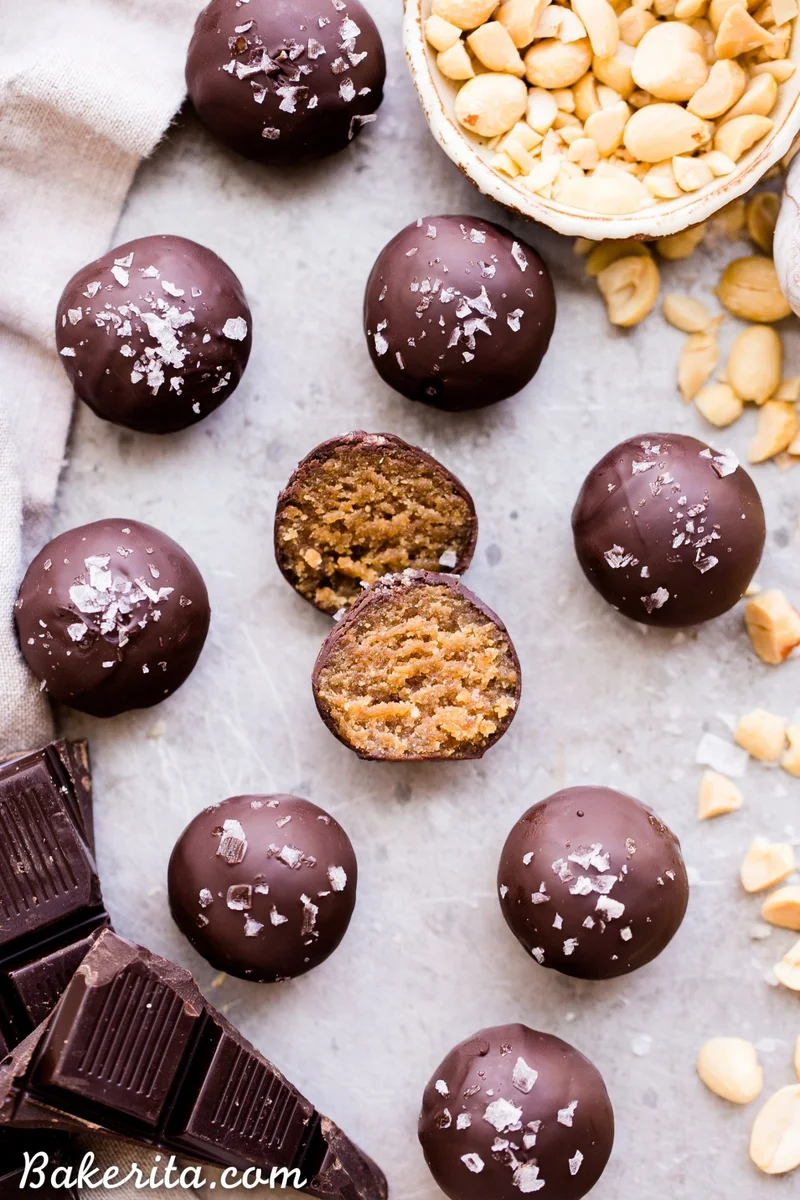
These Chocolate Peanut Butter Truffles are decadent, delicious, and made with just FOUR super simple + clean ingredients. They're gluten-free, vegan and sweetened with dates - they can also easily be made paleo by using a different nut butter! These truffles are sure to satisfy your chocolate peanut butter candy cravings.
Ingredients
- 3/4 cup (192g) creamy peanut butter (or your nut or seed butter of choice)
- 6 pitted Medjool dates (soak in hot water for 10 minutes if they aren't soft)
- 1/2 cup (64g) coconut flour
- 1 cup (6 oz./170g) dark chocolate (chopped finely if was in bars)
- Flaky sea salt (to sprinkle on top, if desired)
Instructions
- 1
In a high powered blender or food processor, combine the peanut butter, dates, coconut flour, and 2 tablespoons of water.
- 2
Blend to combine, and if it’s still a little dry, add the other 2 tablespoons of water.
- 3
Scoop into tablespoon-sized pieces and roll into the shape of a ball and place on a plate. Repeat until all of the peanut butter mixture is used.
- 4
Place in the freezer while you melt the chocolate.
- 5
Place your chocolate in a small but deep microwavable bowl or cup. Microwave in 30 second increments, stirring between each, until the chocolate is fully melted.
- 6
Using a fork or dipping tool to dip each ball in the melted chocolate, letting the excess drip off before placing on a parchment-lined plate or baking sheet. Sprinkle with flaky sea salt, if desired, while the chocolate is still melted. Repeat until they’re all dipped and then transfer to the refrigerator to let set. You'll probably have extra chocolate.
- 7
Keep stored in the refrigerator for a few weeks or in the freezer indefinitely. Enjoy!
Cook it from the original
This recipe comes from bakerita.com. Their page has the author’s own photos, notes and tips — the best place to cook it from.
Open the recipe on bakerita.com