
No Bake Peanut Butter & Jelly Tart (Gluten Free, Grain Free, Refined Sugar Free + Vegan)
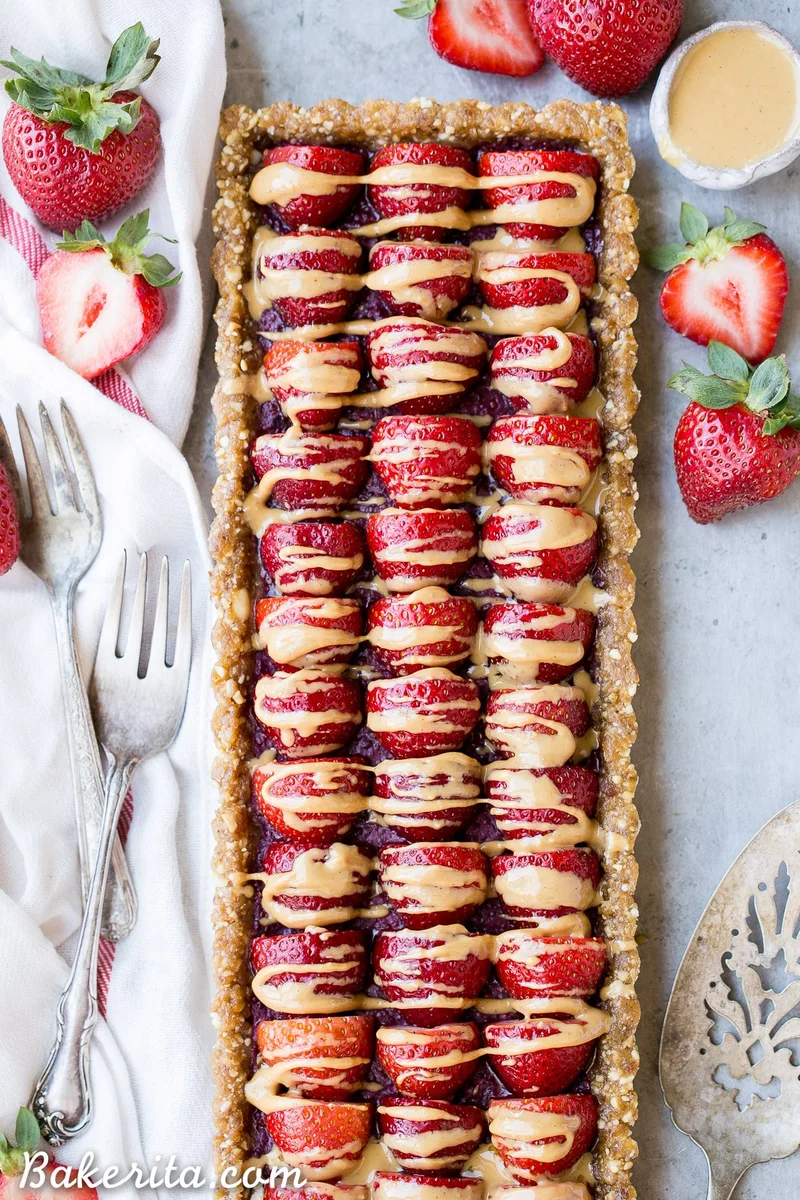
Skip the oven for this No Bake Peanut Butter & Jelly Tart – it’s an easy and refreshing dessert made with just seven ingredients! It has a peanut date crust filled with berry chia jam. This rich and fruity tart is gluten-free, grain-free, refined sugar-free and vegan.
Ingredients
- For the crust1 1/2 cups roasted peanuts
- 3/4 cup pitted dates (I used 9)
- 1/4 teaspoon salt
- For the filling10 ounces mixed berries (I used strawberries and raspberries)
- 2 tablespoons chia seeds
- 2 tablespoons coconut oil
- 1 teaspoon vanilla extract (optional)
- 21 strawberries (halved, this amount may vary, based on how you want to arrange the strawberries/which pan you use)
- 2 tablespoons creamy natural peanut butter
Instructions
- 1
Lightly grease a 14x5" rectangular tart pan or 9" tart pan with coconut oil. Set aside.
- 2
Add the pitted dates and roasted peanuts to a food processor or high-powered blender and pulverize until it comes together into a "dough", with small peanut bits remaining. If using a blender, you may want to do it in two batches so you don't burn out the engine of your blender. Press the dough evenly along the bottom and up the sides of the prepared pan.
- 3
Place the berries in a microwave proof bowl and microwave for 1 minute. Mash the berries and stir in the chia seeds, and microwave for another minute. Stir in the coconut oil and vanilla extract, if using. Spread the berry chia filling evenly in the crust.
- 4
Arrange the strawberry halves over the berry jam as desired and drizzle with peanut butter. Place in the refrigerator for at least an hour to set before slicing and serving.
Cook it from the original
This recipe comes from bakerita.com. Their page has the author’s own photos, notes and tips — the best place to cook it from.
Open the recipe on bakerita.com