
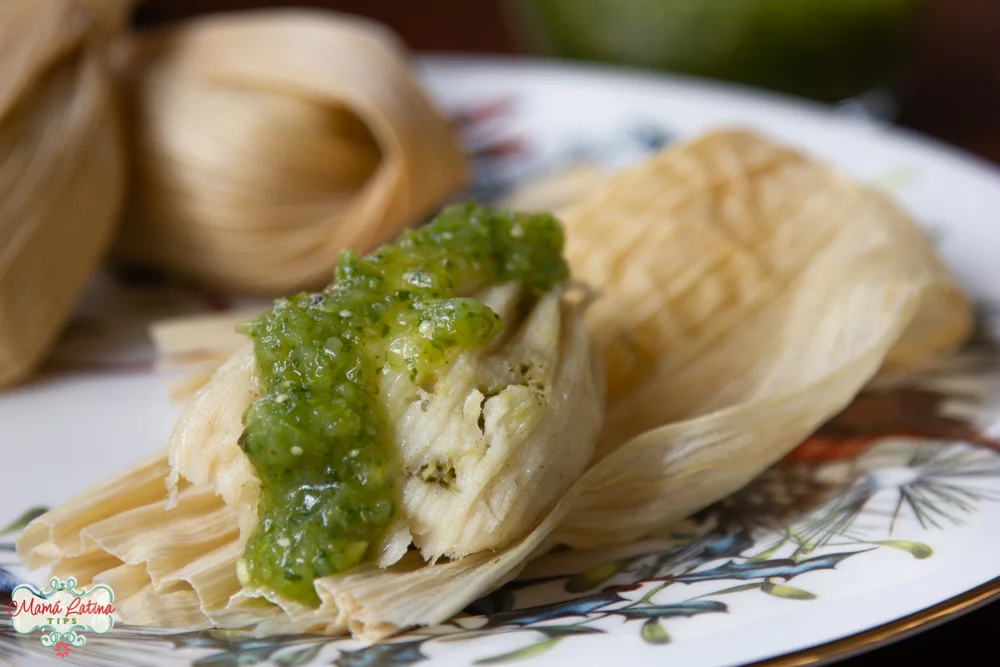
Green Tamales with Chicken
Nutrition per Serving
193
Calories
6g
Protein
17g
Carbs
11g
Fat
📝 Ingredients
- 60 tamal leaves (dried corn husks)
- 1 1/2 lb cooked chicken, shredded
- 1 lb tomatillos, peeled and washed (1/2 kg)
- 1/2 white onion
- 2 serrano peppers
- 3/4 cup water
- A large bunch of fresh cilantro (washed)
- 1 teaspoon dry oregano
- 1 tablespoon salt
- 1 tablespoon olive oil
- 8 cups tortilla flour (masa harina, for example, Maseca)
- 1 teaspoon salt
- 1 1/2 cups olive oil
- 1/2 cup melted butter (about 4 oz or 115 gm)
- 6 cups chicken broth (divided)
👨🍳 Instructions
- 1Separate tamal leaves and place them in a large pot. I generally use my tamalera, or a large pot without the rack. Cover with warm water and let them hydrate for at least an hour.
- 2Tip: The leaves tend to float, so keep them submerged by placing another smaller pot with water in it on top of them.
- 3--- Prepare the Filling ---
- 4In a blender, blend the tomatillos, onion, serrano chiles, water, cilantro, oregano, and a tablespoon of salt.
- 5In a medium-size pot, heat a tablespoon of olive oil. Add the green salsa and simmer for 5-7 minutes until the salsa turns olive green in color.
- 6Add the chicken, stir well to combine with the salsa and heat for 5 minutes. Set apart.
- 7--- Prepare the Masa ---
- 8Add the masa flour to a large bowl, add the salt, olive oil, melted butter, and 4 cups chicken broth.
- 9Leave it be, don't touch it or stir it, let it stand for 10 minutes. Little by little the liquid will hydrate the masa, by doing this you will be saving time and effort when it comes time to use it.
- 10While you wait, drain and dry the tamal leaves with a kitchen towel. Set apart.
- 11Now stir the masa until the masa has absorbed all the liquid, the consistency looks a little dry, at this point begin adding chicken broth a half cup at a time, until you get a moist and smooth consistency so that it spreads easily.
- 12In most cases, you will use about 6 cups, but it's best to add the broth little by little in case climatic conditions make the masa moist enough with less liquid.
- 13Cover the masa with a moist cloth kitchen towel to keep it from drying out.
- 14--- Assembling the Tamales ---
- 15Prepare your work area. You'll need enough space to have the filling, the masa and the leaves within reach.
- 16Take two or three tamal leaves (choose the smallest) and with your fingers separate them to form thin strips to use as ties for the tamales. Set apart. (See 3 photos below)
- 17Place one tamal leaf down in front of yourself and take a small ball of the masa about 2 inches (4cm) in diameter.
- 18With your hands, press it into the shape of a thick tortilla. Place about two teaspoons of filling in the center.
- 19Now close up the masa around the filling and place the small ball in the middle of the leaf at the widest part. Wrap it up and and fold it so both ends are facing up.
- 20Take one of the leaf strips you made to tie the two ends of the leaf together.
- 21Repeat until you've used all of your masa and filling.
- 22Next, add water to the bottom of your steaming pot and place the rack inside, making sure the water level stays below the rack. If you have extra husks, put half of them over the rack to protect the tamales from direct contact with the water.
- 23Place the tamales inside the steamer, top with remaining leaves, cover with the lid. Place over high heat until the water begins to boil.
- 24Lower the temperature to medium-low, the important thing is that it continues to steam without steaming off all of the water from the bottom.
- 25Continue to steam the tamales for about an hour or until they are cooked. You will know they are done when they separate from the leaves easily when you carefully open them up.
- 26Something important to keep in mind. The steam will make the tamales feel a little wet and loose. This is normal. If the tamal comes off the leaf easily, they are done, even if they look a little wet still.
- 27As they cool, they will get firmer.
About the Chef & Original Recipe
This recipe was published by Silvia Martinez on mamalatinatips.com. Visit the original source for step-by-step photos, chef notes and additional details.
Source: mamalatinatips.com