
Roast Pork and Stuffing
Nutrition per Serving
—
Calories
—
Protein
—
Carbs
—
Fat
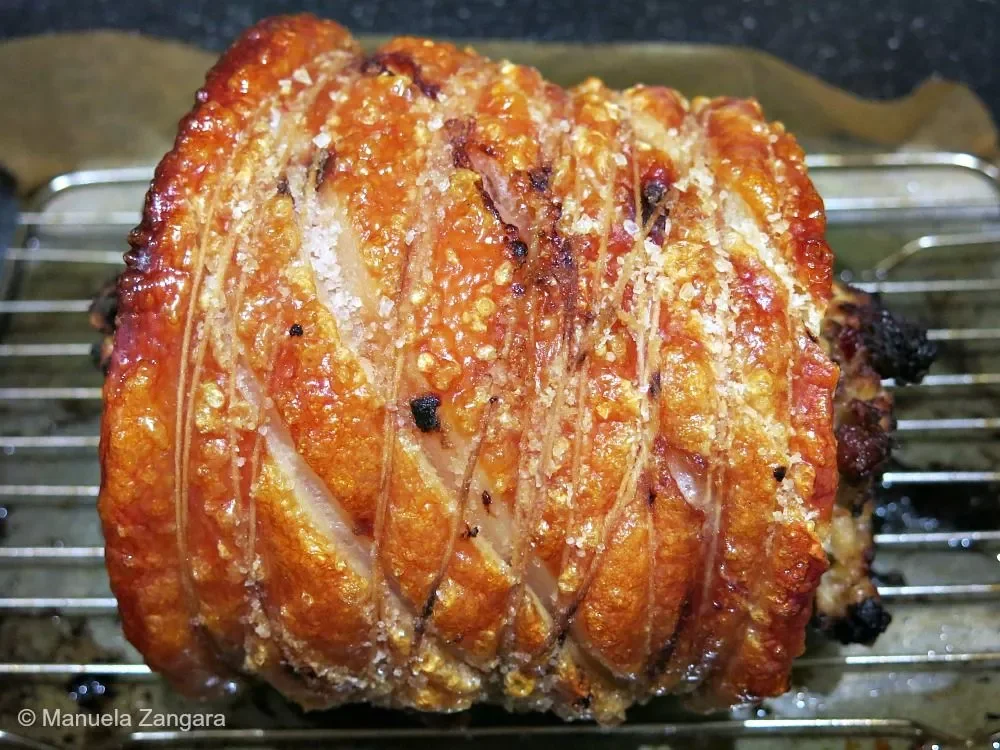
Roast Pork and Stuffing brings colour and comfort to the Christmas table, with golden crackling and a fruity filling that tastes like celebration.
📝 Ingredients
- 1.5 kg – 3 1/3 lbs. loin pork (– boned and rolled)
- 20 gms – 1 tbsp butter
- 1 tbsp extra virgin olive oil
- 1 red onion (– chopped)
- 4 cups white fresh breadcrumbs
- 1/2 cup dried apricots (– chopped)
- 1/2 cup dried cranberries (– chopped)
- 1/3 cup pistachios (– chopped)
- 1/4 cup sage leaves (– chopped)
- 2 eggs (– whisked)
- Salt and pepper (– to taste)
- Coarse salt and vegetable oil (– for the rind)
👨🍳 Instructions
- 1Pat dry the roast with a paper towel. Untie and unroll the pork.
- 2Place, skin side up and uncovered, on a rack in a baking dish. Refrigerate overnight to dry the rind.
- 3The next day, heat the butter and oil in a frying pan over medium heat. Add the chopped onion and cook, stirring, for 5 minutes or until softened.
- 4Transfer to a bowl with the breadcrumbs, dried fruit, pistachios, sage, and eggs. Stir to combine and season with salt and pepper to taste.
- 5Take the pork out of the fridge and place it, meat side up, on a board.
- 6Cover the pork meat with the stuffing. Re-roll and tie firmly with kitchen twine.
- 7Put the roast on a rack, then pour hot boiling water over the rind. This will help with getting the perfect crackling. Pat dry with a paper towel.
- 8Rub the rind with vegetable oil and sprinkle generously with salt (coarse salt is a good option for this).
- 9Line a baking dish with baking paper and place the rack inside. Set the pork on top of the rack.
- 10Bake in a preheated oven at 240°C – 465°F for the first 50 minutes (until it crackles), then reduce the heat to 180°C – 350°F and cook for 30–35 minutes per kg, depending on how well you like your roast cooked.
- 11Once cooked, let the roast rest for 10 minutes before removing the crackling and slicing the roast.
- 12Serve warm with the crackling on the side.
About the Chef & Original Recipe
This recipe was published by Manuela Zangara on manusmenu.com. Visit the original source for step-by-step photos, chef notes and additional details.
Source: manusmenu.com