
Peri Peri Jollof Rice with Peri Peri Fish
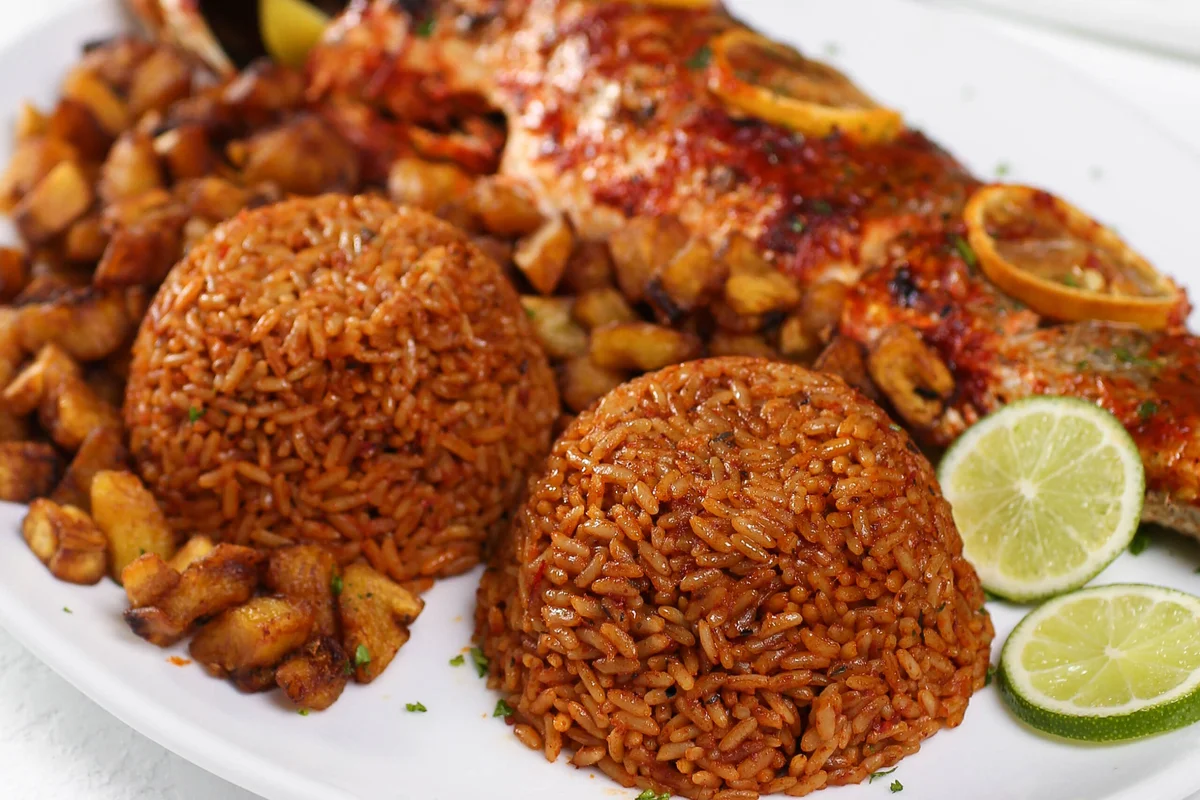
Smoky Jollof rice and spicy peri peri sauce paired with perfectly grilled fish for a flavor-packed fusion feast.
Ingredients
- 5-10 chili peppers (add more if you like very spicy foods)
- 3-4 large bell peppers
- 1 large onion
- 2 bulbs garlic
- Fresh thyme sprigs (optional)
- Drizzle of oil
- 1 teaspoon fresh or dried thyme
- 2 chicken seasoning cube
- 2 teaspoons sugar
- 1 teaspoon salt
- 1 tablespoon lemon juice
- 1 tablespoon oil
- 1000 g fish (croaker)
- 1/2 - 1 teaspoon salt
- About half a cup of peri peri sauce
- Lemon slices
- 1/8 cup oil
- Handful of onion (chopped)
- 6 oz tomato paste
- 1 cup peri peri sauce
- 1-2 bay leaves
- 1 cup chicken stock
- 2 cups water
- 3 1/2 cups rice
- 1 teaspoon salt
- Cilantro to garnish
Instructions
- 1
Clean, scale, and gut the fish thoroughly, then make deep slashes on each side.
- 2
Generously coat the fish, inside and out, with peri peri sauce and a pinch of salt. Let it marinate for at least 30 minutes (or refrigerate overnight for best results).
- 3
Roast the chili peppers, bell peppers, onions, garlic, and thyme in the oven at 400°F (200°C) for 30 minutes.
- 4
Blend the roasted vegetables with thyme, seasoning cubes, sugar, salt, lemon juice, and oil until smooth to create the peri peri sauce.
- 5
Coat the marinated fish with more peri peri sauce and grill at 350°F (175°C) for 20-25 minutes, turning halfway through, adding lemon slices while grilling.
- 6
To make the Jollof rice, heat oil in a large pot and sauté chopped onions until soft.
- 7
Add tomato paste and cook until soft and browned.
- 8
Stir in peri peri sauce and bay leaves, then add chicken stock and water, bringing the mixture to a boil.
- 9
Add the rice and salt, stir well, reduce the heat, cover, and cook until the rice is perfectly tender and flavorful.
- 10
Fluff the rice, plate with the grilled peri peri fish on the side, garnish with fresh cilantro, and serve.
Cook it from the original
This recipe comes from kikifoodies.com. Their page has the author’s own photos, notes and tips — the best place to cook it from.
Open the recipe on kikifoodies.com