
Chocolate Cake With Strawberry Filling
Use (g) for the best results
Ingredients
- 250 g all-purpose flour ((2 cups))
- 75 g unsweetened cocoa powder ((3/4 cup))
- 350 g sugar ((1 3/4 cups (light brown)))
- 7 g baking powder ((1 1/2 tsp))
- 7 g baking soda ((1 1/2 tsp) )
- 5 g salt (( 3/4 tsp))
- 2 large eggs ((about 100g))
- 240 g buttermilk (( 1 cup))
- 120 g vegetable oil (( 1/2 cup))
- 8 g vanilla extract (( 2 tsp))
- 240 g hot water (( 1 cup))
- 300 g fresh strawberries (( about 2 3/4 cups hulled and chopped))
- 50 g granulated sugar (( 1/4 cup))
- 15 g lemon juice (( 1 tbsp ))
- 10 g cornstarch (( 1 tbsp ))
- 226 g unsalted butter, (( 1 cup softened))
- 250 g powdered sugar (( 2 cups sifted))
- 75 g Dutch-processed cocoa powder ((3/4 cup (for deep color)))
- 113 g dark chocolate ((4 oz (70% cocoa or higher), melted and slightly cooled))
- 60 g heavy cream (( 1/4 cup ))
- 1 tsp vanilla extract
- 1/4 tsp salt
Instructions
- 1
--- Step 1: Make the Chocolate Cake ---
- 2
Preheat your oven to 175°C (350°F). Grease and line your cake pans with parchment paper.
- 3
I use three 6-inch cake pans, but you can also use two 8-inch pans if you prefer.
- 4
Place a sieve over a large mixing bowl and sift in flour, cocoa powder, baking powder, baking soda, and salt.
- 5
Add in sugar, eggs, buttermilk, vegetable oil, and vanilla extract. Using a whisk or spatula, gently mix everything together until just combined.
- 6
Slowly pour in the hot water, stirring continuously until fully incorporated. The batter will be thin but don’t panic! This is what makes it ultra-moist.
- 7
Divide the batter evenly between your prepared pans and bake for 25-30 minutes if using three 6-inch pans, or 30-35 minutes if using two 8-inch pans. A toothpick inserted should come out clean or with a few crumbs.
- 8
Let cakes rest in the pans for 10 minutes, then transfer to a wire rack to cool completely.
- 9
--- Step 2: Make the Strawberry Filling ---
- 10
In a saucepan over medium heat, combine strawberries, sugar, lemon juice, and lemon zest. Stir occasionally until the berries soften and release their juices.
- 11
Mix cornstarch with 1 tbsp of water to create a slurry. Stir it into the strawberry mixture and let it simmer for 2-3 minutes until thickened. Remove from heat and let it cool completely before using.
- 12
--- Step 3: Make the Chocolate Buttercream ---
- 13
If using chocolate, chop the dark chocolate into small pieces and place it in a heatproof bowl.
- 14
Double Boiler Method: Set the bowl over a pot of gently simmering water, ensuring the bottom doesn’t touch the water. Stir occasionally until melted and smooth.
- 15
Microwave Method: Heat in 20-second bursts, stirring after each interval, until fully melted and smooth. Let it cool slightly before using.
- 16
Using a mixer, beat butter on medium speed until smooth and fluffy. Gradually mix in powdered sugar, cocoa powder, and salt, beating until combined.
- 17
Pour in the melted chocolate (optional but recommended for a richer buttercream), followed by heavy cream and vanilla extract. Beat until the frosting is rich and creamy.
- 18
--- Step 4: Assemble the Cake ---
- 19
Add a small dollop of buttercream onto your cake stand or turntable to keep the cake from sliding. Place the first cake layer on top.
- 20
Pipe a thick border of chocolate buttercream around the edge of the cake to create a barrier.
- 21
Spoon strawberry filling inside the buttercream border, spreading it evenly while keeping it contained.
- 22
Place the second cake layer on top and gently press to secure. Repeat the buttercream border and strawberry filling step.
- 23
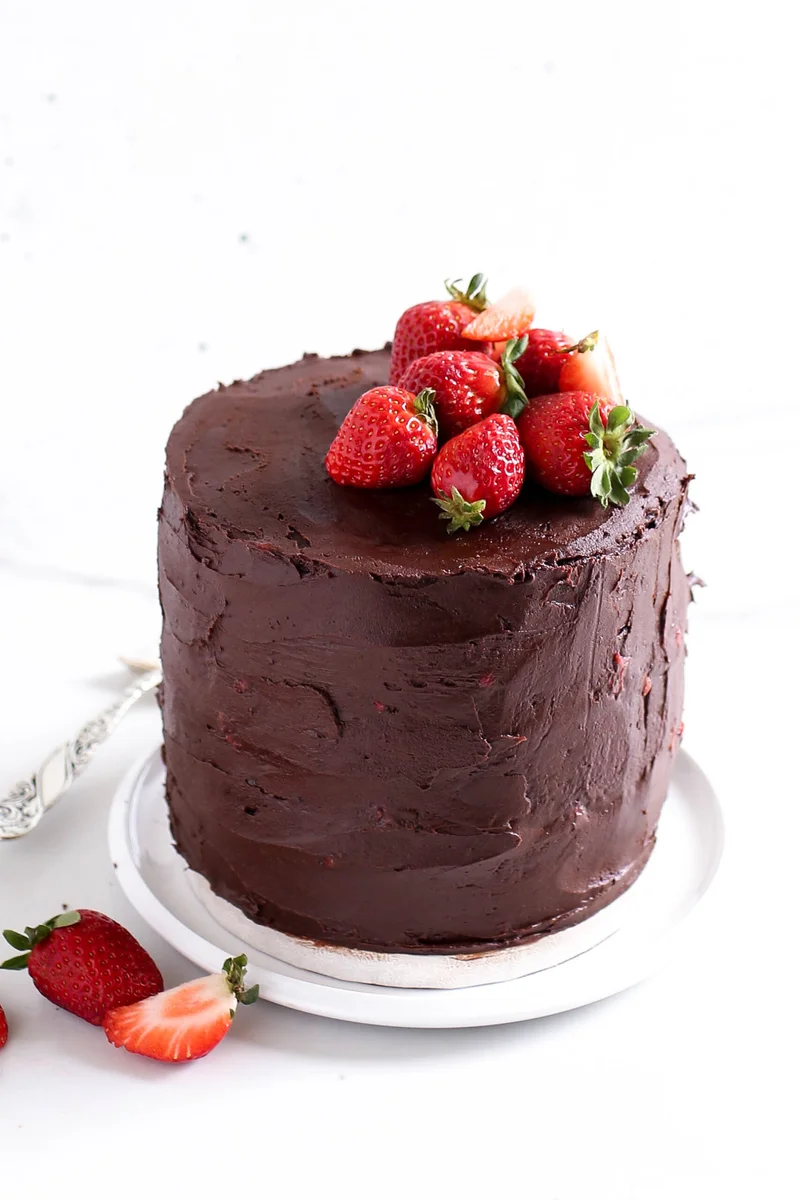
If using three layers, add the final cake layer and press gently. Frost the entire cake with the remaining chocolate buttercream, using a spatula or bench scraper to smooth it out or leave beautiful swirls for texture, it doesn't have to be perfect.
- 24
Top with fresh strawberries, chocolate shavings, or a dusting of cocoa powder for the perfect finishing touch.
- 25
--- Step 5: Dig In! ---
- 26
Slice and enjoy your homemade chocolate-strawberry masterpiece.
Cook it from the original
This recipe comes from kikifoodies.com. Their page has the author’s own photos, notes and tips — the best place to cook it from.
Open the recipe on kikifoodies.com