
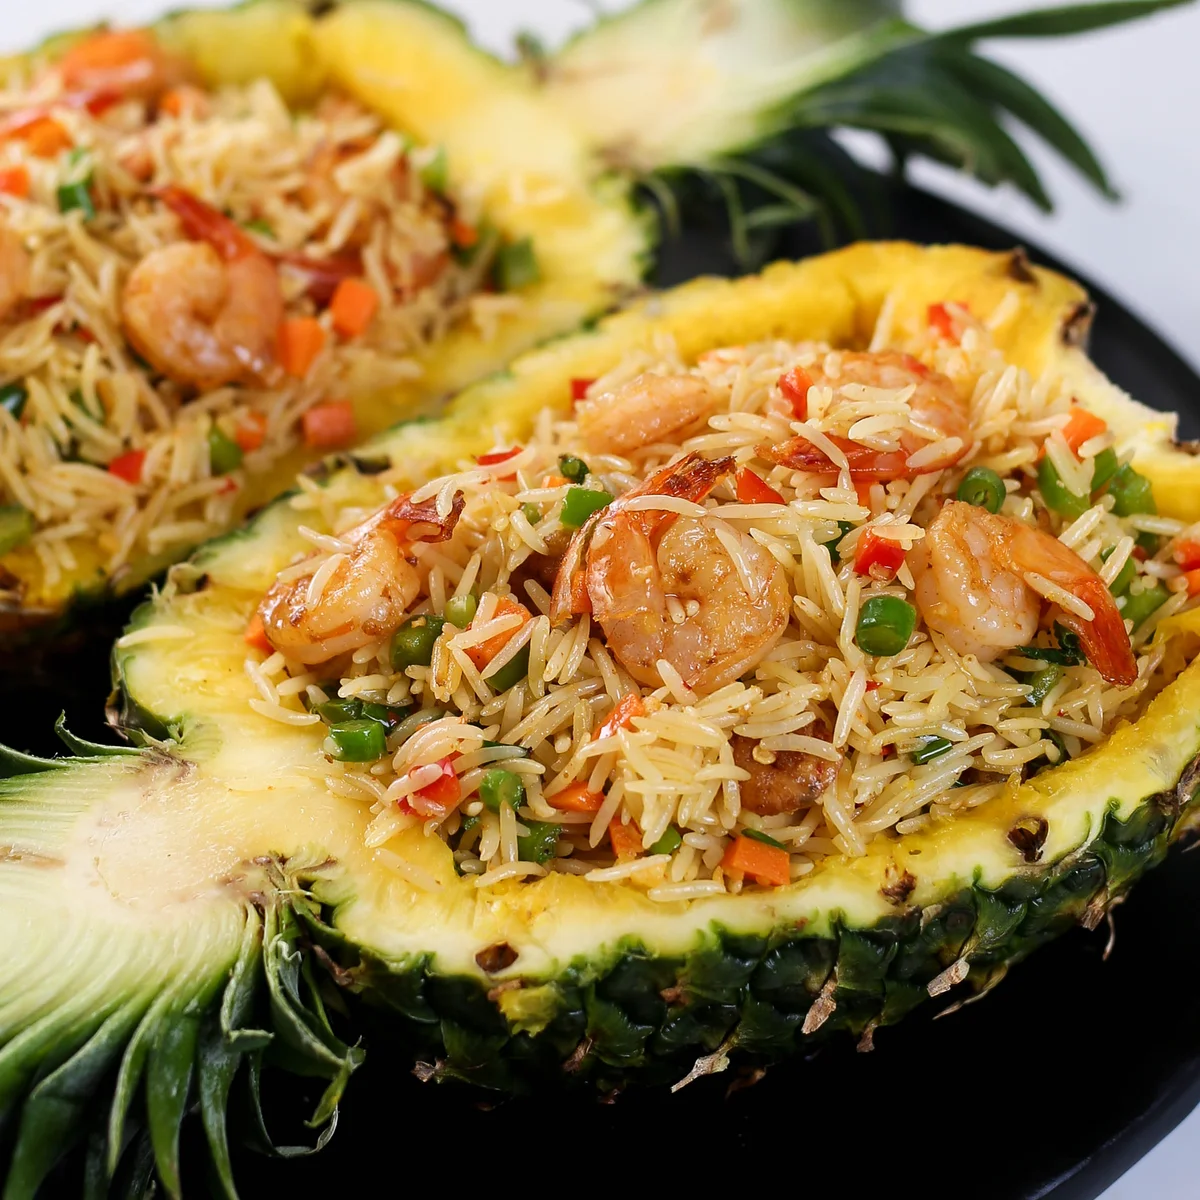
PINEAPPLE FRIED RICE
Ingredients
- For the rice
- 2 1/2 cups rice
- 1/2 cup pineapple juice
- 1/2 cup chicken stock
- 1 to 1 1/2 cups water (depending on rice type)
- 1 teaspoon salt
- 3 tablespoons oil
- 500 g shrimp
- 1/2 teaspoon salt
- 1/2 teaspoon garlic powder
- 1/2 teaspoon onion powder
- 1/4 teaspoon black pepper (or to taste)
- Handful of chopped onion
- 2 garlic cloves (minced)
- Thumb-sized ginger (minced)
- 2 carrots
- 8 string beans
- 1/2 red bell pepper
- 1 green bell pepper
- 1 scotch bonnet pepper (atarodo, chopped)
- Bunch of scallions
- 1 teaspoon garlic powder
- 1 teaspoon onion powder
Instructions
- 1
Wash the pineapple thoroughly and pat dry with a kitchen towel or roll.
- 2
Cut the pineapple in half from the bottom to the crown. If you want to use the shell for serving, do not break off the crown.
- 3
Carefully cut around the inside, then cut across in lines to form cubes. Scoop out the flesh with a spoon.
- 4
Blend the scooped pineapple, then strain the juice. Set aside half a cup of juice for the rice.
- 5
Place washed rice in a pot. Add meat stock, pineapple juice, water, and salt. Cook until soft. Fluff the rice and set aside.
- 6
Chop your carrots, bell peppers, green beans, and any other veggies you like. Set them aside.
- 7
Heat oil in a large pan or wok. Add the seasoned shrimp and fry for two to three minutes. Remove and set aside.
- 8
In the same pan, add finely chopped onions, ginger and garlic. Fry until fragrant.
- 9
Add chopped vegetables, seasoning and stir-fry for five minutes.
- 10
Add the cooked rice, fried shrimp and some spring onions. Stir-fry everything together for about five minutes.
- 11
Serve hot, either on a plate or inside the pineapple shell for a beautiful finish.
Cook it from the original
This recipe comes from kikifoodies.com. Their page has the author’s own photos, notes and tips — the best place to cook it from.
Open the recipe on kikifoodies.com