
Homemade Mango Ice Cream
Nutrition per Serving
558
Calories
—
Protein
—
Carbs
—
Fat
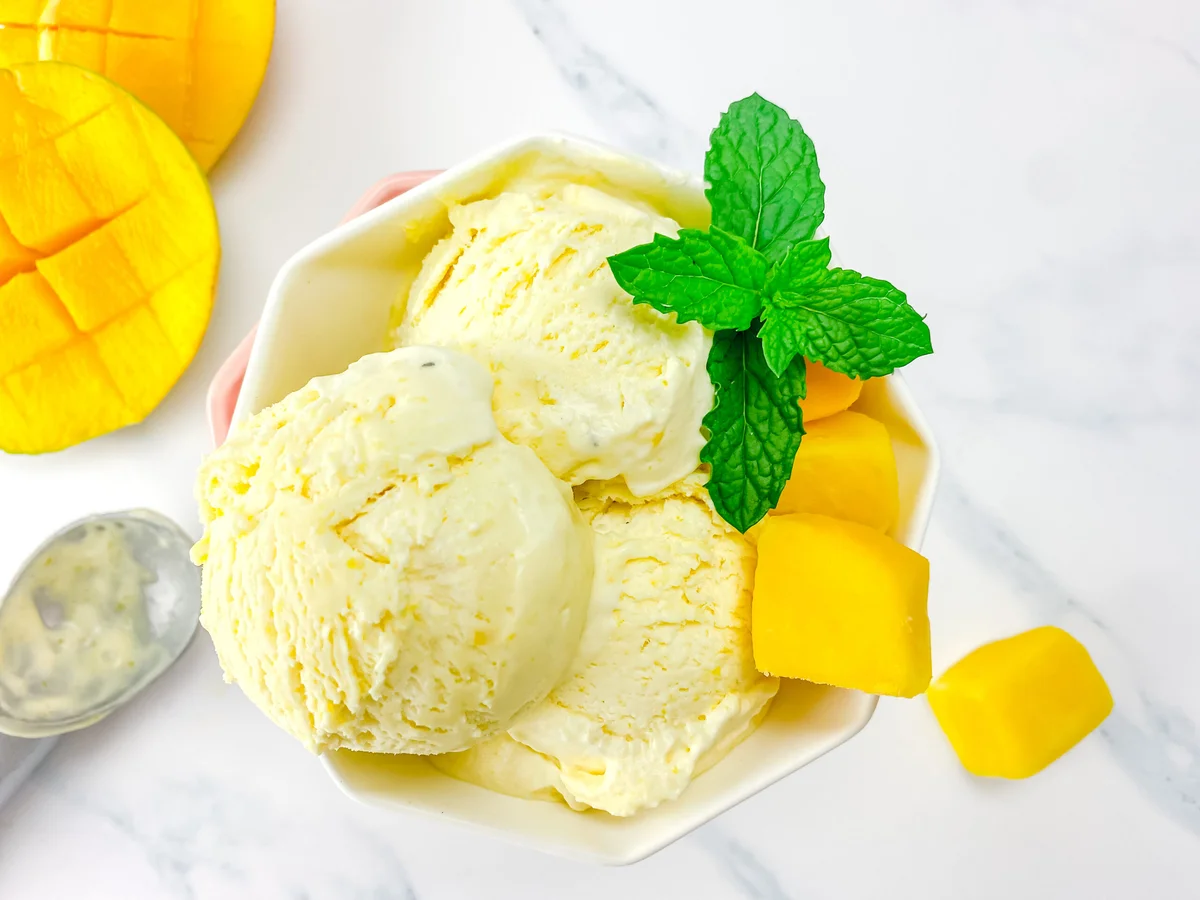
This creamy and delicious no-churn recipe features fresh, ripe, and super juicy mangoes, my homemade condensed milk u0026amp; heavy cream. 3-ingredients…that’s it!!! It's just as creamy and irresistible as the store-bought variety and incredibly easy to make. Plus it requires no ice cream machine.
📝 Ingredients
- 14 ounces sweetened condensed milk (cold). I used my homemade sweetened condensed milk.
- few drops yellow food coloring (optional )
- 2 cups coldheavy cream (cold)
- 2 large ripe mangoes
👨🍳 Instructions
- 1Dice the flesh of the mango and discard the skin and seed.
- 2Puree using a blender, food processor, or an immersive blender then measure out 2 cups of mango puree (about 2 1/2 cups of diced-up mango).
- 3Pour puree into a non-stick skillet over medium-low heat.
- 4Allow the puree to cook, stirring constantly, for 8 - 10 minutes or until the mixture has been reduced by half. You'll know it's ready when you can drag a wooden spoon across the skillet and the path remains there for a second. You can also measure out the puree to ensure it's reduced to at least 1 cup - less is even better!
- 5Allow the puree to cool.
- 6--- Making The Ice Cream ---
- 7Combine cooled mango puree and sweetened condensed milk in a large mixing bowl. Add food coloring if using. Whisk the mixture until combined and set aside.
- 8In a separate bowl using a whisk, hand mixer (or in a bowl of a stand mixer), beat cold heavy cream until stiff peaks form. You'll know you have stiff peaks when the cream holds its shape on the whisk or beater? The colder your cream is, the faster it's going to whip.
- 9Take a large spoonful of whipped cream and add it to the mango mixture. Fold through until mostly combined - lumps are fine.
- 10Use a rubber spatula and fold the mango mixture into the cream until it's lump-free. This will take a few minutes.
- 11Next, transfer the mixture to a loaf pan (glass or another non-reactive container) specialty ice cream container, or an old ice cream container.
- 12Lightly tap the loaf pan on the counter container to excess remove air bubbles and use the spatula to smooth.
- 13To prevent crystallization and freezer burn press a piece of cling wrap or wax paper over the surface of the ice cream, then wrap the whole pan really well with plastic wrap to prevent crystallization and freezer burn. This also protects your ice cream from absorbing other flavors from your freezer.
- 14Freeze until solid, about 6 hours.
- 15Remove cling wrap and parchment paper. Stand for 5 minutes to soften slightly, then scoop and serve!If frozen for 24 hours or longer, it will need a couple of extra minutes to soften to a scoop-able consistency.
About the Chef & Original Recipe
This recipe was published by Kerri-Ann Bryan on kerriannskravings.com. Visit the original source for step-by-step photos, chef notes and additional details.
Source: kerriannskravings.com