
Baked Chicken Tenders
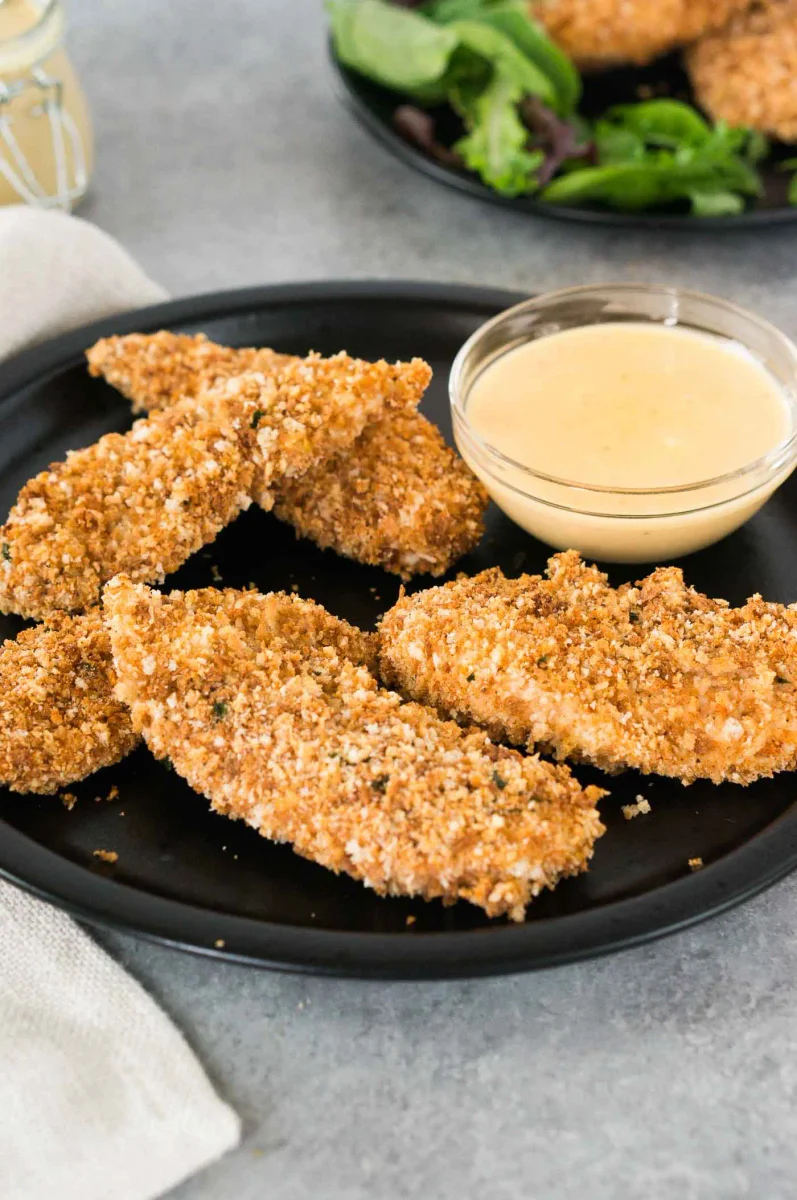
These American-style baked chicken tenders get their crisp coating from toasted, seasoned panko rather than deep-frying. They make a straightforward weeknight dinner, ready in about 35 minutes and easy to serve with a dipping sauce.
Ingredients
- 75 g (1½ cups)panko breadcrumbs
- 1 g (1 teaspoon)dried parsley
- 3 g (½ teaspoon)salt
- 1 g (½ teaspoon)black pepper
- 1 g (½ teaspoon)smoked paprika
- ½ g (¼ teaspoon)onion powder
- ¾ g (¼ teaspoon)garlic powder
- 680 g (1½ lb)chicken tenders
- 2eggs
- As neededcooking spray
- To servedipping sauce
Instructions
- 1
Preheat the oven
Heat the oven to 200°C (400°F) to toast the panko.
- 2
Toast the panko
Spread the panko in an even layer on a large baking tray lined with baking parchment. Bake for 2–3 minutes, stir, then bake for another 2–3 minutes, or until golden; keep a close eye on it so it does not burn. Tip it straight into a small bowl and mix with the parsley, salt, pepper, smoked paprika, onion powder and garlic powder. Raise the oven temperature to 220°C (425°F), fit an oven-safe wire rack over the tray and set it aside.
- 3
Beat the eggs
Lightly beat the eggs in a medium bowl.
- 4
Dry the chicken
Pat the chicken tenders dry, then season them with salt and pepper.
- 5
Coat the tenders
Dip each tender in the beaten eggs and let excess egg drip off. Coat it in the seasoned panko, then place it on the prepared tray. Repeat with the remaining tenders.
- 6
Bake until cooked
If desired, lightly spray the tenders with cooking spray. Bake for 15–20 minutes, until golden brown and cooked through.
What are baked chicken tenders?
Chicken tenders are strips of chicken, often taken from the tenderloin beneath the breast. In this American-style version, they are coated in seasoned breadcrumbs and baked instead of fried.
Toasting the panko before coating gives the crumbs a head start on browning. A wire rack lets heat circulate around the chicken as it bakes.
Nutrition and macros by portion
The nutrition label shows one serving as written: 318 calories, 42g protein, 17g carbs, 8g fat.
| Portion | Adjustment | kcal | Protein | Carbs | Fat |
|---|---|---|---|---|---|
| Lighter | Skip the cooking spray | 223 kcal | 29g | 12g | 6g |
| This serving | As written | 318 kcal | 42g | 17g | 8g |
| Hungry | Add another tender | 477 kcal | 63g | 26g | 12g |
The chicken supplies most of the protein, while panko and the dipping sauce contribute carbohydrates. The coating and any sauce provide much of the fat; serve the tenders with vegetables and a suitable carbohydrate side to make a balanced plate.
Why toast the panko first?
Even layer: spread the panko across the tray so it toasts evenly rather than steaming in a pile.
Watch closely: stir after 2–3 minutes and bake for another 2–3 minutes. The crumbs can go from golden to burnt quickly, so transfer them to a bowl as soon as they are ready.
Making the coating stick
Dry chicken: pat the tenders well before dipping so moisture does not interfere with the egg and crumb coating.
Drip and press: let excess egg fall away, then coat each tender all over with panko. A light spray of cooking spray is optional.
How to check doneness
Colour: look for a golden-brown coating after 15–20 minutes at 220°C (425°F).
Centre: check that the thickest part of the chicken is cooked through before serving. The exact time depends on the size of the tenders.
Serving ideas
Offer the tenders with the dipping sauce of your choice, such as a mild, tangy or creamy sauce. For a fuller plate, add a vegetable side and a source of carbohydrates such as potatoes or bread.
Serve them soon after baking, while the coating is at its crispest.
Timing the two oven stages
First toast the panko at 200°C (400°F), then raise the oven to 220°C (425°F) for baking the coated chicken. Preparing the egg and chicken while the oven temperature changes helps keep the steps moving.
Have the rack ready before coating the tenders so they can go straight onto the prepared tray.
Recipe notes & tips
- Line the tray with baking parchment before toasting the panko.
- Keep the panko in a single, even layer so it browns consistently.
- Stir the crumbs during toasting and watch them closely near the end.
- Pat the chicken dry before dipping it in egg.
- Use the oven-safe rack on the prepared tray as directed.
- Serve the tenders soon after baking for the best coating texture.
Variations
- Milder coating: reduce the smoked paprika for a gentler flavour.
- Herb change: replace the dried parsley with another dried herb you enjoy.
- Extra garlic: increase the garlic powder slightly to make the coating more savoury.
- Different dip: serve with your preferred dipping sauce.
- Spicier crumbs: add a pinch of chilli powder to the panko seasoning.
Common mistakes to avoid
- Burnt panko: watch closely, stir after 2–3 minutes and remove it as soon as it turns golden.
- Patchy coating: let excess egg drip off, then cover each tender evenly in panko.
- Wet chicken: pat the tenders dry before seasoning and coating them.
- Crowded tray: leave space between tenders so they bake rather than steam.
- Undercooked centre: check the thickest tender and continue baking if it is not cooked through.
How to store
Refrigerate cooled leftovers in an airtight container for up to 3 days. Reheat in an oven until hot throughout; the coating may soften somewhat after storage.
Frequently asked questions
Can I make these without a wire rack?
The recipe uses an oven-safe wire rack on the tray to let heat circulate around the tenders. Follow the method if you have a suitable rack.
Do I have to spray the tenders with cooking spray?
No, the spray is optional. The tenders can be baked without it.
How can I tell when the chicken is cooked?
The coating should be golden brown and the chicken cooked through. Check the thickest tender, as size affects the baking time.
Can I use regular breadcrumbs instead of panko?
Panko is specified for this recipe and gives the coating its characteristic texture. Regular breadcrumbs may produce a different result.
What dipping sauce should I serve with them?
Use any dipping sauce you like; the recipe does not specify a particular one.
Cook it from the original
This recipe comes from deliciousmeetshealthy.com. Their page has the author’s own photos, notes and tips — the best place to cook it from.
Open the recipe on deliciousmeetshealthy.com