
Simple creamy rice pudding
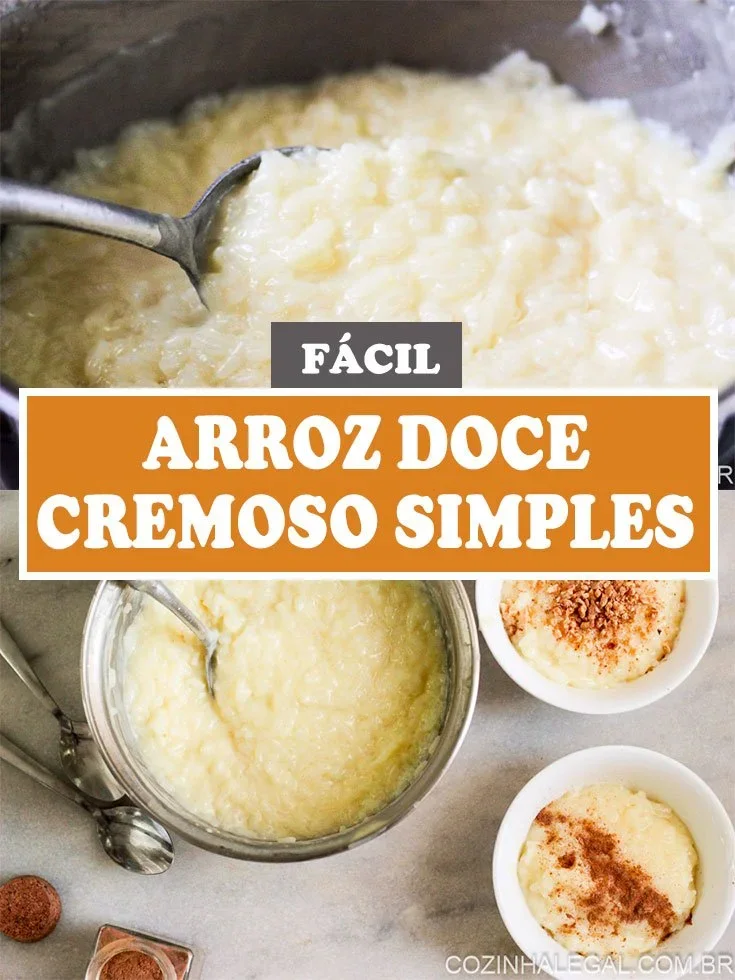
This Brazilian-style rice pudding is cooked with cinnamon, milk and sugar, then thickened with egg yolks for a creamy finish. It uses a short list of everyday ingredients and is served warm with ground cinnamon.
Ingredients
- 800 ml (4 xícaras de chá)water
- 200 ml (1 xícara de chá)white rice
- 1 pinchsalt
- 1 stickcinnamon stick
- 500 mlmilk
- 300 ml (1½ xícaras de chá)sugar
- 3egg yolks
- to tasteground cinnamon
Instructions
- 1
Cook the rice
Put the uncooked rice, water, cinnamon stick and salt in a medium saucepan. Cook over high heat with the pan uncovered.
- 2
Add milk
When the water is nearly evaporated, add the milk and sugar. Cook for a few minutes, stirring constantly.
- 3
Mix the yolks
In a small bowl, mix the egg yolks with a little water. Add a little of the cooked rice and stir.
- 4
Thicken the pudding
Pour the yolk mixture into the pan over the heat and stir well. Cook until the pudding starts to thicken, then turn off the heat.
- 5
Finish with cinnamon
Sprinkle with ground cinnamon to taste and serve straight away.
What is Brazilian rice pudding?
Rice pudding is a familiar comfort dish in many food traditions, including Brazil, where it is often known as arroz-doce. This simple version combines rice, milk, sugar and cinnamon, with egg yolks helping to give it a creamy consistency.
The method starts by cooking the rice in water, then adds milk and sugar once most of the water has gone. That staged approach lets the rice soften before the pudding is finished.
Nutrition and macros by portion
The nutrition label shows one serving as written: 55 calories, 0g protein, 0g carbs, 0g fat.
| Portion | Adjustment | kcal | Protein | Carbs | Fat |
|---|---|---|---|---|---|
| Lighter | Use less sugar | 39 kcal | 0g | 0g | 0g |
| This serving | As written | 55 kcal | 0g | 0g | 0g |
| Hungry | Serve a larger bowl | 83 kcal | 0g | 0g | 0g |
The rice and sugar provide most of the carbohydrates, while the milk and egg yolks contribute protein and fat. Serve a bowl with fresh fruit for a contrasting texture and a more balanced plate.
The rice and liquid
Rice: white rice is the straightforward choice here and releases starch as it cooks, helping the mixture become creamy. Keep the pan uncovered while it cooks in the water, as directed.
Milk: add it when the water is nearly gone rather than at the beginning. This follows the recipe’s two-stage cooking method.
Balancing the egg yolks
Temper the yolks: mixing them with a little water and some cooked rice helps bring them closer to the temperature of the hot pudding. Stir the rice into the yolks before adding the mixture to the pan.
Finish gently: keep stirring once the yolks go in, and turn off the heat as soon as the pudding begins to thicken. The recipe does not call for a long simmer after this point.
Cinnamon in two forms
Cinnamon stick: it cooks with the rice and gives the pudding flavour as it simmers. Remove it before serving if you do not want it in the bowl.
Ground cinnamon: sprinkle it over the finished pudding to taste. Adding it at the end keeps the garnish distinct from the cinnamon cooked into the mixture.
Watch the cooking cues
Water stage: wait until the water is almost evaporated before adding the milk and sugar; it should not be completely dry for a prolonged period.
Final stage: after adding the yolks, look for the mixture to start thickening, then switch off the heat. Stirring throughout helps the rice pudding cook evenly.
How to serve it
The recipe serves the pudding as soon as it is finished, with ground cinnamon on top. Serve it in small bowls while warm.
For a fuller dessert plate, pair it with fresh fruit. Its sweetness and creamy texture also make it easy to serve on its own.
Recipe notes & tips
- Use a medium saucepan with enough room to stir the rice pudding comfortably.
- Keep the pan uncovered while the rice cooks in the water.
- Stir continuously for the few minutes after adding the milk and sugar.
- Mix the yolks with a little cooked rice before adding them to the hot pan.
- Turn off the heat as soon as the mixture starts to thicken.
- Add ground cinnamon just before serving so you can adjust it to taste.
Variations
- More cinnamon: add extra ground cinnamon at the table.
- Less sweet: reduce the sugar to suit your preference.
- Citrus aroma: cook a strip of lemon peel with the cinnamon stick and remove it before serving.
- Creamier finish: stir in a splash of milk after turning off the heat if the pudding is thicker than you like.
- Chilled serving: cool the pudding and refrigerate it before serving.
Common mistakes to avoid
- Adding milk too early: wait until the water is nearly evaporated before adding it.
- Leaving the pan unattended: stir after adding the milk and sugar to keep the mixture moving.
- Adding yolks straight to the pan: mix them first with a little water and cooked rice.
- Overcooking after the yolks: switch off the heat when the pudding starts to thicken.
- Skipping the final stir: stir well after pouring in the yolks so they are distributed through the pudding.
How to store
Refrigerate leftovers in a covered container and use within 3 days. Reheat gently in a saucepan, stirring in a little milk if needed to loosen the pudding.
Frequently asked questions
Can I serve this rice pudding cold?
Yes. Let it cool, cover it and refrigerate it before serving. It will become firmer as it chills.
How do I know when the pudding is ready?
After adding the egg yolks, cook and stir until the mixture starts to thicken, then turn off the heat.
Should I remove the cinnamon stick?
Remove it before serving if you prefer not to have it in the bowl. The recipe uses it to flavour the pudding as it cooks.
Can I use brown rice?
The recipe specifies white rice. Brown rice has a different cooking time and texture, so it may not reach the same result using these instructions.
Why mix cooked rice into the egg yolks first?
It introduces some of the hot mixture to the yolks before they go into the pan. Stir the yolks well into the pudding after adding them.
Cook it from the original
This recipe comes from cozinhalegal.com.br. Their page has the author’s own photos, notes and tips — the best place to cook it from.
Open the recipe on cozinhalegal.com.br