
Oatmeal Crispbreads (Oatmeal Knäckebröd)
Nutrition per Serving
57
Calories
1g
Protein
7g
Carbs
3g
Fat
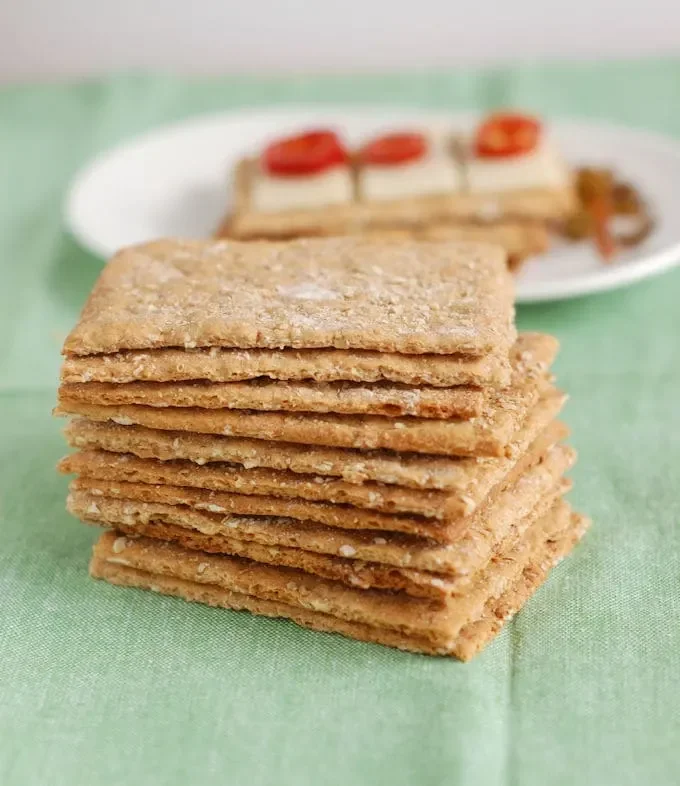
Oatmeal Crispbread, or Oatmeal Knäckebröd, is crispy, crunchy and lightly honey-sweetened. Fiber-rich with rolled oats and whole wheat flour, this could be your new favorite bread for a healthy snack or light lunch.
📝 Ingredients
- 3 oz all purpose flour (3/4 cup, see note)
- 3 1/2 oz rolled oats (1 cup)
- 3 oz whole wheat flour (3/4 cup)
- 1 teaspoon table salt
- 1/2 teaspoon baking soda
- 3 oz unsalted butter (room temp)
- 1/2 oz granulated sugar (1 tablespoon)
- 3/4 oz honey (1 tablespoon)
- 6 oz buttermilk (3/4 cup)
- roughly chopped oats for finishing
👨🍳 Instructions
- 1Preheat oven to 350 °F. Have two half sheet pans and two half sheets of parchment or silicone baking mats ready.
- 2In a large bowl, whisk together 3 oz all purpose flour, 3 ½ oz rolled oats, 3 oz whole wheat flour, 1 teaspoon table salt, and ½ teaspoon baking soda. In a separate bowl, cream together 3 oz unsalted butter, ½ oz granulated sugar and ¾ oz honey until light and fluffy.
- 3Alternate adding the dry ingredients and 6 oz buttermilk to batter. Mix just until combined. The dough should be similar in texture to biscuit dough.
- 4Divide dough into 2 portions. Roll each piece to a rectangle about ¼" thick, using enough flour to keep it from sticking to the surface.
- 5Transfer the dough to a ½ sheet parchment paper and continue rolling until the dough is ⅛" thick and is the size of the paper (see note). Trim the edges to make a neat rectangle.
- 6Sprinkle chopped oats over the surface and press them into the dough. Prick the dough all over with a fork. Score dough into 16 rectangles, or to your desired cracker size.
- 7Bake about 15-20 minutes until golden brown and crisp. Cool on a rack for 5 minutes before breaking along scores. It's easier to break the crackers when they're still slightly warm.
- 8Store in a sealed container.
About the Chef & Original Recipe
This recipe was published by baking-sense.com. Visit the original source for step-by-step photos, chef notes and additional details.
Source: baking-sense.com