
Easy No-Bake Cheesecake Recipe (Light & Fluffy!)
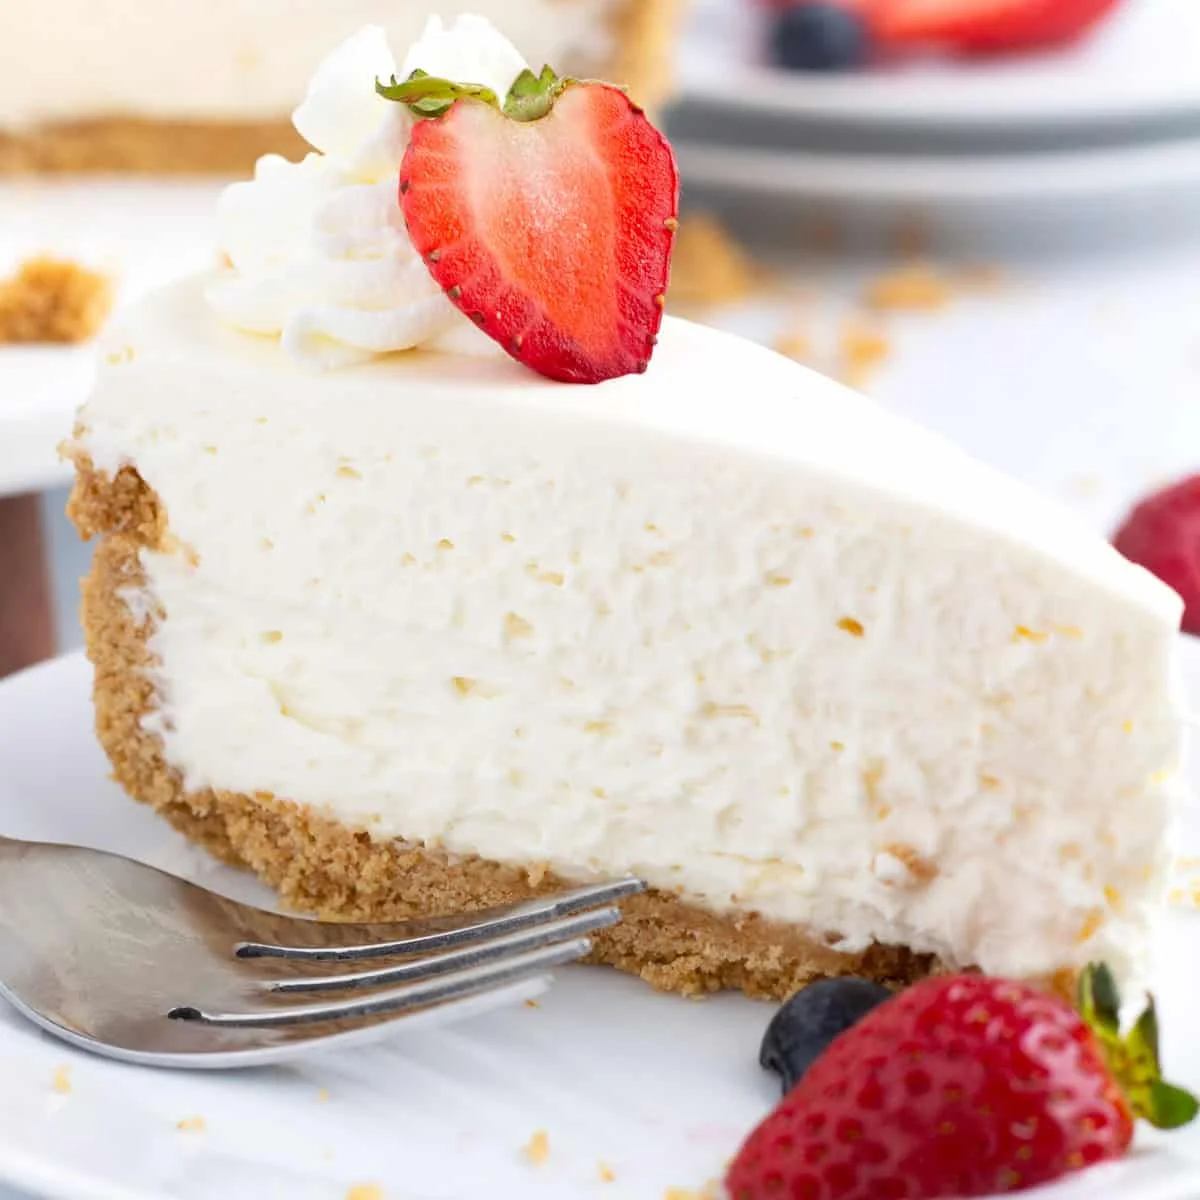
This No-Bake Cheesecake Recipe is game-changer when you want something sweet but don't want to turn on the oven. The classic filling is light, fluffy, and not too heavy—no gelatin or condensed milk needed!. Top it with fresh berries, chocolate sauce, caramel, or whatever you’re feeling for an easy, anytime treat!
Ingredients
- nonstick baking spray
- 2 cups graham cracker crumbs (16 sheets)
- 1/4 cup brown sugar (packed)
- 9 tbsp butter (melted)
- 1 1/4 cup heavy whipping cream (cold)
- 1/3 cup powdered sugar
- 1 tbsp vanilla
- 24 oz cream cheese (softened)
- 2/3 cup granulated sugar
- 1/4 cup sour cream
- 1 tbsp lemon juice
- toppings (optional, see note below)
Instructions
- 1
Line a 9 inch springform pan with parchment, then spray lightly with non-stick spray.
- 2
In a medium bowl, combine the crust ingredients until it resembles moist sand. Press the crust into the bottom and sides of the prepared pan, leaving about a ½ inch or a little less of pan at the top. Press very firmly. Place the crust uncovered into the freezer.
- 3
In a large bowl with hand mixers or in a stand mixer, whip the heavy cream, powdered sugar, and vanilla with a whisk attachment on medium-high speed until stiff peaks form, about 3 minutes. Scoop gently into a bowl and set aside in the fridge.
- 4
In the now empty bowl, use a paddle attachment to beat the cream cheese and granulated sugar on medium speed until really smooth, 30-60 seconds. Scrape the bowl well.
- 5
Add the sour cream and lemon juice on medium high for 2-3 minutes. The mixture should be fluffy, but still relatively thick. Scrape well.
- 6
Using a rubber spatula, add the whipped cream on top of the cream cheese mixture. Fold the cream into the batter gently and slowly so that it doesn’t deflate, turning the bowl each time you fold to help it mix more evenly.
- 7
Pour the filling into the crust with an offset spatula and smooth the top. Cover with plastic wrap, then refrigerate for 12 hours or up to 2 days.
- 8
Once completely chilled and it is time to decorate, remove from the pan. Serve cold with toppings, if desired.
Cook it from the original
This recipe comes from borrowedbites.com. Their page has the author’s own photos, notes and tips — the best place to cook it from.
Open the recipe on borrowedbites.com