
Tuna Pasta
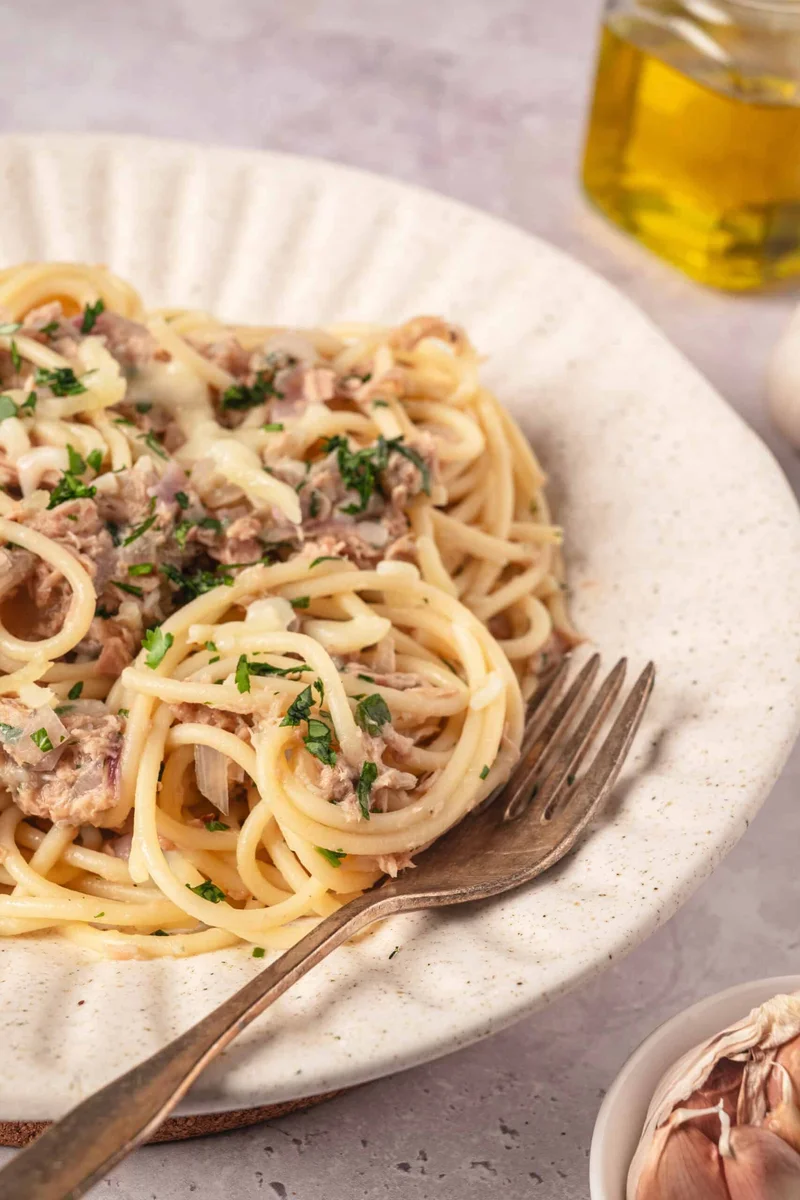
This quick tuna pasta pairs pantry tuna with garlic, shallot, lemon and parsley for a bright, savoury meal. It comes together in about 17 minutes and uses pasta water to help the simple sauce cling to every strand.
Ingredients
- 113 g (4 oz)uncooked pasta, such as spaghetti
- 22.5 ml (1½ tablespoons)olive oil
- 2 large cloves, mincedgarlic
- 1, mincedshallot
- 142 g (5 oz), drainedcanned tuna
- 7.5 ml (1½ teaspoons)lemon juice
- 1 tablespoon, chopped, plus extra for garnishfresh parsley
- To tastesalt
- To tasteblack pepper
- For garnishshredded Parmesan
Instructions
- 1
Cook the pasta
Bring a pot of salted water to the boil and cook the pasta until al dente. Before draining, set aside a couple of tablespoons of the pasta water.
- 2
Soften the aromatics
Warm the olive oil in a small pan over medium heat. Add the minced garlic and shallot and cook for about 30 seconds, until fragrant but not browned.
- 3
Mix the tuna
Add the drained tuna, lemon juice and parsley to the garlic oil. Stir in some of the reserved pasta water to bring the flavours together.
- 4
Toss the pasta
Add the drained pasta to the pan and toss it with the sauce. Season with salt and black pepper.
- 5
Garnish and serve
Serve warm, topped with shredded Parmesan and extra parsley.
What is tuna pasta?
Tuna pasta is a straightforward pantry-style meal found in many home kitchens, with versions shaped by local ingredients and habits. This American-style take keeps the combination simple: pasta and canned tuna get a lively finish from lemon, garlic and herbs.
The quick garlic-and-shallot oil gives the tuna a savoury base, while a splash of pasta water helps bring the ingredients together. Parmesan adds a salty finish at the table.
Nutrition and macros by portion
The nutrition label shows one serving as written: 382 calories, 21g protein, 46g carbs, 12g fat.
| Portion | Adjustment | kcal | Protein | Carbs | Fat |
|---|---|---|---|---|---|
| Lighter | Use less olive oil | 267 kcal | 15g | 32g | 8g |
| This serving | As written | 382 kcal | 21g | 46g | 12g |
| Hungry | Add more pasta | 573 kcal | 32g | 69g | 18g |
The pasta supplies most of the carbohydrates, while olive oil and Parmesan contribute fat; tuna provides much of the protein. Pair a serving with a green salad or vegetables for a more balanced plate.
Build the flavour base
Garlic and shallot: mince them finely so they soften quickly in the short cooking time. Keep the pan over medium heat and take it off the heat if they begin to colour.
Lemon and parsley: lemon juice brings a fresh, tangy note, while parsley adds herbal flavour. Stir both through the tuna rather than cooking them for a long time.
Choose and cook the pasta
Pasta shape: spaghetti works well, as do other shapes that catch small pieces of tuna. Use the pasta quantity given so the sauce remains proportionate.
Al dente: start checking the pasta near the lower end of its packet timing. It should be tender but still have a slight bite before you drain it.
Save pasta water
Starchy water: reserve a couple of tablespoons before draining, as directed. Stir some into the tuna mixture to help loosen and bind the garlic oil and lemon juice.
Add gradually: start with a small splash and toss before adding more. The aim is to lightly coat the pasta, not leave liquid pooled in the pan.
Keep the tuna tender
Gentle mixing: add the drained tuna to the aromatics and stir it in without mashing it completely. This keeps some distinct flakes in the finished dish.
Brief heating: the method does not call for prolonged cooking after adding the tuna. Combine it with the other ingredients, then toss promptly with the pasta.
Serve it warm
Finish: season with salt and black pepper, then add Parmesan and extra parsley as a garnish. Taste before serving, since both canned tuna and Parmesan can bring saltiness.
On the side: a green salad or simply cooked vegetables make an easy accompaniment. Serve the pasta as soon as it is tossed so the texture stays at its best.
Recipe notes & tips
- Salt the pasta water before adding the pasta.
- Reserve the pasta water before pouring the pasta into a colander.
- Keep the garlic and shallot moving so they turn fragrant without browning.
- Break the tuna into flakes as you stir it into the oil.
- Add the reserved water a little at a time and toss to check the sauce consistency.
- Taste before adding salt, especially if your tuna and Parmesan are already salty.
Variations
- Add chilli: Stir a pinch of chilli flakes into the oil with the garlic for a little heat.
- Use another herb: Swap some or all of the parsley for chopped fresh dill.
- Add capers: Stir in a few drained capers with the tuna for a briny note.
- Try a different pasta: Use a short shape such as fusilli or penne instead of spaghetti.
- Add greens: Toss in a handful of spinach with the hot pasta so it wilts.
Common mistakes to avoid
- Browning the garlic: it can turn bitter; cook it only until fragrant, about 30 seconds.
- Forgetting the pasta water: reserve a couple of tablespoons before draining so you can loosen and combine the sauce.
- Overcooking the pasta: stop at al dente so it retains a little bite when tossed.
- Adding too much pasta water: pour it in gradually and stop once the pasta is lightly coated.
- Mashing the tuna: stir gently to keep some flakes intact.
How to store
Refrigerate leftovers in a sealed container and eat within 2 days. Reheat gently in a pan with a small splash of water, stirring until hot; the pasta may soften as it sits.
Frequently asked questions
Can I use a different pasta shape?
Yes. Spaghetti is suggested, but another pasta shape can work; cook it until al dente and reserve some of its cooking water.
Do I need to use tuna in oil?
The recipe specifies drained canned tuna without naming a packing liquid, so either kind can be used. Drain it before adding it to the pan.
How much pasta water should I add?
Reserve a couple of tablespoons, then stir in some of it. Add gradually until the sauce lightly coats the pasta.
Can I make this without Parmesan?
Yes. The Parmesan is a garnish, so you can leave it out or serve it separately.
Can I prepare it ahead?
It is best tossed and served warm just after cooking. You can mince the garlic and shallot ahead, but store them covered in the refrigerator until you cook.
Cook it from the original
This recipe comes from bakedbree.com. Their page has the author’s own photos, notes and tips — the best place to cook it from.
Open the recipe on bakedbree.com