
Teriyaki Salmon Bowls
Nutrition per Serving
886
Calories
49g
Protein
82g
Carbs
41g
Fat
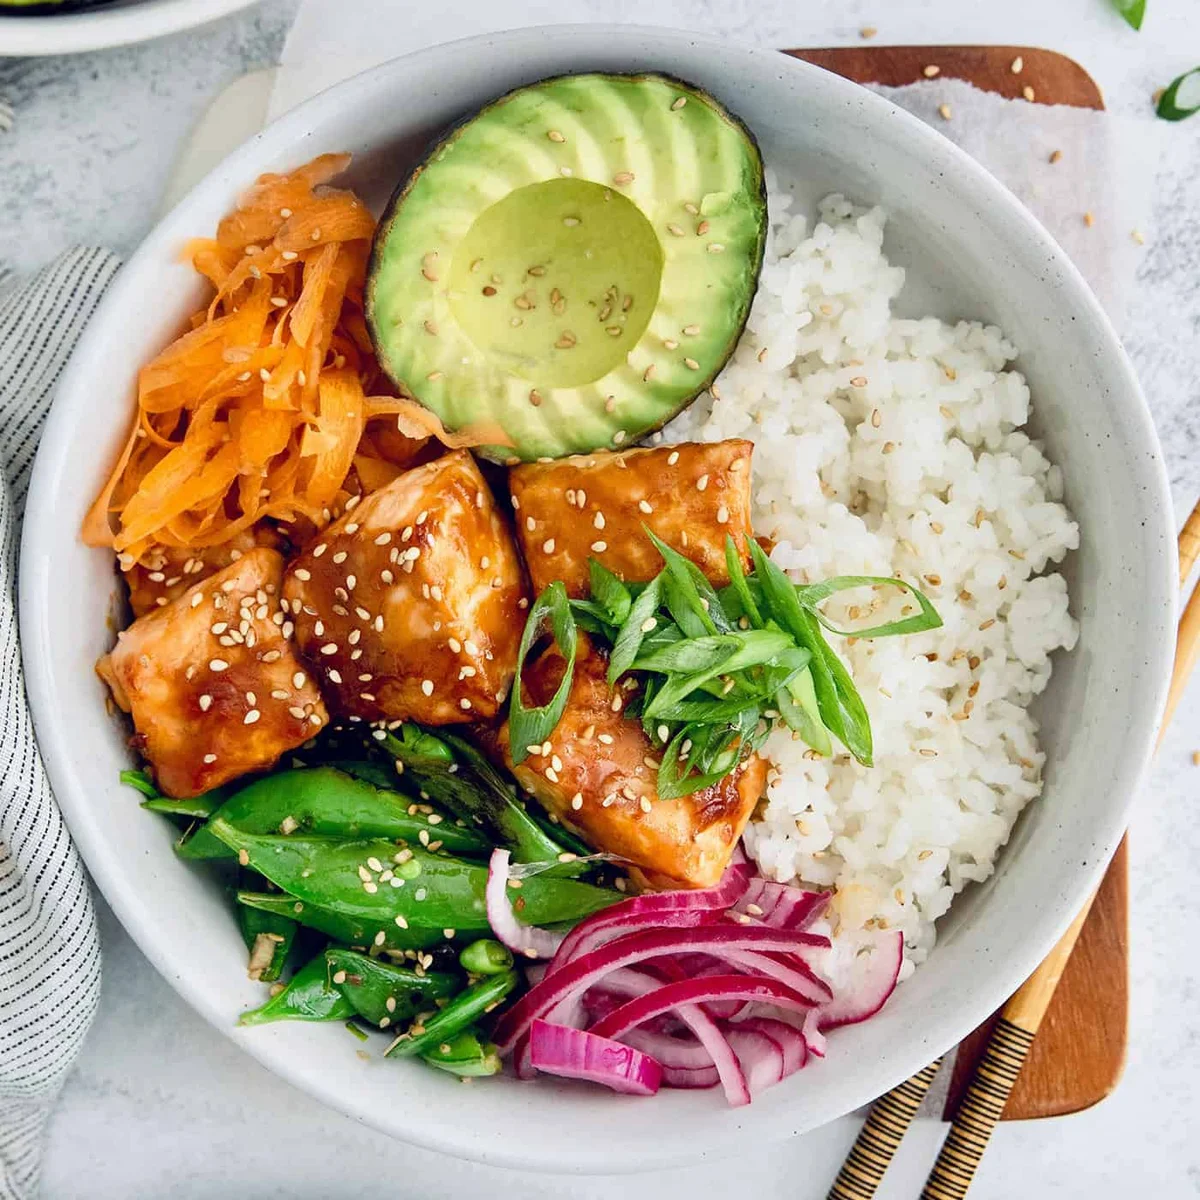
These bowls are the perfect easy, weeknight dinner that you can have ready in less than 30 minutes. The salmon is moist and flaky, plus flavorful and caramelized with a sticky teriyaki sauce. Pair with rice and fresh vegetables, and enjoy!
📝 Ingredients
- 12 ounces salmon fillet
- 1 tablespoon olive oil
- 1/2 cup Teriyaki Sauce, (divided (use my homemade recipe or use your favorite purchased sauce))
- 1 tablespoon toasted sesame oil
- 8 ounces sugar snap peas
- 1 clove garlic, minced
- 1 teaspoon sesame seeds
- 2 cups cooked white rice
- 1/4 cup Pickled Red Onions
- 1 avocado, (sliced)
- 2 large carrots, (shaved or thinly sliced)
- 2 tablespoons thinly sliced green onion
- sesame seeds, (optional garnish)
👨🍳 Instructions
- 1--- Teriyaki Salmon ---
- 2Preheat air fryer to 400ºF. (See alternate instructions for using the oven in Notes below.)
- 3Cut salmon fillets into 1.5” pieces and add them to a medium bowl. Add olive oil and ¼ cup of the teriyaki sauce. Fold to combine.
- 4Carefully add salmon bites to preheated air fryer, in a single layer. Cook for 6 minutes at 400ºF. While the salmon is cooking, prepare the sugar snap peas (below).
- 5After 6 minutes, brush the salmon with the remaining teriyaki sauce and cook for an additional 2 minutes, or until cooked through. Set aside.
- 6--- Sugar Snap Peas ---
- 7While salmon is cooking, preheat a cast iron skillet over medium-high heat until very hot. Add sesame oil, then the sugar snap peas. Quickly toss to combine, then cook for 1 minute without stirring.
- 8Stir the snap peas, then cook for 1 more minute. Add garlic and sesame seeds. Stir and cook for one final minute. Remove skillet from heat and keep warm until ready to serve.
- 9--- Assembly ---
- 10Divide cooked rice between two shallow bowls. Next divide the salmon, peas, pickled red onion, avocado, and carrots between the bowls. Garnish with sliced green onion and a sprinkle of sesame seeds. Enjoy!
About the Chef & Original Recipe
This recipe was published by Brenda | A Farmgirl's Dabbles on afarmgirlsdabbles.com. Visit the original source for step-by-step photos, chef notes and additional details.
Source: afarmgirlsdabbles.com