
Salt and Pepper Chicken
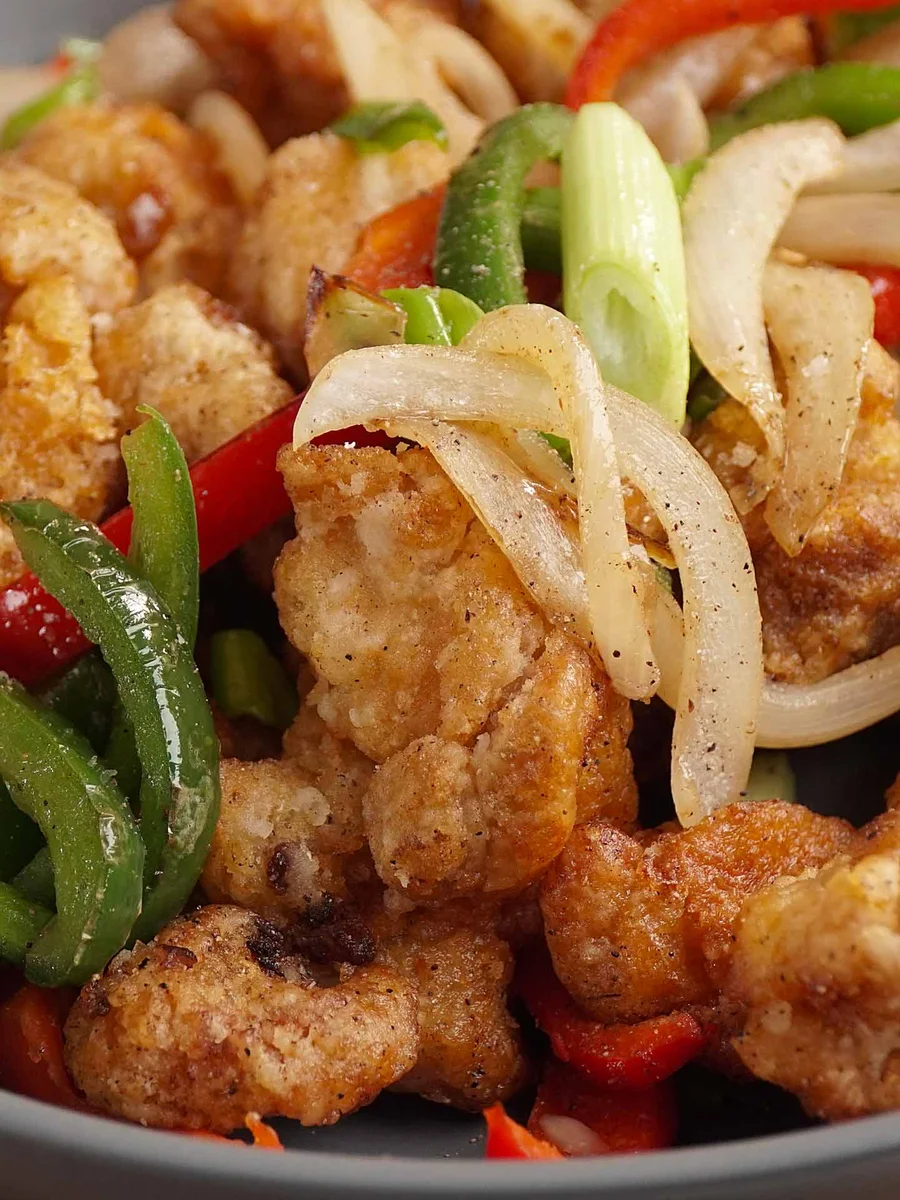
Crispy Salt and Pepper Chicken Recipe made with crispy coated chicken, chilli pepper and vegetables tossed in Chinese takeaway style salt and pepper seasoning.
Ingredients
- 500 g Boneless chicken thigh
- 1 cup Potato/Corn flour (starch)
- ½ Sweet Onion
- 1 Red/Green Bell Pepper
- 3-4 Red/Green Chilli
- 3 Garlic Cloves
- 3 Ginger slices
- 2-3 Spring Onion
- Oil for frying
- ½ tsp Sesame oil
- ½ tsp Salt
- ½ tsp Black Pepper
- 1 tsp Ginger garlic paste
- ½ tsp Salt
- ½ tsp Black Pepper
- ¼ tsp Chinese Five Spices
- ½ tsp Chicken powder/Dashi powder (Optional)
Instructions
- 1
Cut chicken into bite size pieces. Marinate chicken with salt, black pepper, ginger garlic paste and sesame oil.
- 2
Cut onion, pepper into thin slices(matchstick sizes). Cut spring onion into ¼ inch pieces. And also cut ginger and garlic into thin slices.
- 3
Mix all the spice ingredients in a bowl. Set aside.
- 4
Coat the marinated chicken pieces well with potato starch(flour). Toss the excess flour out before frying.
- 5
Preheat wok, fill with oil, heat oil to 350°F.
- 6
Add coated chicken and deep fry for 1-2 mins. Once the chicken start floating, remove from oil and set aside. ( Do not over crowd the chicken in wok. Fry 2 batches if needed.)
- 7
Remove leftover crumbs from oil and make the oil clear.
- 8
Reheat oil back to 350°F and fry again the chicken pieces till crispy golden brown.
- 9
Once all chicken are double fried, strain oil and transfer it to the cooling rack.
- 10
In a wok/pan, drizzle 1 tablespoon of oil, start adding ginger and garlic slices and stir fry for few seconds.
- 11
Add onion and pepper slices. Stir fry for 1-2 mins.
- 12
Add the fried chicken, mix well. Later add the spring onion and sprinkle the spice mix.
- 13
Transfer to serving plate.
- 14
Sprinkle a pinch of sea salt and black pepper.( Optional )
- 15
Perfect with steamed rice, stir fry noodle or great on its own as an appetizer.
- 16
Serve immediately! Enjoy!
Cook it from the original
This recipe comes from khinskitchen.com. Their page has the author’s own photos, notes and tips — the best place to cook it from.
Open the recipe on khinskitchen.com