
Creamy Beef and Shells
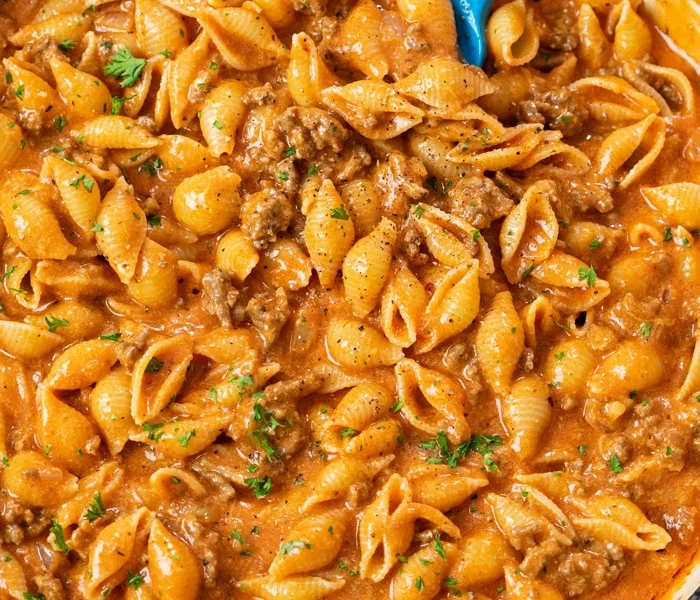
Creamy Beef and Shells is an easy ground beef recipe with shell pasta smothered in a creamy and flavorful tomato sauce.
Ingredients
- 1 lb. ground beef (85% lean)
- Salt/Pepper
- 1 small diced yellow onion (can sub 1 tsp onion powder)
- 3 cloves minced garlic (can sub ½ tsp garlic powder)
- 1 teaspoon hot sauce
- 1 Tablespoon Worcestershire sauce
- 1 teaspoon Italian seasoning
- ½ teaspoon mustard powder
- 1 pinch red pepper flakes (optional)
- 1 tablespoon flour (optional-helps thicken the sauce)
- 1 cup beef broth
- 16 oz. tomato sauce
- 1 tablespoon tomato paste
- 1 tablespoon cream cheese (softened)
- ½ cups half and half
- 1 ½ cups shredded cheddar cheese
- ½ pound medium shell pasta
- Fresh parsley (to garnish)
- Grated Parmesan cheese (for serving.)
Instructions
- 1
Shred the cheese and measure out all ingredients prior to beginning. Begin heating the pasta water for boiling.
- 2
Season the ground beef with salt/pepper. Preheat a large skillet over medium-high heat and add the beef. Cook and crumble it for 4 minutes. Add the onions and cook for 5 more minutes, or until the onions are softened and the beef is cooked through. Drain grease.
- 3
Add minced garlic and cook for 1 minute.
- 4
Add hot sauce, Worcestershire sauce, Italian seasoning, mustard powder, red pepper flakes, and flour. Cook for 1-2 minutes.
- 5
Add the beef broth and use a silicone spatula to ‘clean’ the bottom of the skillet.
- 6
Add the tomato sauce, tomato paste, and softened cream cheese. Let the sauce simmer while you boil the shells for 7-8 minutes or as instructed on package. (Optional, add a few teaspoons of salt to the boiling water.)
- 7
Decrease heat to low. Stir in the half and half. Remove from heat and gradually stir in the shredded cheese until well-combined.
- 8
Add the drained pasta and stir to combine. Garnish with fresh parsley and serve with garlic bread with cheese and freshly grated Parmesan cheese.
Cook it from the original
This recipe comes from thecozycook.com. Their page has the author’s own photos, notes and tips — the best place to cook it from.
Open the recipe on thecozycook.com