
Frango desfiado na Instant Pot
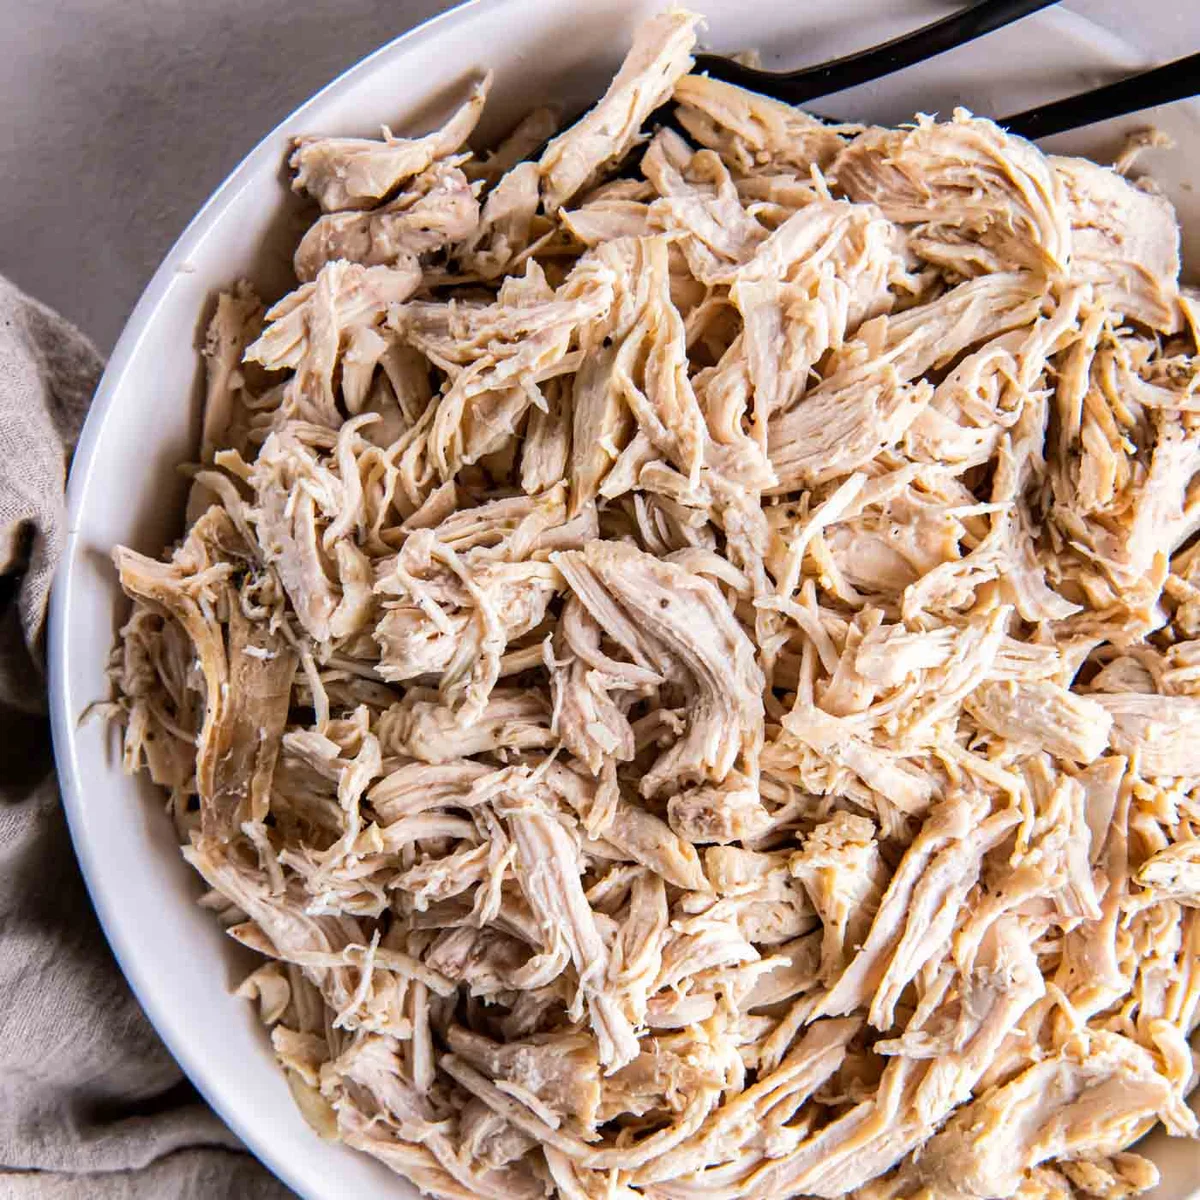
O frango desfiado na Instant Pot é fácil de fazer, versátil e perfeito para o preparo antecipado das refeições! Aprenda a cozinhar um frango desfiado macio e suculento na Instant Pot. Use peito ou sobrecoxa de frango fresco ou congelado. Acrescente esse frango desfiado a saladas, sanduíches, quesadillas, wraps, ensopados de forno e muito mais. Ou misture com molho barbecue para fazer sanduíches de frango desfiado.
Ingredientes
- 3 pounds boneless skinless chicken breasts* (or boneless skinless chicken thighs*)
- 1 cup low sodium chicken broth
- 1 teaspoon dried oregano
- 1/2 teaspoon garlic powder
- 1/2 teaspoon salt
- 1/4 teaspoon black pepper
Modo de preparo
- 1
Place the chicken in the Instant Pot. Pour in the chicken broth. Sprinkle the dried oregano, garlic powder, salt and pepper over the chicken.
- 2
Seal the lid and move the steam valve to the sealing position.
- 3
Pressure cook on high pressure for 10 minutes for small (6-8 ounce) chicken breasts, 12 minutes for medium (9-10 ounce) chicken breasts, or 15 minutes for large (12 ounce) chicken breasts. The Instant Pot will take about 10 minutes to come to pressure and then the cook time will start counting down.
- 4
When the cook time ends, let the pressure naturally release for 10 minutes by leaving the Instant Pot alone. Then quick release any remaining pressure by using the handle of a long spoon to move the steam release valve to the venting position.
- 5
Wait for the steam to release and the pin to drop down. Then, carefully open the lid of the Instant Pot. Check that the internal temperature of the chicken is at least 165° F using an instant read thermometer.
- 6
Remove the chicken from the Instant Pot, leaving the broth in the pot. Let the chicken cool slightly and then shred the chicken. Stir in about ½ cup of the broth from the pot for flavor and moisture.
Cozinhe pela receita original
Esta receita é de kristineskitchenblog.com. No site estão as fotos, as notas e as dicas do autor — o melhor lugar para prepará-la.
Ver a receita em kristineskitchenblog.com