
Frango barbecue na air fryer
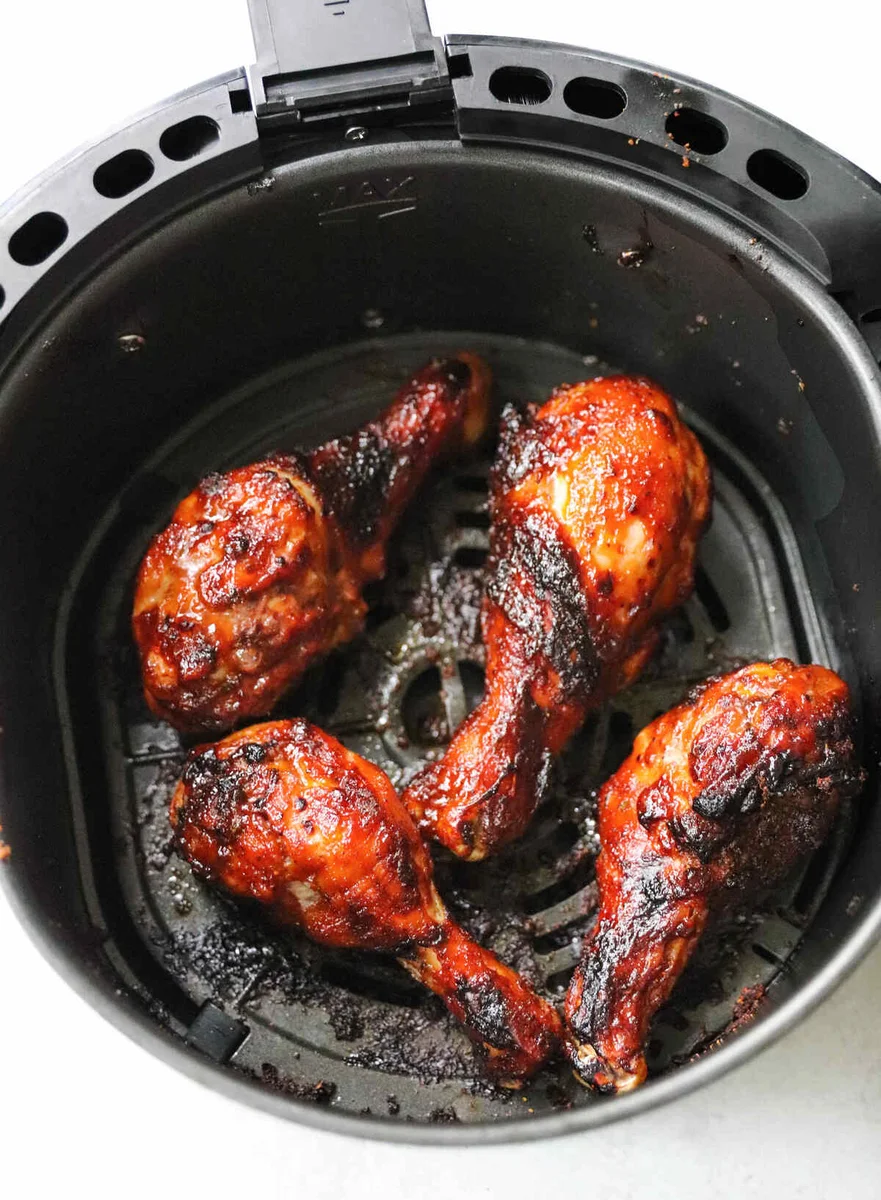
Quando bater aquela vontade de comer algo gostoso com sabor de churrasco, mas sem churrasqueira, prepare coxas de frango barbecue na air fryer! Elas ficam suculentas, com molho grudento e deliciosas, prontas em menos de 25 minutos no total.
Ingredientes
- 1 lb. chicken legs (about 4 pieces)
- 1 tablespoon olive oil
- 2 teaspoons bbq seasoning (*see Notes)
- 1/4 cup barbecue sauce
Modo de preparo
- 1
Preheat your air fryer to 380°F (193°C). *If your air fryer doesn’t have a preheat setting, turn it on and wait about 5 minutes. Meanwhile, pat 1 lb. chicken legs dry with paper towels on all sides. Drizzle the chicken with 1 tablespoon olive oil and sprinkle on 2 teaspoons bbq seasoning, turning to coat the drumsticks on all sides.
- 2
Spray or brush the air fryer basket or rack with oil. Place the chicken inside the air fryer, leaving room between each chicken leg to allow the air to flow.Close the basket and set the cook time for 18-22 minutes, depending on the size of your chicken and strength of your air fryer. *You will have to watch closely near the end of cooking and experiment a little.
- 3
Halfway through cooking, open the air fryer basket. Use the tongs to turn the drumsticks, then brush each leg with of ¼ cup barbecue sauce. Close the air fryer basket and continue cooking. After 18 minutes of cook time, open the air fryer basket. Use a meat thermometer to see if the internal temperature of the chicken legs has reached 165°F (74°C). *Important: When you insert the thermometer probe into the chicken leg, be sure it is not touching a bone.Continue cooking for another 1-4 minutes, if necessary, until the chicken is cooked through.
- 4
Once cooked, use tongs to carefully transfer the bbq chicken from the air fryer to a plate or platter for serving.
Cozinhe pela receita original
Esta receita é de cookathomemom.com. No site estão as fotos, as notas e as dicas do autor — o melhor lugar para prepará-la.
Ver a receita em cookathomemom.com