
Pães de hambúrguer caseiros – pães Hokkaido
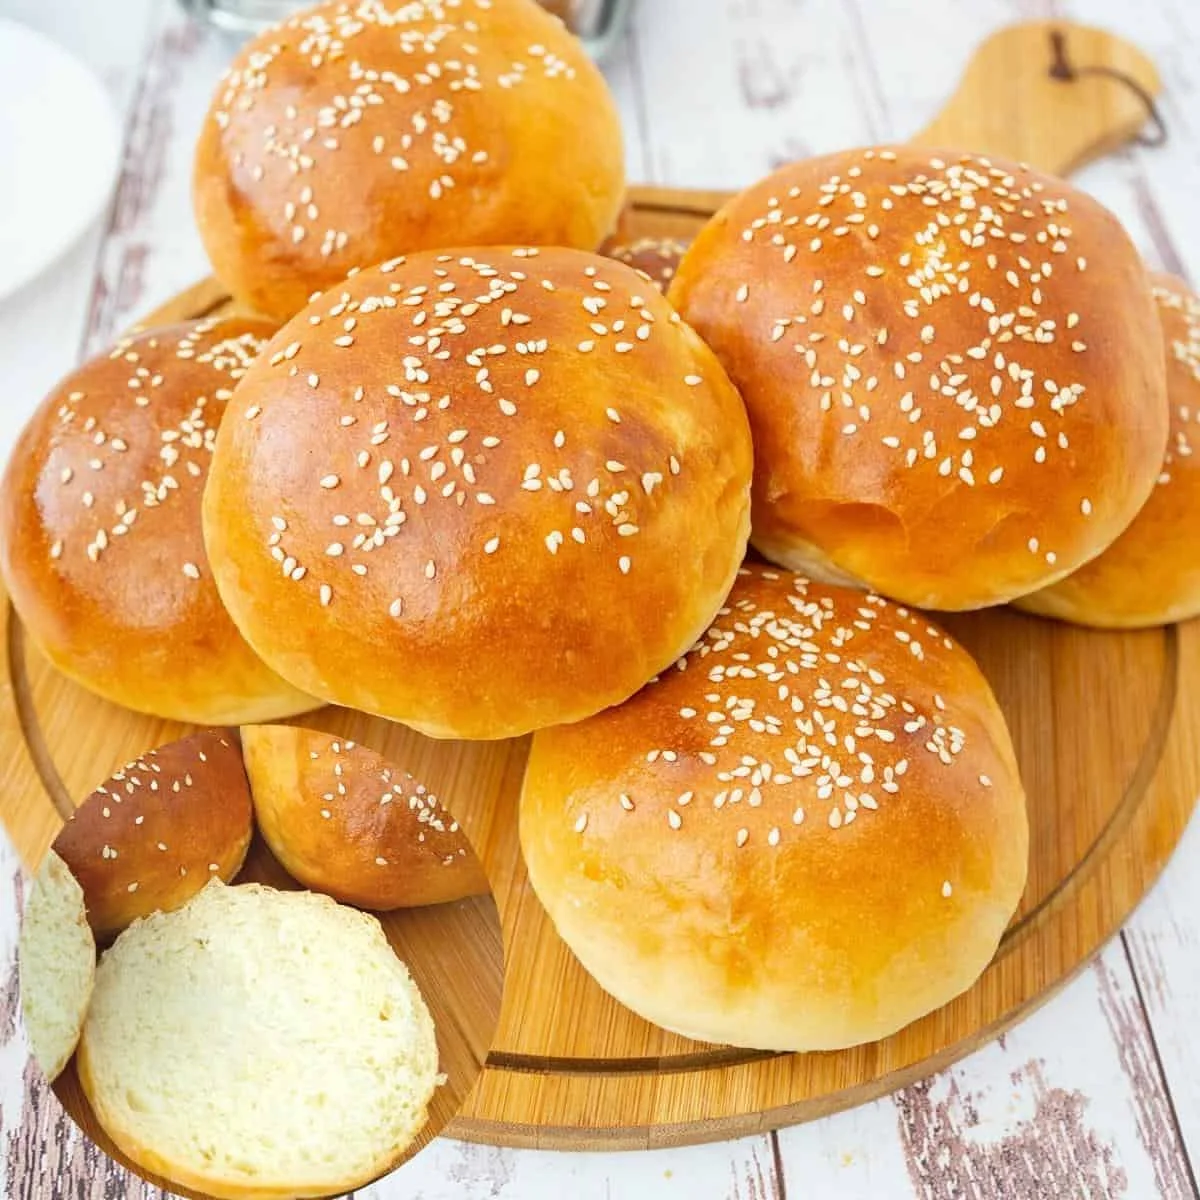
O pão de leite japonês Hokkaido rende os pães de hambúrguer caseiros mais macios e fáceis de fazer que você já provou. Eles são levemente doces e com sabor de leite, mas macios como algodão. Ficam incríveis puros, são perfeitos no café da manhã, no almoço ou no jantar e, claro, nos seus hambúrgueres.
Ingredientes
- 60 g Milk
- 60 g Water
- 45 g Bread flour
- 320 g Warm milk (100°F)
- 7 g Instant yeast (I used 21 grams Fresh bakers yeast)
- 30 g Sugar
- 30 g Milk powder
- 50 g Egg
- 60 g Butter (unsalted, room temperature)
- 680 g Bread flour (or 50% bread and 50% all-purpose flour )
- 13 g Kosher salt
- 1 med Beaten Egg with 2 tbsp water (for egg wash)
- 2 tbsp Sesame seeds (or poppy seeds (optional))
Modo de preparo
- 1
--- Tangzhong ---
- 2
Combine: In a saucepan, combine water and flour with a whisk until no lumps. Add the milk and combine well again. Place the saucepan over medium heat and cook this mixture for 2 to 3 minutes. Keep stirring constantly to prevent lumps.
- 3
Heat: Take it off the heat and transfer to a bowl or plate. Cover and let cool to almost room temperature. Make sure the plastic touches the surface of the tangzhong to prevent a skin.
- 4
--- Dough ---
- 5
Flour: Yeast mixture - In a bowl of a stand mixer, add the lukewarm milk (no warmer than 110 F) and the yeast. Combine well with a whisk. Then, add the sugar, milk powder, egg, and cooled tangzhong.
- 6
Milk: Combine - Add the flour and salt. Combine well on medium-high speed for 2 to 3 minutes until all the flour is well incorporated.
- 7
Sugar: Knead - Continue to knead on medium speed for 6 to 8 minutes. Then, add the butter and continue to knead for 3 to 4 minutes more until you have a soft, smooth, and elastic dough.
- 8
Knead: Bowl - When the dough is soft and shiny, but still slightly sticky, shape it into a ball. Place the dough in an oiled bowl, seam side down. Coat the surface with oil to prevent drying. Cover with a clean kitchen cloth or plastic wrap.
- 9
Butter: Rise - Leave in a warm place. Let rise for 60 to 90 minutes until it doubles in volume.
- 10
--- Shape the buns ---
- 11
Double: Punch - When the dough is doubled in volume, transfer it to a well-dusted floured surface. Punch down and reshape into a ball. Then, roll it into a small log.
- 12
Punch: Divide - Using a dough scraper, divide this log into smaller portions. You can make 8 buns x 100 grams each or 12 smaller buns x 60 grams each (similar to dinner rolls).
- 13
--- How to shape hamburger buns ---
- 14
Hold each piece of dough in your hand and gather all the seams together. Pinch the seams at the bottom, then place the ball on a non-flour surface while still holding it in your hand.
- 15
Loosen the grip on the dough and roll it back and forth into a tight circle against the work surface. You will feel the dough become tight and smooth.
- 16
Baking Tray: Tray - Place the buns on a baking tray, leaving enough room to rise and spread. Once you place the ball on the baking tray, flatten it with your fingers.
- 17
--- Proof and bake ---
- 18
Proof - Cover with a clean kitchen cloth or plastic wrap and leave in a warm place for about 45 minutes until almost doubled in size.
- 19
Preheat: Oven - When the rolls are almost doubled in volume, at about 30 minutes, preheat the oven to 375°F / 190°C / Gas Mark 5.
- 20
Egg wash: Eggwash - Brush the buns with egg wash, milk, or cream. Sprinkle with sesame seeds or poppy seeds (optional).
- 21
Bake for about 22 to 25 minutes until lightly golden on top. When baked, brush with melted butter.
- 22
Cover: Take them out of the pan and cover them with a clean kitchen cloth for at least 5 minutes to keep them soft.
Cozinhe pela receita original
Esta receita é de veenaazmanov.com. No site estão as fotos, as notas e as dicas do autor — o melhor lugar para prepará-la.
Ver a receita em veenaazmanov.com