
Nhoque de forno com legumes de verão e ricota de tofu com ervas
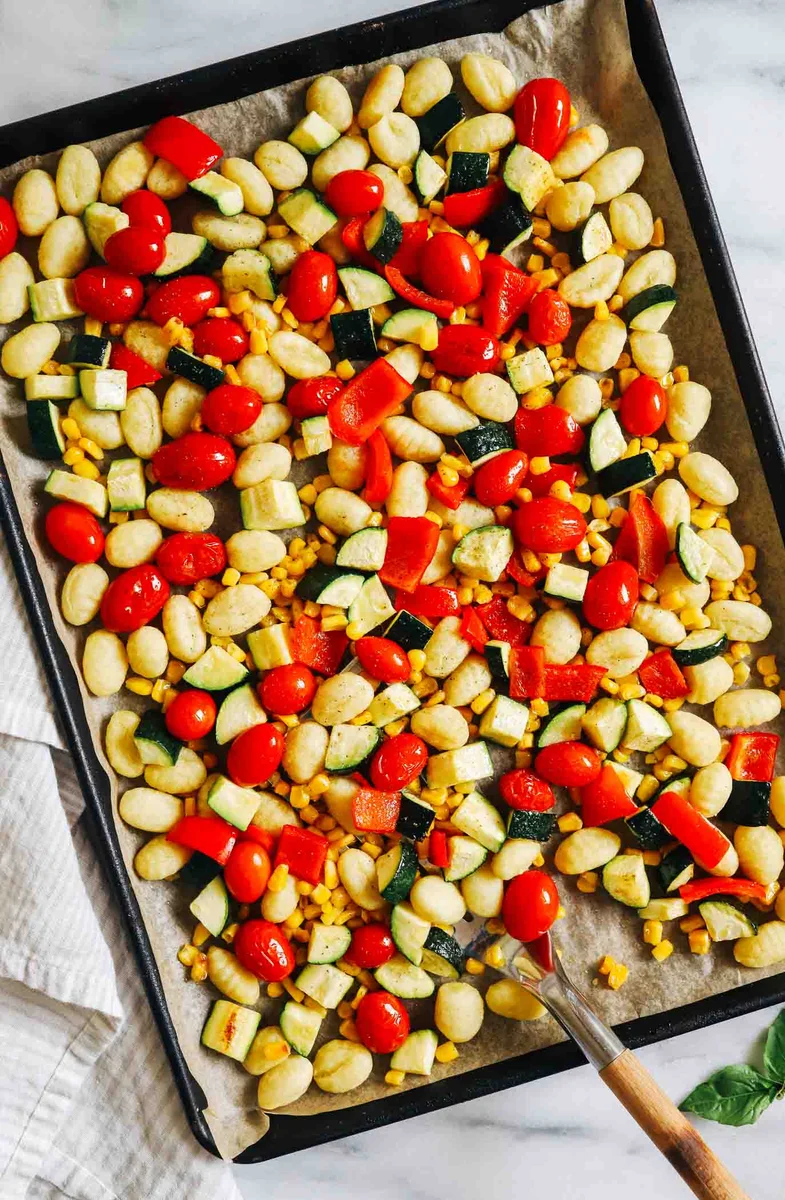
Fácil de preparar e cheio de sabor, cada porção contém 22 gramas de proteína! (vegano + opção sem glúten)
Ingredientes
- 16 ounces gnocchi (substitute GF gnocchi for allergies)
- 2 tablespoons high heat oil spray (divided)
- 1 zucchini (diced (or 2 zucchini if small))
- 1 cup corn kernels (fresh or frozen and defrosted)
- 1 bell pepper (cored and diced)
- 1 pint cherry or grape tomatoes
- 16 ounces extra firm tofu (drained)
- 1/4-1/3 cup lemon juice
- 1 tablespoon white vinegar
- 1 tablespoon white miso paste (or nutritional yeast )
- 2 teaspoons garlic powder
- 1 teaspoon salt
- 1 teaspoon dried basil
- 1 teaspoon dried oregano
Modo de preparo
- 1
--- Prepare the Baked Gnocchi and Vegetables ---
- 2
Preheat the oven to 400°F then line two baking sheets with parchment paper or a silicone mat.
- 3
To the baking sheet, add the gnocchi and lightly spray with high heat oil. Bake for 10 minutes.
- 4
To the second baking sheet, add the diced zucchini, corn kernels, bell pepper, and tomatoes. Lightly spray with oil.
- 5
Once gnocchi has baked for 10 minutes, remove from the oven and give it a toss. Place back in the oven, along with the second baking sheet of vegetables, and bake everything for 15 minutes, or until vegetables are tender.
- 6
--- Prepare the Herbed Tofu 'Ricotta' ---
- 7
Meanwhile, prep the tofu ricotta by placing the ingredients in a blender, starting with ¼ cup lemon juice. You may need to add a tablespoon of water to help get things blending. (I like to use a Vitamix with a tamper stick to keep the ricotta thick in texture. If you're using regular blender, you may need to use more water to help it blend which will result in a thinner texture). Add more lemon juice, vinegar, or salt, to your preference.
- 8
Serve baked gnocchi and vegetables warm over tofu ricotta, and enjoy! Leftovers should be stored with baked gnocchi and vegetables separate from tofu ricotta. When sealed and refrigerated, they should keep for up to 5 days.
Cozinhe pela receita original
Esta receita é de makingthymeforhealth.com. No site estão as fotos, as notas e as dicas do autor — o melhor lugar para prepará-la.
Ver a receita em makingthymeforhealth.com