
Curd de limão
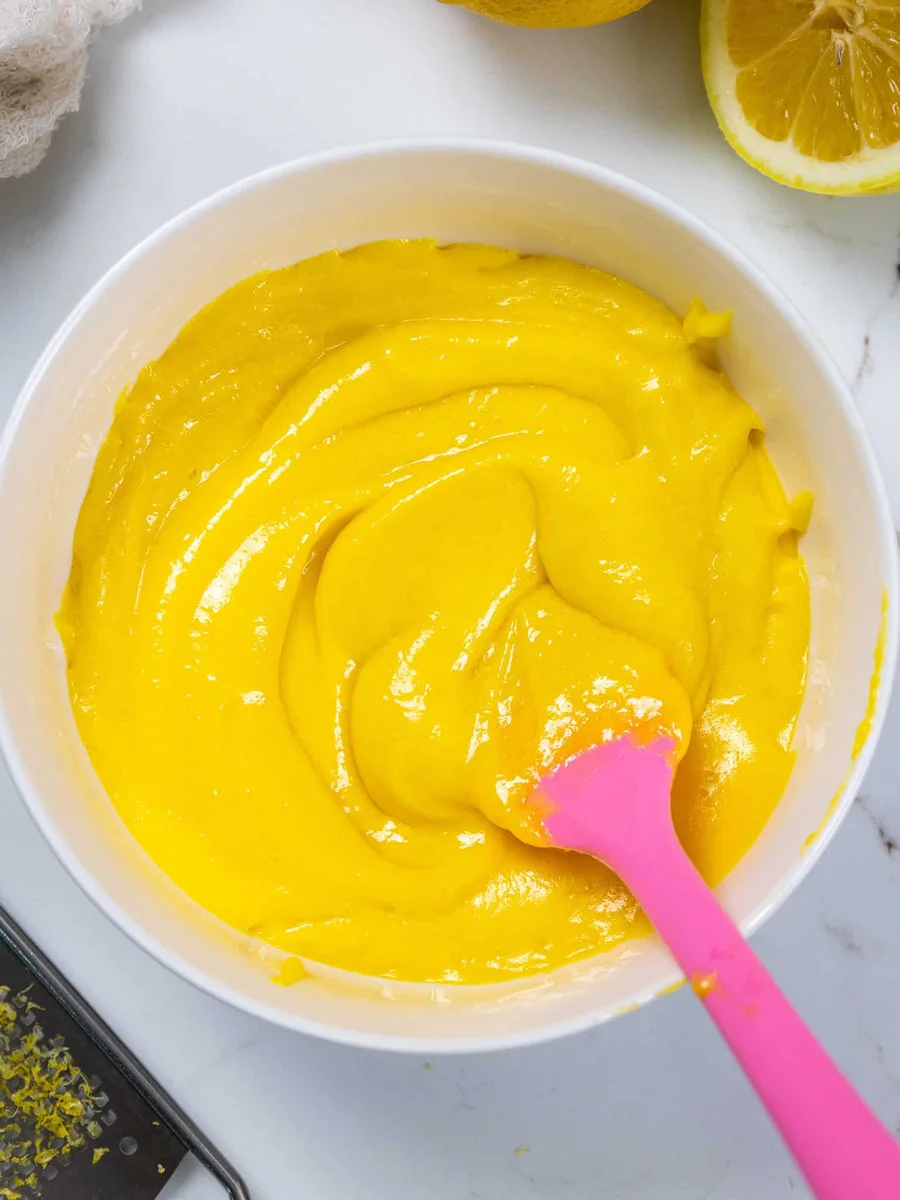
Este curd de limão é muito fácil de fazer e delicioso! Fica pronto rapidinho e é a maneira perfeita de aproveitar as gemas que sobraram.
Ingredientes
- 1 cup granulated sugar (200g)
- 2 Tbsp lemon zest - zest of 2 large lemons (10g)
- 6 large egg yolks (120g)
- 1/2 cup lemon juice - juice of 2 large lemons (120g)
- 1/2 tsp fine salt (3g)
- 1/2 cup (1 stick) unsalted butter, room temperature and cut into 1 Tbsp pieces (113g)
- Ceramic Saucepan
- Fine mesh strainer
- Whisk
- Microplane Grater or Zester
Modo de preparo
- 1
--- Lemon Curd ---
- 2
Add 1 cup of sugar into a saucepan. One quick thing to note! When making the lemon curd, it's best to use a saucepan that's ceramic as opposed to metal. Some metal pans and sometimes even metal whisks can give the curd a metallic taste.
- 3
Zest 2 lemons into the saucepan and massage the zest into the sugar with your fingertips. This helps release the oil in the zest and gives this curd a bright, citrusy flavor.
- 4
Add in 6 egg yolks and whisk the mixture together until it becomes lighter in color. Then mix in 1/2 cup of lemon juice and 1/2 tsp salt.
- 5
Cook on medium-low heat, stirring constantly with a wire whisk until the mixture thickens. It should be thick enough to coat the back of a spoon and keep its shape. This usually takes me 5-7 minutes.
- 6
Remove the pan from heat, then add 1/2 cup of cold butter that's been cut into small pieces. Mix until the butter is fully melted, and the ingredients are combined.
- 7
Pour the lemon curd through a fine mesh strainer into a separate bowl to remove any bits of cooked egg, zest, or lemon seeds. This gives it a perfectly smooth texture! Place the lemon curd in the fridge to cool. If you make the curd in advance, cover it flush with plastic wrap to prevent it from forming a skin and store it in the fridge for up to a month.
Cozinhe pela receita original
Esta receita é de chelsweets.com. No site estão as fotos, as notas e as dicas do autor — o melhor lugar para prepará-la.
Ver a receita em chelsweets.com