
Frango peri-peri
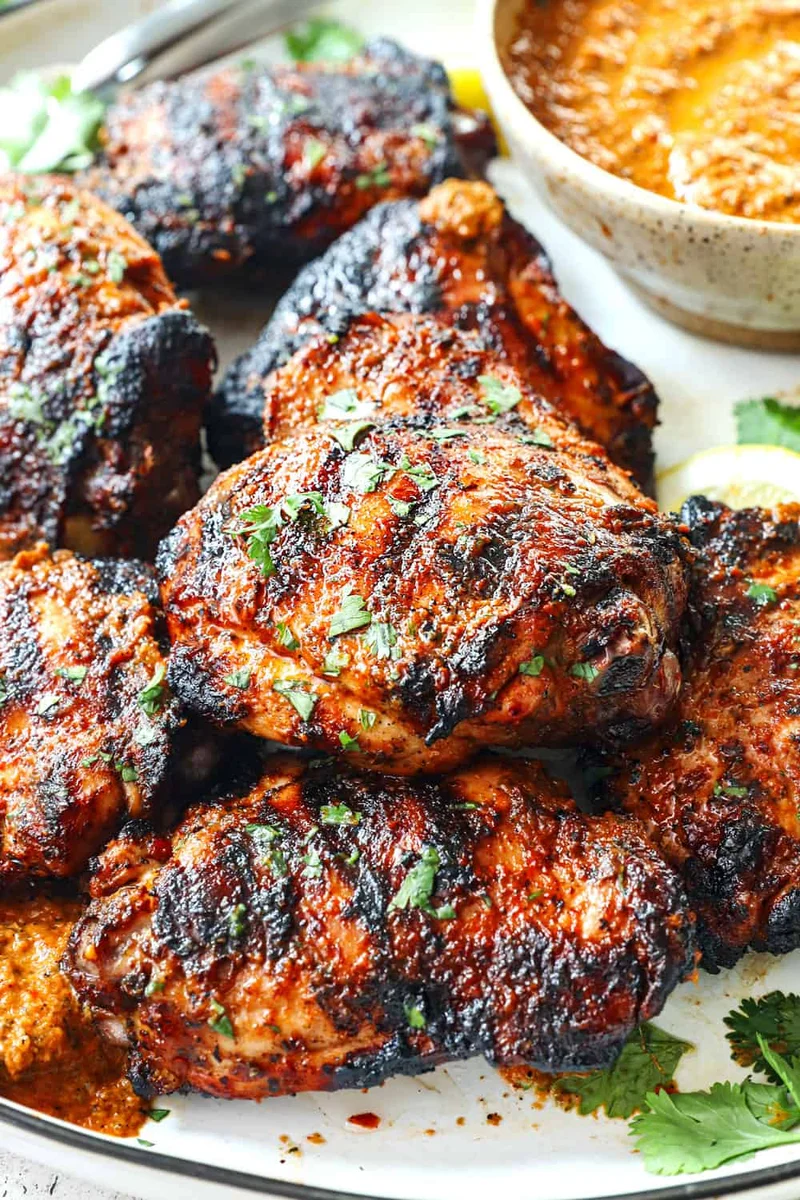
Resultado das culturas africana e portuguesa, o frango peri-peri está conquistando o mundo com seus sabores irresistíveis de alho, doçura, picância, limão e acidez. Mas não deixe a palavra “picante” assustar você: como está preparando sua própria receita, pode deixá-la bem ardida ou apenas levemente picante, como preferir! Esta receita leva apenas 10 minutos de preparo ativo para fazer o molho; depois, é só marinar o frango e se animar para acender a churrasqueira ou ligar o forno! Sirva este frango picante com arroz de coco, espiga de milho grelhada e salada de tomate e pepino para completar o banquete.
Ingredientes
- 2 1/2-3 pounds bone-in chicken thighs
- 2 large red bell peppers
- 2 tablespoons olive oil
- 1 medium red onion, (chopped)
- 6 cloves garlic, (crushed)
- 2 teaspoons smoked paprika
- 1/2 cup packed cilantro ((optional, not authentic))
- 7-10 fresh Thai red chilies, (stems and seeds removed)
- 1/3 cup red wine vinegar
- 1/3 cup lemon juice
- Zest of 1 lemon
- 2 bay leaves
- 1 tablespoon dried oregano
- 2 teaspoons salt
- 1 teaspoon pepper
- 1/3 cup olive oil
Modo de preparo
- 1
Roast the bell peppers: Rotate the peppers over the open flame of your gas stovetop, turning with tongs until blackened all over OR broil 4-6 inches away from the heat source. To broil, deseed and cut the bell peppers in quarters and place them skin side up on a foil lined baking sheet. Press them flat with your hand. Broil until they're blackened all over, 5 to 10 minutes. watching carefully and roating the pan as needed.
- 2
Sauté the aromatics: Heat 2 tablespoons oil in a large skillet. Add the onion, garlic and smoked paprika; sauté for 5-7 minutes, or until the onions are softened.
- 3
Blend: Add all of the ingredients to a blender up to the olive oil (including the onion mixture and roasted bell peppers). Blend to a smooth sauce or leave it a chunkier consistency. Stream in the olive oil just to combine.
- 4
Adjust to taste: The sauce should be a balance of fiery heat, sourness, saltiness and tanginess. Add additional chili seeds or red pepper flakes for spicier, vinegar for tangier, lemon juice for more sour.
- 5
Marinate: Add the chicken to a freezer bag or shallow dish. Pour half of the sauce over the chicken and turn to coat. Marinate for 2-24 hours (the longer the better).
- 6
Cook: The below baking and grilling instructions are for bone-in chicken thighs – adjust cooking time as needed for different cuts.
- 7
--- TO BAKE: ---
- 8
If you choose to cook the chicken in the oven, consider adding 2 teaspoons mesquite liquid smoke to the marinade for that smoky flavor.
- 9
Line a large baking sheet with foil and spray with cooking spray. Line the chicken in a single layer so the pieces aren't touching. Bake at 400 degrees F for 35-45 minutes (depending on thickness), until the internal temperature reaches 170 degrees F on an instant read thermometer, then allow to rest for 5 minutes.
- 10
Brush cooked chicken with desired amount of reserved Peri Peri Sauce (that never touched the raw chicken) and garnish with fresh herbs if desired. Note - the more sauce you add, the spicier the chicken!
- 11
--- TO GRILL: ---
- 12
Preheat the grill to medium-high heat, 425-450°F with the lid closed, clean and grease grates with vegetable oil.
- 13
Grill chicken skin side down first (if leaving on). Grill for 5-7 minutes per side with the lid CLOSED, or until chicken is cooked through and reaches an internal temperature of 170 degrees F on an instant read thermometer. Adjust the temperature if the chicken is browning too quickly. Let chicken rest for 5 minutes before serving.
- 14
Brush cooked chicken with desired amount of reserved Peri Peri Sauce (that never touched the raw chicken) and garnish with fresh herbs if desired. Note - the more sauce you add, the spicier the chicken!
Cozinhe pela receita original
Esta receita é de carlsbadcravings.com. No site estão as fotos, as notas e as dicas do autor — o melhor lugar para prepará-la.
Ver a receita em carlsbadcravings.com