
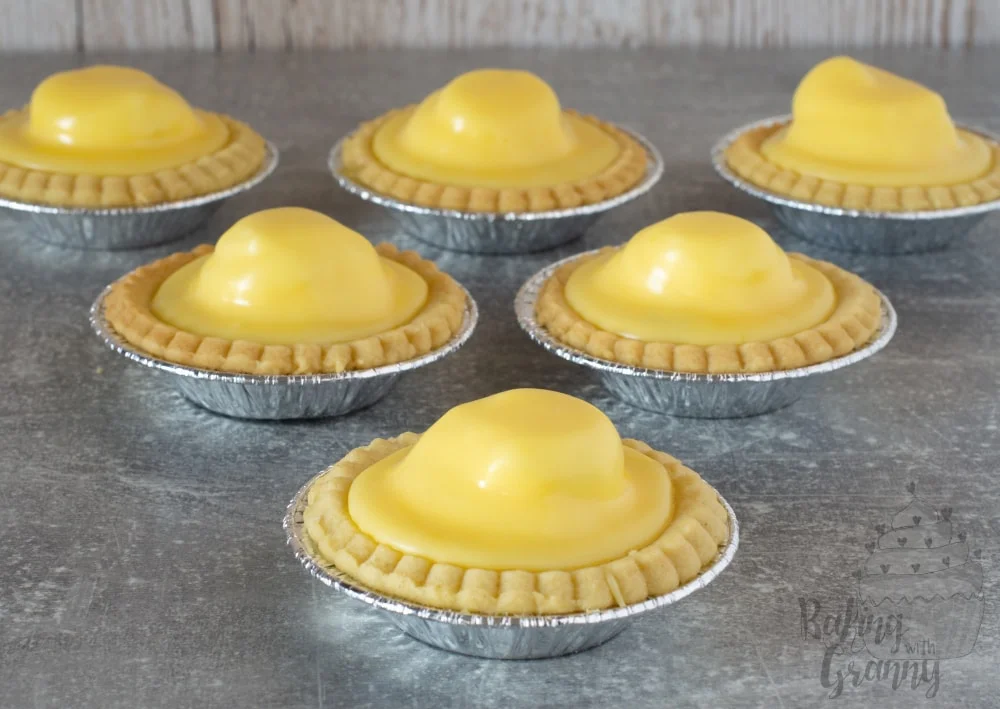
Tortinhas escocesas de abacaxi
Ingredientes
- 175 g Block Margarine or Butter (at room temperature)
- 65 g Caster Sugar
- 250 g Plain Flour
- 435 g Pineapple Slices in Juice (usually one tin)
- 250 g Caster Sugar
- 300 ml Double Cream
- 3 tbsp Icing Sugar
- 300 g Icing Sugar
- 3-4 tbsp Water
- Yellow Food Colouring
Modo de preparo
- 1
--- For the Pastry ---
- 2
In a large bowl, cream together the butter/margarine and sugar until light and fluffy. Sift in the flour and mix to create a soft dough, using your hands to bring it together when necessary. Gently knead the dough on a clean surface to ensure it is completely combined, before wrapping the dough in cling film and placing in the fridge for 30 minutes to firm up a little.This is a good time to prepare the Pineapple Jam (instructions below).
- 3
Meanwhile, pre-heat your oven to 180°c (160°c for fan assisted ovens or Gas Mark 4). After 30 minutes, remove your dough from the fridge. Grease a 12-hole cup bun tray with a little butter/margarine and set aside.
- 4
Roll your dough to about 5mm thick and using a round cutter which is a little bigger than the cups on your bun tray, cut 12 circles. Carefully transfer each circle to your pre-greased tray, gently ensuring no air is caught underneath each and pressing the bottom and edges into place.
- 5
Prick a few holes into the bottom of each pastry cup, before lining them (I used a paper cupcake case for lining) and filling with some baking beans. Bake for about 15 minutes, remove the baking beans and bake for a further 5 minutes, until the pastry cases are golden in colour. Allow to cool a little before adding the fillings.
- 6
--- For the Jam ---
- 7
Drain the juice from your tinned pineapple into a pan. Add the sugar to the pan. Roughly chop the pineapple slices before also adding to the pan.
- 8
Bring the mixture to a boil and allow to boil for 20-30 minutes, watching closely and stirring often. After which time it will still be slightly syrupy but the pineapple will have darkened in colour.
- 9
Transfer the jam to a sterilised jar (or allow to cool for a while before transferring to a saleable plastic container).* Please note this considered a "easy jam" recipe and won't set quite the same as shop-bought jam. And unless stored in a sterilised jar, should only be kept for a few days.
- 10
Allow to cool completely before using in Pineapple Tarts. Spoon a heaped teaspoon of jam into each pastry casing.
- 11
--- For the Cream Filling ---
- 12
In a large bowl, whisk the cream and icing sugar. If using an electric whisk, stop just before you think you have whisked enough - it's very easy to over-whisk cream with an electric whisk.
- 13
Transfer the cream to a piping bag with a large circular opening (or simply cut a few centimetres up a disposable piping bag) and pipe about a ping-pong ball amount of cream onto the top of each jam-filled pastry casing. Alternatively simply spoon on the cream. Place into the fridge whilst you prepare the icing.* It is very important to leave a little gap between the cream and pastry (enough to be able to see the jam underneath). This allow the icing to pool and not over-flow the edges.
- 14
--- For the Yellow Icing ---
- 15
In a bowl, mix the icing sugar with the water, adding a little at a time. You want a just pour-able consistency. Add the yellow food colouring to create your desired stage. Gel food colouring is preferable but just watch the consistency of your icing if you are using a different kind of food colouring.
- 16
Starting with just a teaspoon, pour a little icing on top of the cream. After it has started to run down the cream, you can see where more is required and simply pour a little more into these places.
- 17
Allow the icing to set before serving.
Cozinhe pela receita original
Esta receita é de bakingwithgranny.co.uk. No site estão as fotos, as notas e as dicas do autor — o melhor lugar para prepará-la.
Ver a receita em bakingwithgranny.co.uk