
Chicken Poblano Tacos Recipe
Nutrition per Serving
195
Calories
15g
Protein
27g
Carbs
3g
Fat
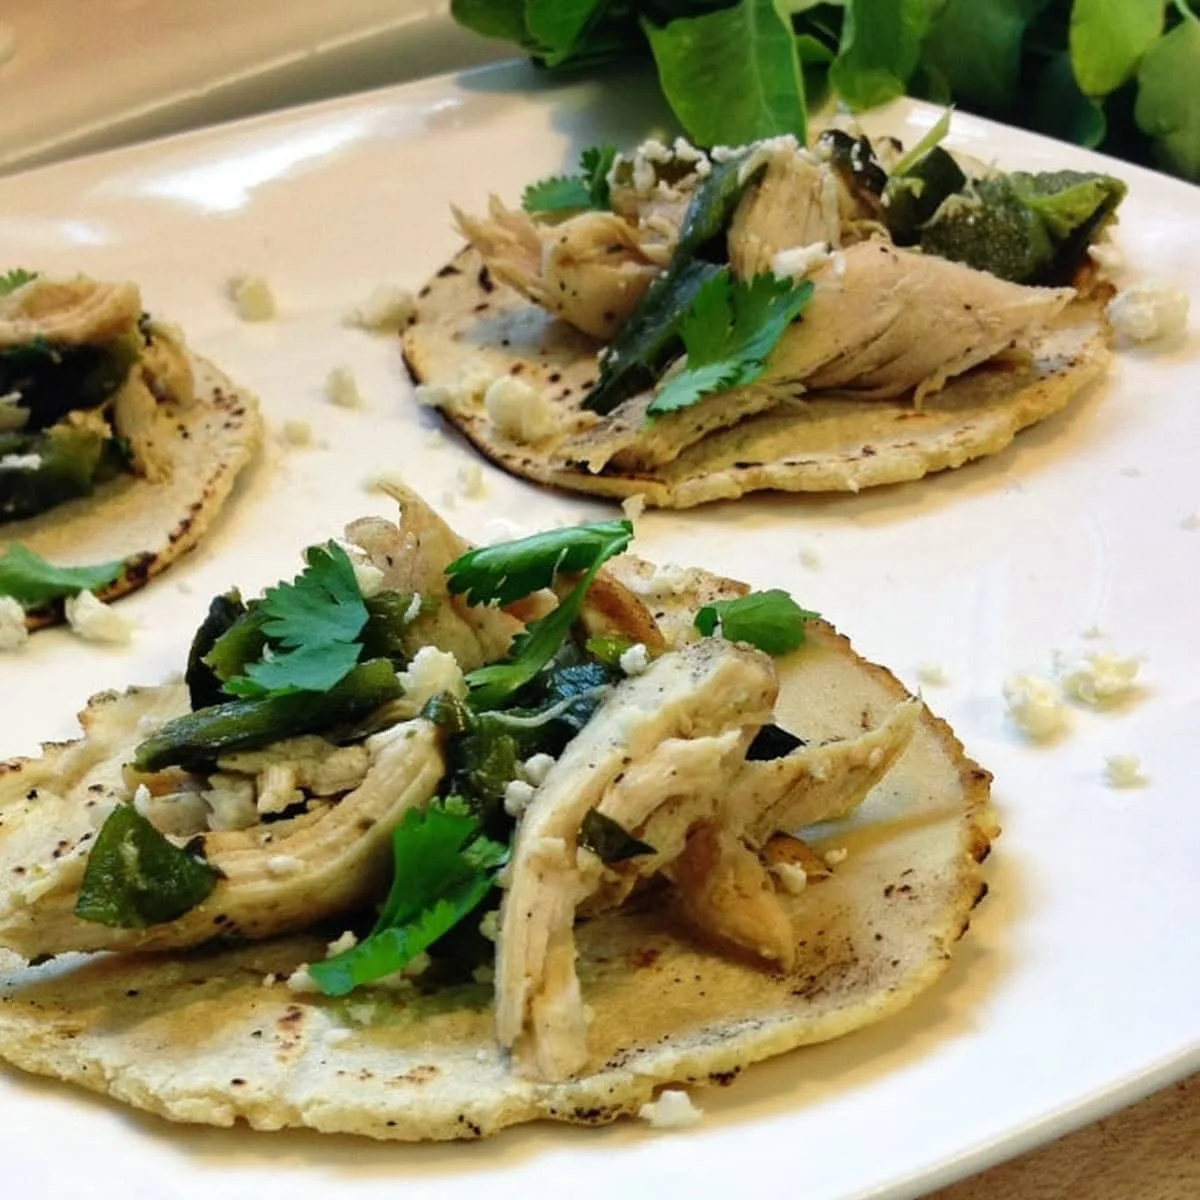
Our Chicken Poblano Tacos are a delicious blend of grilled chicken, smoky poblanos, and fresh pipicha, all garnished with cilantro and cotija cheese.
📝 Ingredients
- 2 Poblano Chiles
- 1 1/2 lbs. chicken breast (two small breasts; or, use leftover rotisserie chicken)
- 3 Tbsp. pipicha (roughly chopped (substitute cilantro and/or mint if you can’t get your hands on any pipicha))
- 1 3/4 c. masa harina (or, use store-bought tortillas if you’re into that sort of thing)
- 1 1/8 c. water
- Cumin (salt, and pepper to taste)
- Splash of tequila
- Cilantro and cotija cheese for garnish
👨🍳 Instructions
- 1Make the corn tortilla dough by combining the masa harina and water in a medium bowl. Mix with your hands and form it into a large ball. If it is crumbly, add a little more water. If it is sticking to your hands, add a little more masa harina. Let it sit for 30 minutes.
- 2Meanwhile, place a heavy pan (preferably cast iron) on the stove and heat to medium-high. Season your chicken breast with salt, pepper, and cumin. Once your pan is hot, add a bit of oil to the pan (olive oil works great) and add your chicken breasts. Let them sear for one minute, then turn them over, turn the heat down to low/simmer, and cover the pan. Set a timer for ten minutes and leave the chicken alone – don’t open the lid!
- 3While your chicken is cooking, preheat your oven’s broiler to its highest setting. Place your poblano chiles on a baking sheet and place on the highest rack in your oven. Check on your poblanos every minute or so, turning occasionally so the peppers become charred and roasted on all sides. You want the skin to blister but not to burn and turn black. Once they have finished (about ten minutes or so), remove from the oven and turn your oven down to 200°C. Place the peppers in a bowl and cover it with tin foil. About this time your kitchen timer for your chicken will go off. Turn the burner off and reset your timer for another ten minutes. Once this second timer goes off, your chicken is done and ready to be shredded. Remove it to a cutting board and shred it with two forks.
- 4Now, remove the tin foil from your poblanos and bring them over to your sink. With the cold water running (just a mild stream), peel off the broiled outer skin. It should rub off easily as it has been steaming under the foil. The cold water will also help it peel off. Once you have the skin off, pull the stem out, open up your pepper, and rinse all of the seeds out. Once both peppers are skinless and seedless, move them over to your cutting board and chop them up. Place in an oven-safe bowl with the shredded chicken.
- 5Turn your pan back onto medium-high heat and add your chopped pipicha. Stir it around with a wooden spoon to get it mixed in with all the yummy leftover chicken goodness. Keep it moving so it does not burn. Once the pan is nice and hot, pour in some tequila and let it bubble in the pan. Keep working the bottom of the pan with your wooden spoon until the liquid is reduced. If you don’t have any tequila, you could just use a little chicken broth or water. Empty the pan’s contents into the bowl with the chicken and poblanos. Place the bowl in your oven to keep it warm.
- 6Divide your tortilla dough into 12 equally-sized balls, rolling with your hands to ensure the dough doesn’t have cracks. Get that dirty pan back on your stove and put the heat back on medium-high. One by one, place a ball into your tortilla press (or under a pie plate) between two pieces of parchment paper. Press into tortillas. As each tortilla is pressed, drop it directly into your hot pan and cook for 30 seconds per side, or until golden brown with spots. Place cooked tortillas on a plate in the oven to keep warm.
- 7Once all of your tortillas are cooked, pull all of your goodies out of the oven and assemble them into tacos. Start with the tortilla on the bottom, top with some of the chicken-poblano mixture, and garnish with cilantro, pipicha, and cotija cheese.
About the Chef & Original Recipe
This recipe was published by thewanderlustkitchen.com. Visit the original source for step-by-step photos, chef notes and additional details.
Source: thewanderlustkitchen.com