
Focaccia Genovese Recipe (Authentic Italian Ligurian Focaccia)
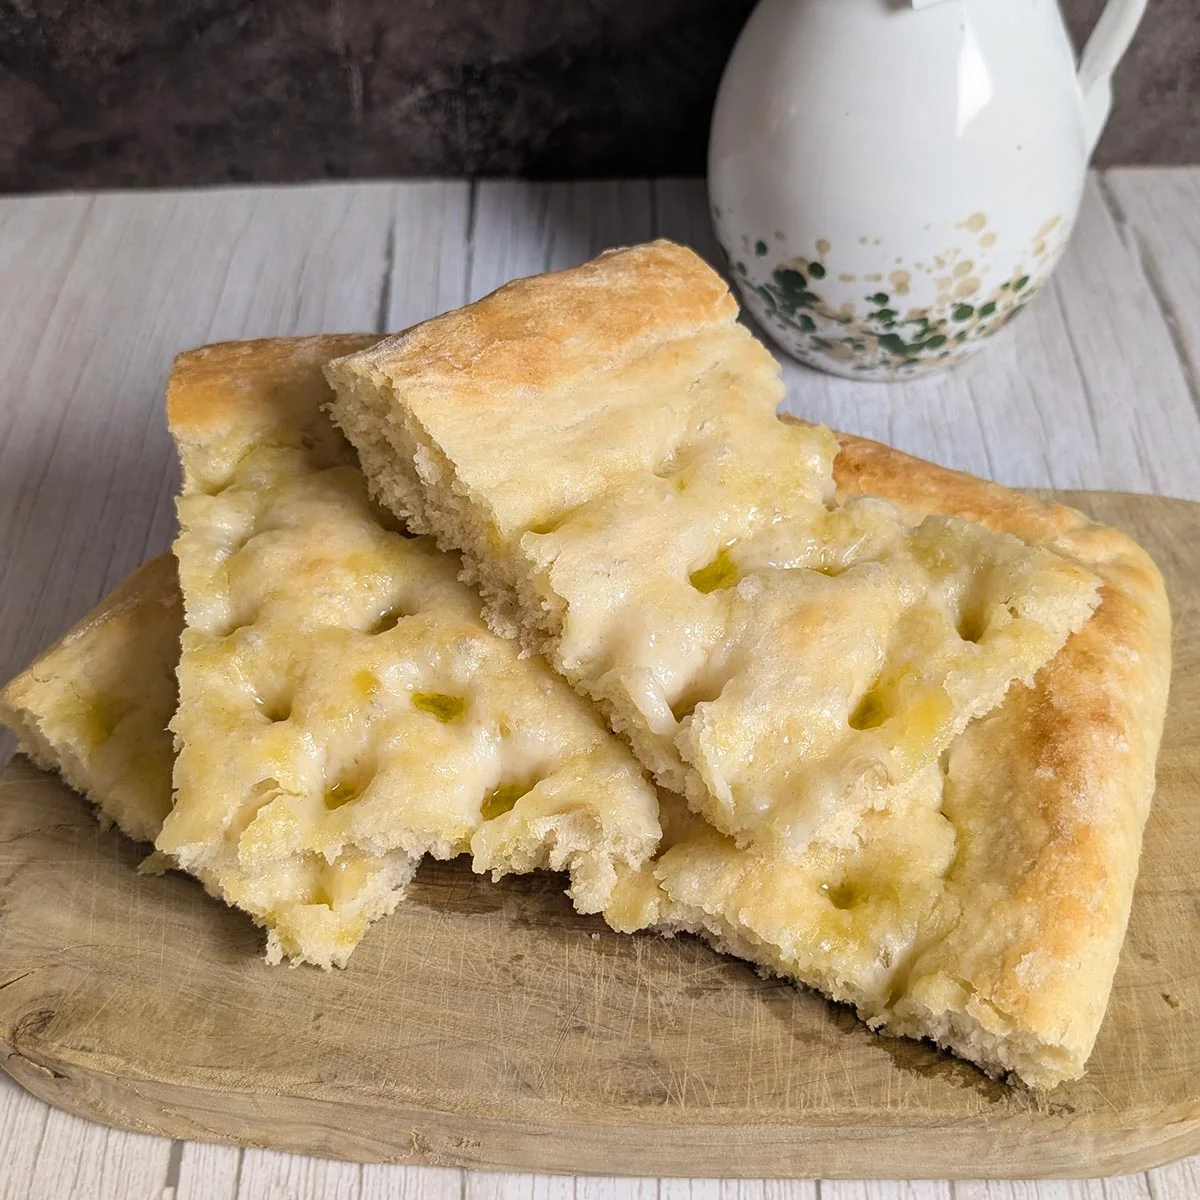
Focaccia Genovese, known in the local dialect as a fügassa, is one of the most iconic specialties of Ligurian cuisine. In Genoa, focaccia is enjoyed at any time of day: for breakfast dipped in a cappuccino, as a midday snack, or simply on its own, warm and fragrant, straight from the bakery.Its importance is such that authentic focaccia genovese is recognized as a Slow Food Presidium, a symbol of craftsmanship and respect for time-honored methods. Soft yet slightly crisp, glossy on the surface and fragrant with olive oil, this focaccia represents a perfect balance of simplicity and technique.
📝 Ingredients
- 200 g 00 flour (- 1 2/3 cups)
- 300 g manitoba flour or bread flour (- 2 1/2 cups)
- 300 ml water (- 1 1/4 cups , at room temperature)
- 10 g fine salt (- 1 3/4 teaspoons)
- 10 g honey (- 1 1/2 teaspoons)
- 7 g active dry yeast (- 2 1/4 teaspoons or 0.24 oz )
- 25 g extra virgin olive oil (- 2 tablespoons)
- 100 ml water (- about 1/2 cup )
- 50 ml extra virgin olive oil (- 3 tablespoons + 1 teaspoon )
- 2 pinches fine salt (- about 1/4 teaspoon)
👨🍳 Instructions
- 1--- Make the Dough ---
- 2mix: Place the manitoba flour (or bread flour), 00 flour, and yeast in a large mixing bowl and stir to combine.
- 3add: Make a well in the center and pour in the room-temperature water. Mix with a spoon until the flour begins to absorb the water and a rough dough forms.
- 4Add the extra virgin olive oil and the honey. Continue mixing until incorporated, then add the salt. Mix again until the dough comes together into a cohesive mass.
- 5Knead by hand with energy for about 5 minutes. The dough should become smooth, elastic, and uniform. It will be soft but should hold its shape.
- 6rise: Cover tightly with plastic wrap, then cover with a kitchen towel. Let it rest at room temperature for about 30 minutes. This resting phase helps relax the gluten and makes the dough easier to work with.
- 7--- Make the Folds and Let Rise ---
- 8make the folds: After resting, turn the dough out onto the work surface and perform a set of folds. Gently flatten it into a rectangle with your hands, then fold the four sides toward the center.
- 9rise: Turn the dough seam-side down, shape it into a ball, and return it to the bowl. Cover again and let rise at room temperature for 1 hour.
- 10Grease a 30x40 cm (12x16 inch) baking pan with 1 to 2 tablespoons of olive oil. Place the dough in the pan.
- 11rise: Gently stretch it with your hands, without forcing it, until it partially covers the surface. Cover with a kitchen towel and let rest at room temperature for another hour.
- 12rise: Lightly dust the dough with a small amount of flour. Using your fingertips, gently press and stretch the dough to fill the entire pan, starting from the edges and working inward to form a slight raised border around the perimeter. This edge is important because it helps contain the brine later. Smooth the surface gently with the palms of your hands. Cover and let rest for 1 more hour.
- 13mix: Prepare the brine by mixing the water, olive oil, and fine salt in a small bowl, stirring until the salt is completely dissolved.
- 14press: Uncover the dough and create the classic focaccia dimples by pressing your fingertips firmly into the dough. Keep your fingers slightly angled rather than straight down.
- 15Pour the brine into the center of the focaccia, then gently spread it with your hand so it flows into all the dimples. Let the focaccia rise uncovered for 40 to 45 minutes.
- 16--- Bake and Serve ---
- 17bake and serve: Bake in a static oven preheated to 230°C (450°F) for 15 minutes, until the surface is golden and glossy. Avoid overbaking, as this can dry out the focaccia. Remove from the oven, let cool for a few minutes, then slice and serve warm or at room temperature.
About the Chef & Original Recipe
This recipe was published by recipesfromitaly.com. Visit the original source for step-by-step photos, chef notes and additional details.