
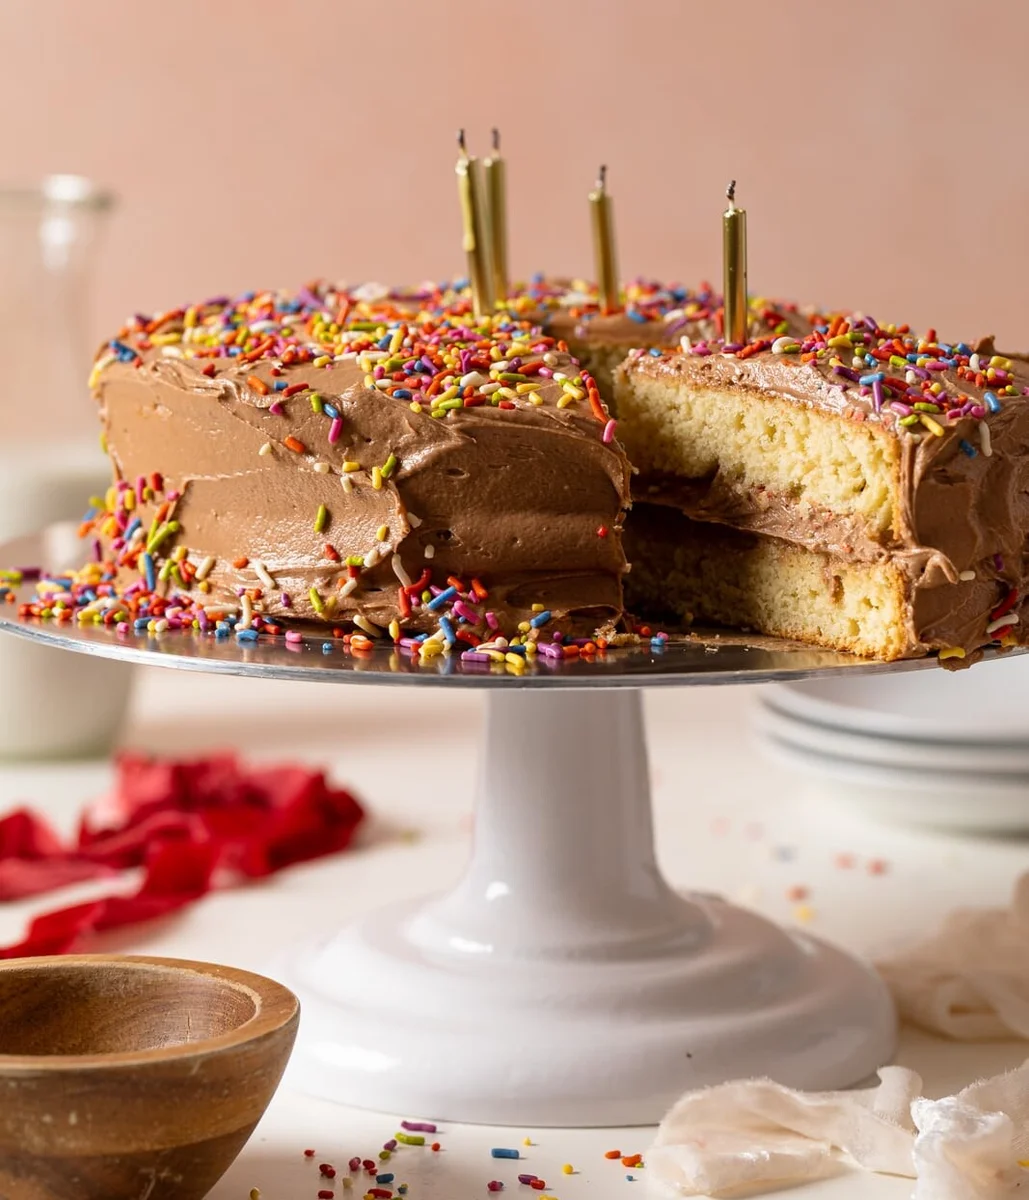
Grandma’s Vanilla Birthday Cake with Chocolate Frosting
Nutrition per Serving
678
Calories
12g
Protein
87g
Carbs
34g
Fat
Nothing beats a slice of Grandma’s Vanilla Birthday Cake with Chocolate Frosting—a classic that never gets old. This dense, moist, and fluffy treat is sure to leave you with plenty of cherished memories. It's easy to whip up and bursting with flavor, making it a sure hit for the entire family, especially on birthdays. Vegan + Gluten-free option.
📝 Ingredients
- 2 cups organic all-purpose flour
- 2 cups organic cake flour ((See Notes))
- 1 1/2 cups organic cane sugar
- 2 1/2 tsps baking powder
- 1 cup salted butter, softened at room temp. ((You can also use unsalted butter; Just add 1 tsp salt when using))
- 4 large organic eggs, at room temp.
- 2 egg yolks, at room temp.
- 2 tsps vanilla extract
- 1/4 cup vegetable oil ((You can also substitute with Extra virgin olive oil))
- 1 1/4 cups "Buttermilk" ((I use Almond milk + 1 Tbsp lemon juice; Feel free to use whole milk, if desired))
- 4-5 cups Whipped Chocolate Buttercream Frosting
- Rainbow sprinkles
👨🍳 Instructions
- 1--- MAKE THE CAKE: ---
- 2Begin by preheating your oven to 350 degrees Fahrenheit. Lightly grease (with butter) AND line with parchment paper the bottoms of TWO 9-inch or 8-inch cake pans (for thicker layers) or THREE 6-inch cake pans.
- 3In a bowl, whisk together the milk and lemon juice and set aside for 5-10 minutes until everything "activates" to create the dairy-free "buttermilk".
- 4In a large bowl, whisk together the flour and baking powder until combined.
- 5In a bowl, add the butter and sugar, beating them together using a hand-mixer (on high-speed), until pale and fluffy, about 2-3 minutes.
- 6Add the eggs (one at a time) followed by the egg yolks, oil, and vanilla, mixing until combined. On low-speed, add in the dry ingredients followed by the buttermilk and continue to mix until combined and the batter is smooth, about 3-4 minutes. NOTE: The batter should be thick, yet slowly run off the whisk once lifted.
- 7Divide the batter evenly into each of the cake pans and bake for 30-35 minutes, or until a toothpick or butter knife comes out clean when tested in the centers.
- 8Remove cakes from the oven and let them rest in the pan for 10 minutes or so before removing the cakes and placing them onto a cooling rack to fully cool. NOTE: Let them cool for at least 1-2 hours in a cool place.
- 9--- MAKE THE BUTTERCREAM FROSTING: ---
- 10For the best results, see my Whipped Chocolate Buttercream Frosting recipe! NOTE: I like to add 1-2 tsps of peanut butter to the frosting in this recipe for a nostalgic taste.
- 11--- ASSEMBLY: ---
- 12Place the first cake layer on your cake stand and evenly cover the top with buttercream and a handful of rainbow sprinkles. Now, top with 2nd layer and add more buttercream atop that layer, spreading it over the tops and sides of cake, evenly and thinly. NOTE: If making a 3-layer, be sure to repeat step 1 of assembly once again before getting to the final layer.
- 13Once fully frosted, add small little designs of the buttercream using a piping bag + tip around the sides and top of cake. Feel free to add handfuls of rainbow sprinkles to the tops and side of cake, if desired. Chill for 5 minutes to ensure that buttercream sets.
- 14When ready to serve, remove from the refrigerator. Slice and enjoy!
- 15Bon Appetit!
About the Chef & Original Recipe
This recipe was published by orchidsandsweettea.com. Visit the original source for step-by-step photos, chef notes and additional details.
Source: orchidsandsweettea.com