
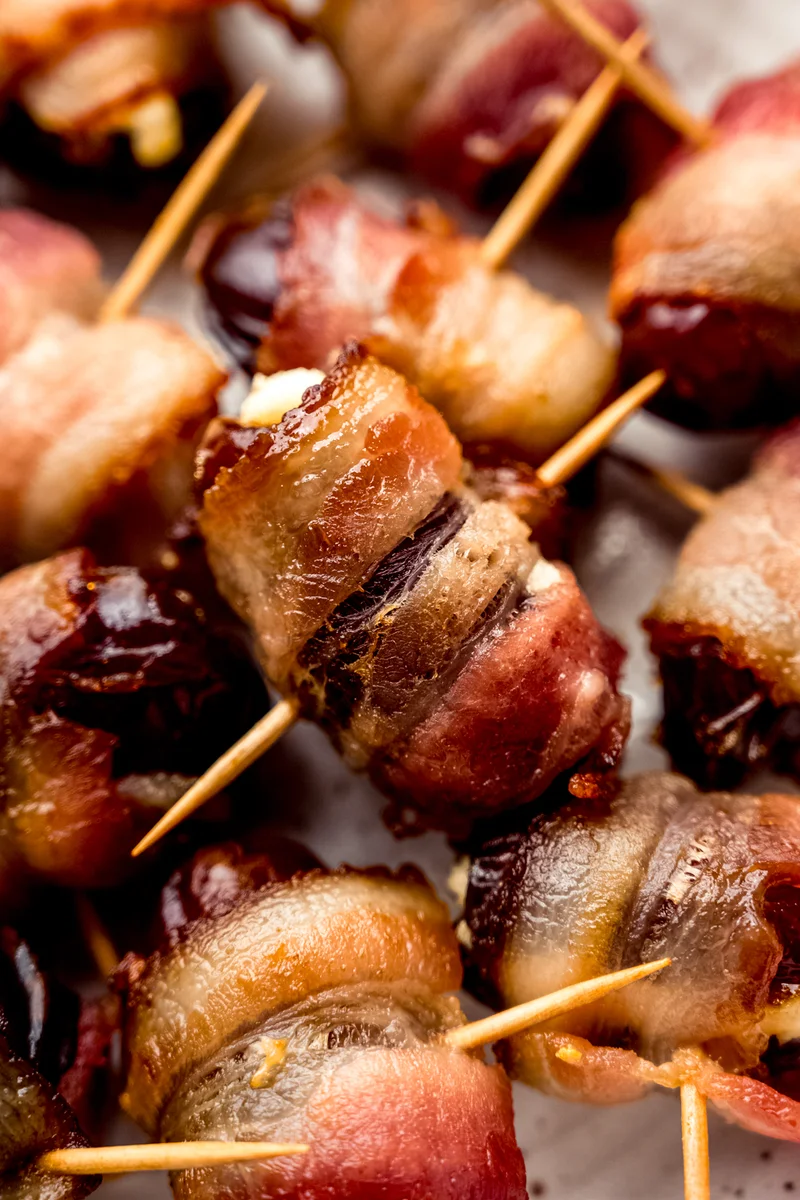
Goat Cheese Stuffed Bacon Wrapped Dates
Nutrition per Serving
47
Calories
1g
Protein
4g
Carbs
3g
Fat
These sweet, savory, and creamy bacon wrapped dates stuffed with goat cheese are one of our favorite easy 3-ingredient appetizers. They're perfect for parties, holidays, or anytime you want a simple crowd-pleaser with big flavor.
📝 Ingredients
- 24 to 32 pitted dates1
- 4 ounces goat cheese (room temperature)
- 8 to 10 strips bacon2
👨🍳 Instructions
- 1Preheat the oven to 350ºF (177ºC). Line a large baking sheet with parchment paper or foil, then set aside.
- 2Open dates (if they are already sliced) and lay them on the baking sheet.
- 3Cut the bacon slices into even thirds. Set aside.
- 4Line a large plate with paper towels. Set aside.
- 5Prepare the goat cheese: if you want to use a piping bag and tip, fit a piping bag with a bismarck tip, then fill the bag with the goat cheese. Alternatively, smash the goat cheese so it is easy to handle with your hands or a spoon.
- 6If using a piping bag, insert the tip into the hole on one end of each pitted date, filling with goat cheese. You may want to insert the tip into the opposite side to ensure full filling. Alternatively, pipe, spoon, or use your fingers/hand to add goat cheese into the center of the date. Place back onto the prepared baking sheet.
- 7When all of the dates are filled, wrap each date in bacon and secure with a toothpick through the entire date.
- 8Place finished dates on prepared baking sheet, then bake dates for 15 minutes, remove from oven, and, using the toothpicks as a handle, flip the dates to cook the other side of the bacon. Bake dates an additional 10 to 15 minutes or until bacon is browned to your liking.
- 9Remove the baking sheet from the oven and place baked dates on the prepared paper towel lined plate. Serve warm. Store leftovers covered tightly in the refrigerator up to 5 days. Remove toothpick and reheat in microwave or leave the toothpick in and broil for a couple minutes in oven or air fryer.
About the Chef & Original Recipe
This recipe was published by freshaprilflours.com. Visit the original source for step-by-step photos, chef notes and additional details.
Source: freshaprilflours.com