
Cardamom Buns
Nutrition per Serving
326
Calories
5g
Protein
49g
Carbs
13g
Fat
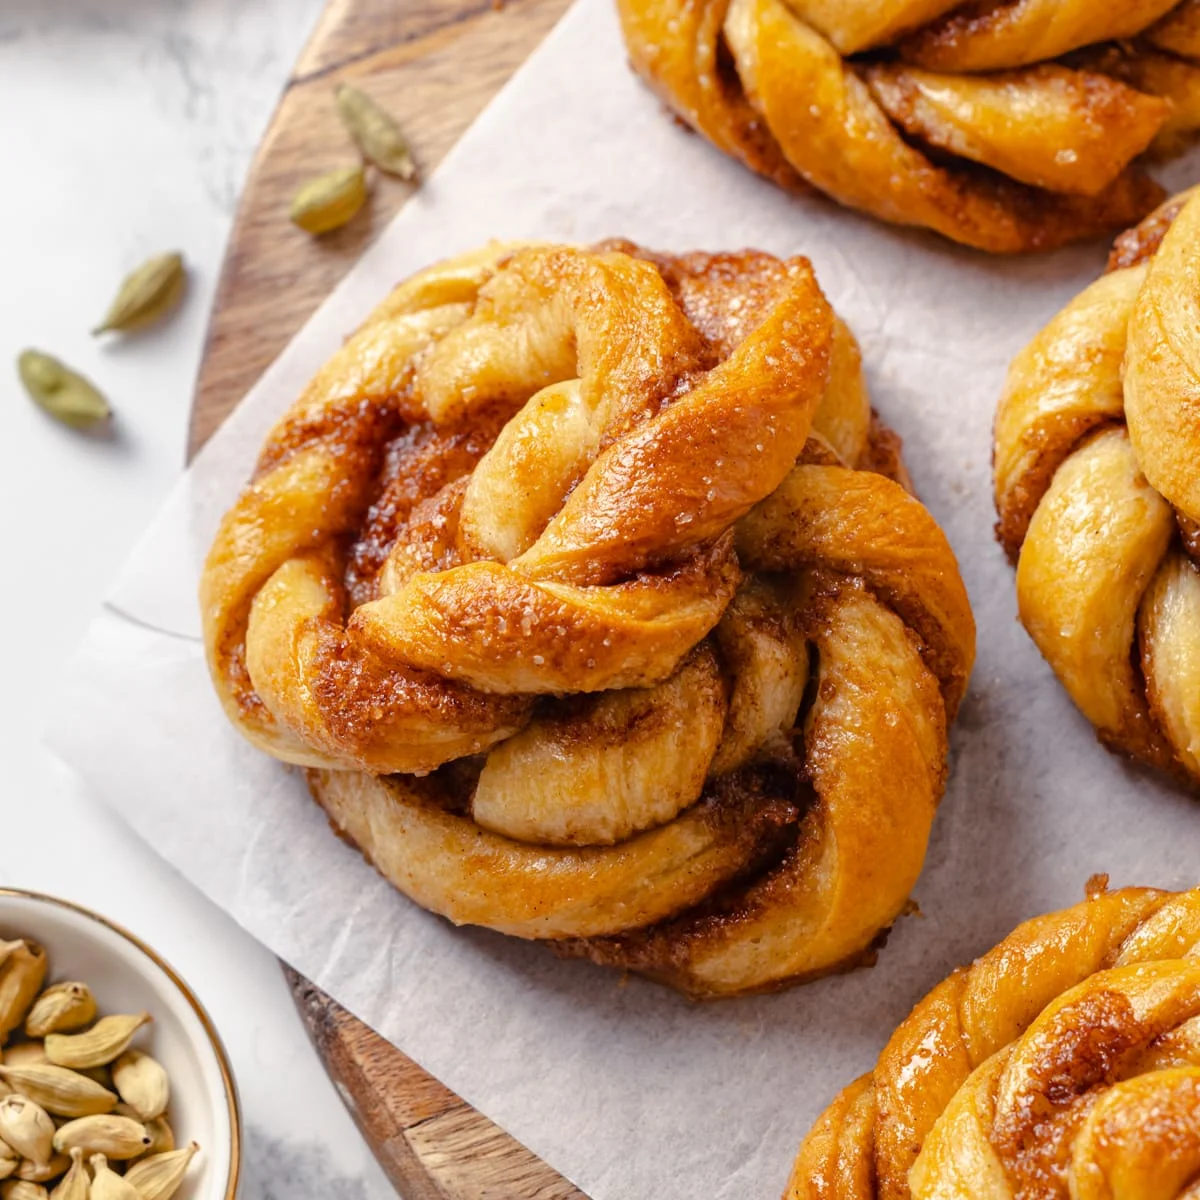
A step-by-step recipe for knotted cardamom buns. A flavorful cardamom brioche dough layered with a cinnamon cardamom filling, elaborately shaped and baked into the perfect breakfast treat.
📝 Ingredients
- 1 cup whole milk (warm to the touch)
- 2 1/4 teaspoons active dry yeast (1 packet)
- 1/4 cup unsalted butter (cubed)
- 3 1/4 cups all-purpose flour
- 1/4 cup granulated sugar
- 2 teaspoons ground cardamom
- 1 teaspoon kosher salt
- 3/4 cup light brown sugar
- 2 teaspoons ground cinnamon
- 1 teaspoon ground cardamom
- 1/2 cup unsalted butter (soft and spreadable)
- 1/4 cup water
- 1/4 cup granulated sugar
👨🍳 Instructions
- 1To grind cardamom seeds: If your seeds have the green, black or white pod intact, remove the seeds from the pods. Grind the seeds in a spice grinder, clean coffee grinder or using a mortar and pestle until fine.
- 2In a small bowl whisk together yeast and warm milk. Let sit for 10 minutes or until foamy.
- 3Add the yeast mixture, butter, flour, sugar, cardamom and kosher salt to the bowl of a stand mixer fitted with the dough hook attachment. Incorporate the dough on low speed.
- 4Once all the ingredients have mixed together, increase the mixer to medium speed and develop the gluten. Continue mixing and testing a small piece of dough to see if you can gently stretch it thin enough to see light through.
- 5Scoop the dough into a large bowl. You can lightly spray it with nonstick cooking spray if desired. Bulk proof the cardamom dough for 30-45 minutes or until doubled.
- 6While the dough proofs combine all ingredients for the filling in a small bowl using a rubber spatula. It should be easily spreadable. Set aside.
- 7Make the simple syrup in the microwave or a small pot. Combine sugar and water, stir, and cook until boiling. This only takes 30 seconds in the microwave. Swirl the container to dissolve any remaining sugar crystals. Revolutionary! Cool it in the refrigerator. This can also be made ahead and stored in the fridge. It is also, technically, optional!
- 8On a lightly floured surface, roll out the dough to 16x12 inches with the long side parallel to your body using a rolling pin.
- 9Spread filling on the bottom half (longways) with an offset spatula then fold the top half over the bottom. You should still have a rectangle (16x6 inches) with the long side parallel to your body.
- 10Roll out dough to 12 x 8 inches. Use a pizza cutter or sharp knife to divide into 12 strips. Try your very best to keep them roughly the same size so they proof and bake together.
- 11Working with one strip of dough at a time, take a small rectangle and use the pizza cutter or knife to cut a slit up the center longways. Leave about 1/4 inch of dough uncut at the top. It will look like pant legs.
- 12Start with the right “pant leg” and gently twist it using your thumb and forefinger so the filling looks like a corkscrew, then keep twisting and wrap it around itself at the base. Continue twisting and wrapping to create a bun on one half of the “pants”. Tuck the end underneath and through the bun to secure it
- 13Take the left “pant leg” and twist it like a corkscrew, then continue twisting it around the outside of the bun you just created on the right. Twist it around the outside making the bun larger, then stretch the last inch or so across the center and tuck it underneath to secure it. Place it on a parchment paper lined baking sheet.
- 14Preheat oven to 350°F convection with the fan (this is what I did) or 375°F conventional (no fan). While the oven heats up, final proof the buns 25-30 minutes or until visibly puffed.
- 15Brush the buns with cooled simple syrup over the top and bake in preheated oven for 15-18 minutes or until golden brown.
- 16Brush the warm buns with simple syrup and allow to cool (as long as you can) before tasting! You could sprinkle a little cardamom sugar on top if you are half the fan of cardamom as I am!
About the Chef & Original Recipe
This recipe was published by girlversusdough.com. Visit the original source for step-by-step photos, chef notes and additional details.
Source: girlversusdough.com