
Milk Bread Loaf - Rohi Parāoa Miraka
Nutrition per Serving
—
Calories
—
Protein
—
Carbs
—
Fat
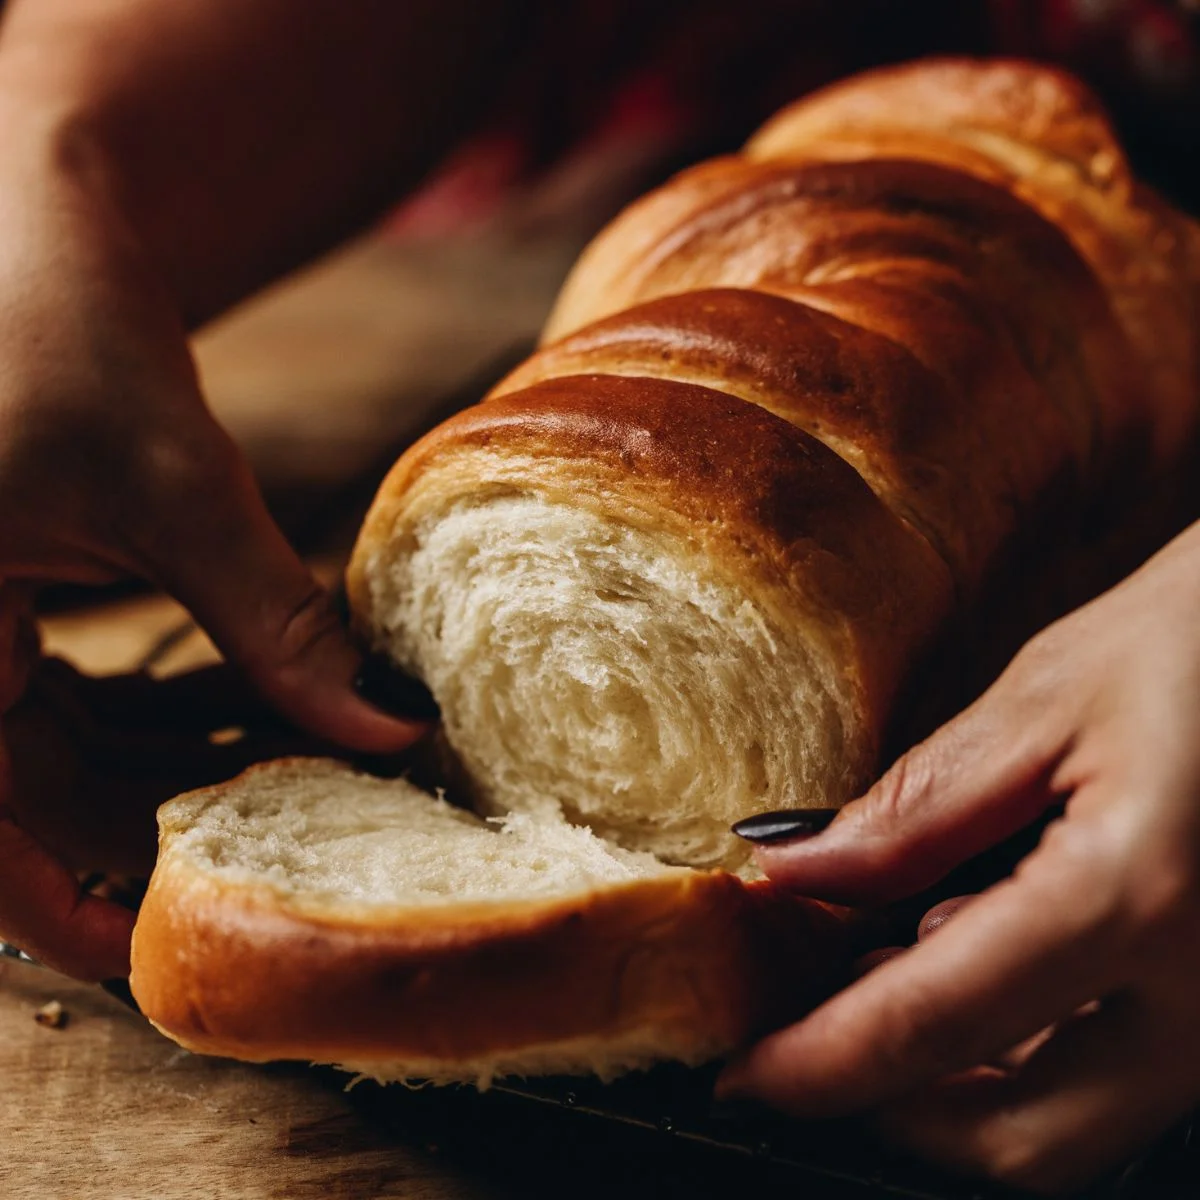
A light Japanese style bread loaf that stays light and fluffy for days. A little twist on a standard loaf.
📝 Ingredients
- 1/3 C (80 g) miraka (milk)
- 1/3 C (80 g) wai (water)
- 1/3 C (50 g) puehu parāoa kounga (high grade flour)
- 3/4 C + 3 tbsp (230 ml) miraka mahana (warm milk, you should be able to hold your finger in the milk, if not it is too hot)
- 2 1/2 tbsp huka hāura (brown sugar or caster sugar)
- 2 1/2 tsp (8 g) īhi tere (instant yeast)
- 2 3/4 C (410 g) puehu parāoa kounga (high grade flour)
- 1/4 C (35 g) paura miraka (milk powder OR swap it for 1/4 C of puehu parāoa (flour)
- 1 1/2 tsp tote (salt, fine). If you are using iodised table salt, half this quantity.
👨🍳 Instructions
- 1--- Prepare the Loaf Tin: ---
- 2Using a pastry brush, grease a loaf tin with oil. The tin size should be approximately 20 cm long, 10 cm wide and 6 - 10 cm high.
- 3--- Make the Tangzhong: ---
- 4Add the miraka (milk), wai (water) and puehu parāoa kounga (high grade flour) in to a pot.
- 5Heat the mixture over medium heat as you whisk until thickens.
- 6Once it is thick, keep on the heat and swap to a wooden spoon. Continue stirring for another 10 seconds or until a thin film starts forming on the bottom of the pot.
- 7Remove from the heat and leave it aside to cool down as you activate the īhi (yeast).
- 8--- Activate the Yeast: ---
- 9Add the miraka mahana (warm milk) and huka hāura (brown sugar) in to a large bowl.
- 10Stir until the huka (sugar) is dissolved in to the miraka (milk).
- 11Sprinkle over the īhi tere (instant yeast) and stir again.
- 12Leave the īhi (yeast) to activate for five minutes. The yeast is activated when it has floated to the top.
- 13--- Add the Remaining Ingredients: ---
- 14Add the puehu parāoa kounga (high grade flour), tote (salt) and the tangzhong paste in to the yeast mixture.
- 15Mix it with a knife until a shaggy dough forms. Once the dough is roughly incorporated, it is time to knead the dough.
- 16--- Knead the Dough: ---
- 17Note: Try not to add any extra flour when you are kneading. If it is super sticky, only add a tablespoons of flour at a time (up to 3 tbsp) and continue kneading.Remember, a slightly sticky dough is better than a stiff dough.
- 18If you are using a mixer, place the dough in the mixing bowl. Using a dough hook, knead for 8 – 10 minutes on low speed.
- 19If you are kneading by hand, add the dough to a lightly floured bench or table. Knead the dough with the palms of your hands (not with your fingers), for 10 – 12 minutes.
- 20--- First Rise: ---
- 21Shape the dough in to a ball, place it in a large bowl and then cover with a tea towel or bowl cover.
- 22Leave it to rise for 1 hour to 1 hour 15 minutes or until it has doubled in size.
- 23--- Roll out the Risen Dough: ---
- 24Once the pokenga (dough) has risen, remove it from the bowl and add it to a bench or table. Sprinkle the tēpu (table) with a little bit of puehu parāoa (flour).
- 25Using a rākau pokepoke (rolling pin), roll out the dough to a 45 cm long rectangle.
- 26Get the loaf tin you are using and make the pokenga (dough) 3 cm less wide than the length of the tin. My tin is 22 cm long so I made my rectangle 19 cm wide and 45 cm long.
- 27--- Roll up the Dough: ---
- 28Once you have the correct size, gently roll it up in to a scroll type log.
- 29--- Cut the Milk Bread Loaf Dough: ---
- 30Using a sharp knife, cut the log in to 12 pieces, cutting all the way through the dough. Keep the pieces roughly together as you do this. Cutting them like this enables you to pull the parāoa (bread) apart in to perfect slices once it is baked.
- 31Gently push the cut pieces in to a log and then lower them in to your prepared tin.
- 32--- Second Rise: ---
- 33Cover the tin with a tea towel and allow the pokenga (dough) to rise for 45 minutes.
- 34--- Preheat the Oven: ---
- 3515 minutes before the rising time is over, preheat the oven to 175 °C bake setting or 165 °C fan bake setting.
- 36--- Bake the Milk Bread Loaf: ---
- 37Bake for 40 minutes until golden.
- 38Remove it from the oven and rub a little butter on to the freshly baked bread because that's what my Māmā (Mum) did and so should you! 🧡
- 39While it is still warm, pull apart those delicious slices you have created! Kei runga noa atu koe - you are so clever.
- 40--- Store the Milk Bread Loaf: ---
- 41This loaf will be at its best on the day but will also make great toast the next day.
- 42In general, I keep homemade bread in a plastic bag for a day on the bench. Beyond that I slice it and store it in the freezer and remove a piece at a time for toasting.
- 43Don't forget to try the Chocolate Swirl Loaf version off this recipe, it is so extra but is made so in a few simple steps.
About the Chef & Original Recipe
This recipe was published by whanaukai.nz. Visit the original source for step-by-step photos, chef notes and additional details.
Source: whanaukai.nz