
Philadelphia No-Bake Cheesecake
Nutrition per Serving
493
Calories
5g
Protein
40g
Carbs
36g
Fat
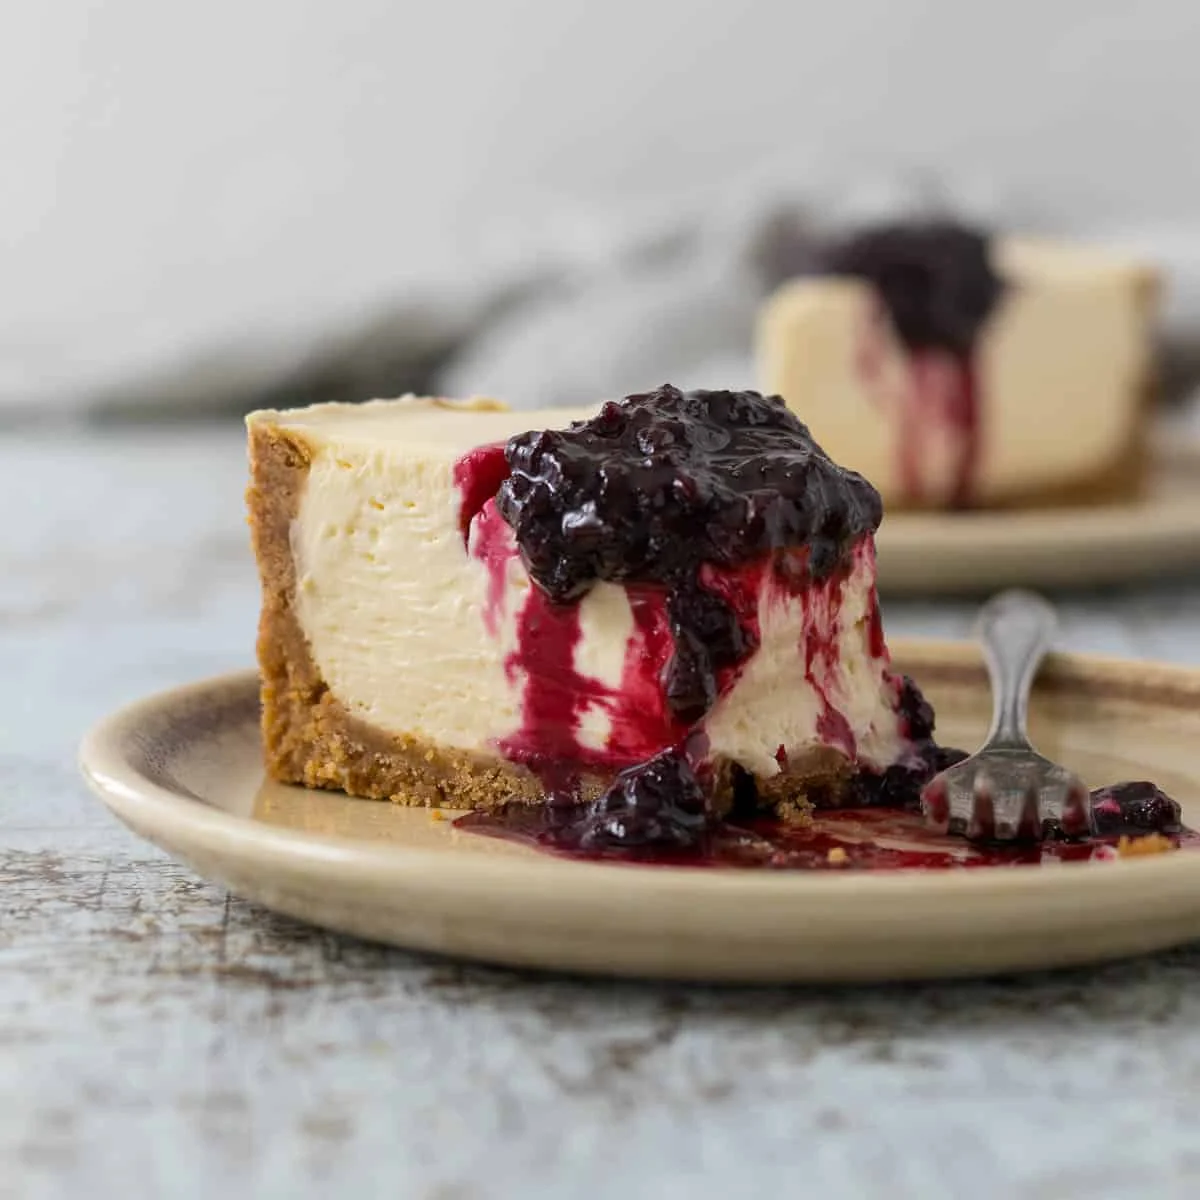
This delicious Philadelphia No-Bake Cheesecake recipe requires a few simple ingredients to produce a decadent dessert. Perfect for any occasion.
📝 Ingredients
- 2 cups Graham cracker crumbs ((or biscuit crumbs *Note 1))
- 6 tablespoons white granulated sugar ((caster sugar - Note 2))
- 8 tablespoons butter
- 24 ounces cream cheese ((*Note 3))
- 1/2 cup white granulated sugar ((caster sugar))
- 1/4 cup lemon juice ((fresh or bottled, *note 4))
- 2 teaspoons vanilla extract
- 1 cup cream ((cold, heavy or whipping cream*Note 5))
- 1/3 cup icing sugar ((powdered sugar or confectioner's sugar))
- 2 cups berries ((fresh or frozen*Note 6))
- 1/4 cup white granulated sugar
- 1 tablespoon lemon juice ((fresh or bottled))
👨🍳 Instructions
- 1Allow the cream cheese to come to room temperature. This allows the cream cheese to be beaten into a nice smooth base for the dessert. If baking the biscuit base, preheat the oven to 180°C/350°F. (*Note 7)
- 2Melt the butter and allow to cool.
- 3Crush or process the Graham crackers or biscuits in a food processor until you have a mostly fine sand-like texture. Combine the Graham cracker crumbs or biscuit crumbs and sugar (an additional requirement for the graham cracker crust version) with the melted butter, and stir together until all the crumbs are coated.
- 4Pour the biscuit crumbs into the bottom of an 8- or 9-inch springform pan or loose-bottomed cake pan with tall sides. Using the back of a spoon, press the crumbs up the side of the pan, about an inch or more tall.
- 5Pour the biscuit crumbs into the bottom of an 8- or 9-inch springform pan or loose-bottomed cake pan with tall sides. Using the back of a spoon, press the crumbs up the side of the pan, about an inch or more tall. (*Note 8 and 9)
- 6Then press the rest of the crumbs into the bottom of the pan. Use the back of your spoon to smooth the sides into the bottom. Use the bottom of a measuring cup to press the crumbs into the bottom of the pan.
- 7If baking your biscuit base, bake for 10 minutes and then remove from the oven and allow to cool while making the filling. Alternatively, you can skip baking and allow the crust to rest in the fridge for 30 minutes to an hour.
- 8In a large mixing bowl or the bowl of a stand mixer, place the room-temperature cream cheese, vanilla extract, lemon juice, and granulated sugar. Beat on a medium speed (using a paddle attachment) until all the ingredients are combined and smooth. This will take about 3-5 minutes. Regularly scrape down the sides of the bowl, even if using a hand mixer.
- 9In a separate bowl, whip the heavy cream to soft peaks (this can be done by hand or with an electric mixer). Sift in the icing sugar or powdered sugar and then beat to stiff peaks.
- 10Add the whipped cream to the cream cheese mixture. Fold the whipped cream into the cream cheese using a large metal spoon or a rubber spatula.
- 11Spoon the filling into the prepared crust. Smooth into the crust. Refrigerate for at least6-8 hours but preferably overnight.
- 12Before popping the Philadelphia no-bake cheesecake out of the springform pan, I like to gently heat the sides and bottom with a Chef's torch, or a warm cloth. Slowly release the sides of the pan. If you haven't used baking paper on the bottom of your pan, work slowly around the edge to release the bottom and lift it off using two large spatulas. (*Note 10)
- 13Use a sharp clean knife to slice your cheesecake. I like to clean my knife off between slices to get those sharp lines. Serve with fresh fruit, fresh berries, whipped cream, a delicious berry compote, or chocolate ganache.
- 14--- Berry Compote (Optional Extra) ---
- 15Combine all ingredients in a medium-sized pot and simmer over medium heat, until the mixture begins to bubble a bit. Reduce the heat slightly and cook for a further 15 minutes, stirring occasionally with a wooden spoon mashing some of the berries in the cooking process.
- 16The compote is finished when a spoon is dragged across the bottom of the pot and leaves a trail for a few seconds before rejoining.
- 17Allow the berry compote to cool before placing it into a glass jar, or another fridge-suitable container.
About the Chef & Original Recipe
This recipe was published by saltyginger.com. Visit the original source for step-by-step photos, chef notes and additional details.
Source: saltyginger.com