
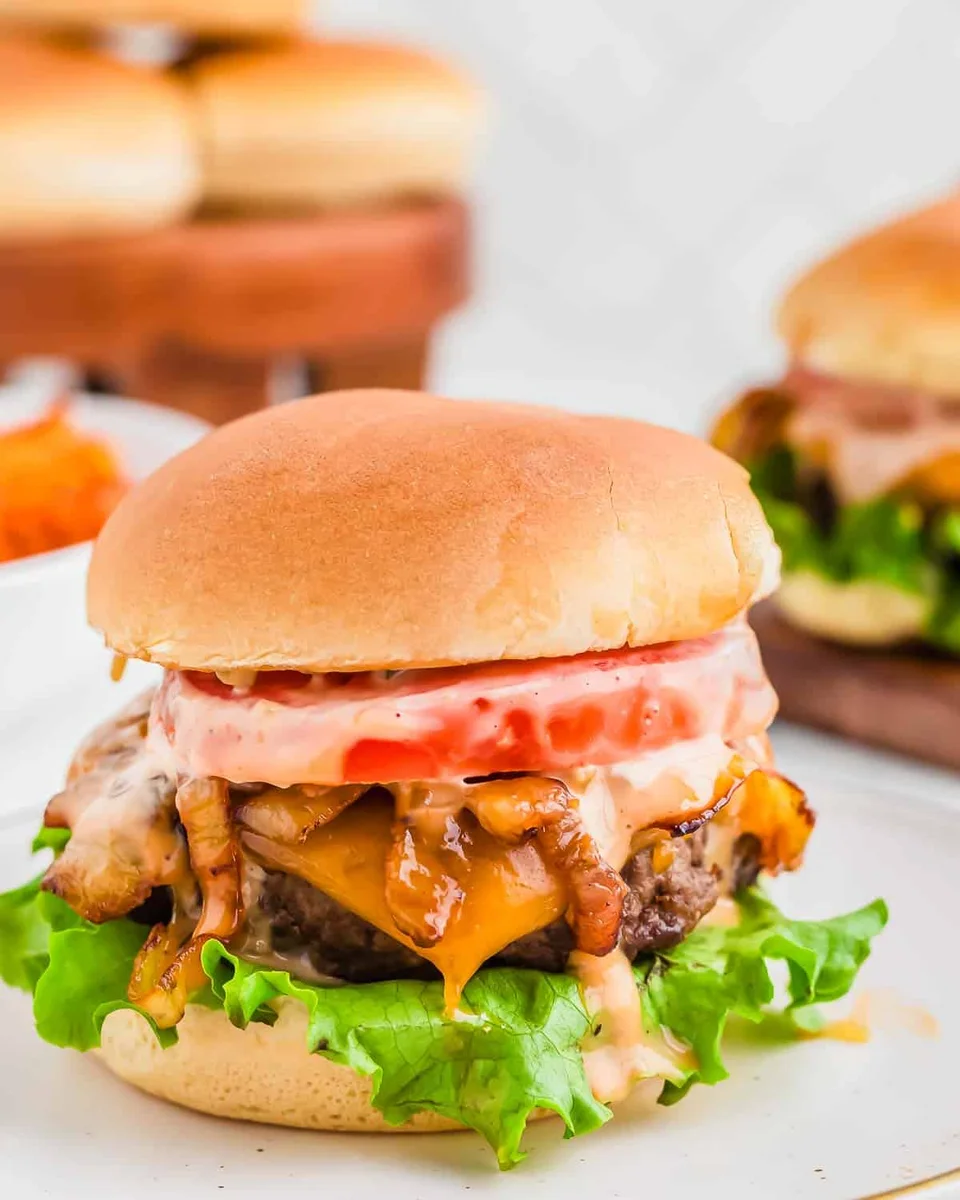
Juicy Bison Burgers
Nutrition per Serving
701
Calories
51g
Protein
23g
Carbs
44g
Fat
These juicy bison burgers are lean, delicious alternative to beef. Topped with all your favorites including a crave-worthy burger sauce, they're the perfect summer burger.
📝 Ingredients
- 2 pounds ground bison
- 1 teaspoon kosher salt
- 1/2 teaspoon ground black pepper
- 1/2 teaspoon garlic powder
- 1/2 teaspoon onion powder
- 1 tablespoon Worcestershire sauce
- 4 of your favorite squishy (soft hamburger buns)
- 4 slices cheddar cheese
- Sliced tomato
- Bibb or green leaf lettuce
- Dill pickles
- Caramelized onions
- Ketchup
- Mayonnaise
- Burger sauce
👨🍳 Instructions
- 1Combine the ground bison with the salt, pepper, garlic powder, onion powder and Worcestershire sauce in a bowl. Gently combine with your hands.
- 2Form into equal sized patties that are slightly (about 1”) larger than the buns you plan to use and make a small indent with your thumb in the middle of the patty — this helps the meat not balloon in the center as it cooks.
- 3--- Grill Option ---
- 4Preheat a gas or charcoal grill to a high heat. Make sure the grates are clean and hot then place the burger patties directly over the heat and grill for about 3 minutes before flipping over and grilling the other side. Don’t flip the patties prematurely, they should easily release from the grill grates when they’re ready to be flipped.
- 5Top with cheese if using during the last minute of cooking and cover the grill so it melts nicely. Remove the burgers from the grill and let rest for 5 minutes before assembling them on a bun with your desired toppings.
- 6--- Stove Top Option ---
- 7Heat 2 tablespoons of butter in a cast iron skillet over medium-high heat. Once hot, place the bison burgers in the skillet and cook for 2-3 minutes without touching them before flipping and cooking for the same amount of time on the other side or until they are medium-rare to medium.
- 8If using cheese, add it on top of the burgers in the last minute of cooking and cover the skillet with a lid to allow it to melt. Follow the same resting period as the grill before assembling.
About the Chef & Original Recipe
This recipe was published by runningtothekitchen.com. Visit the original source for step-by-step photos, chef notes and additional details.
Source: runningtothekitchen.com