
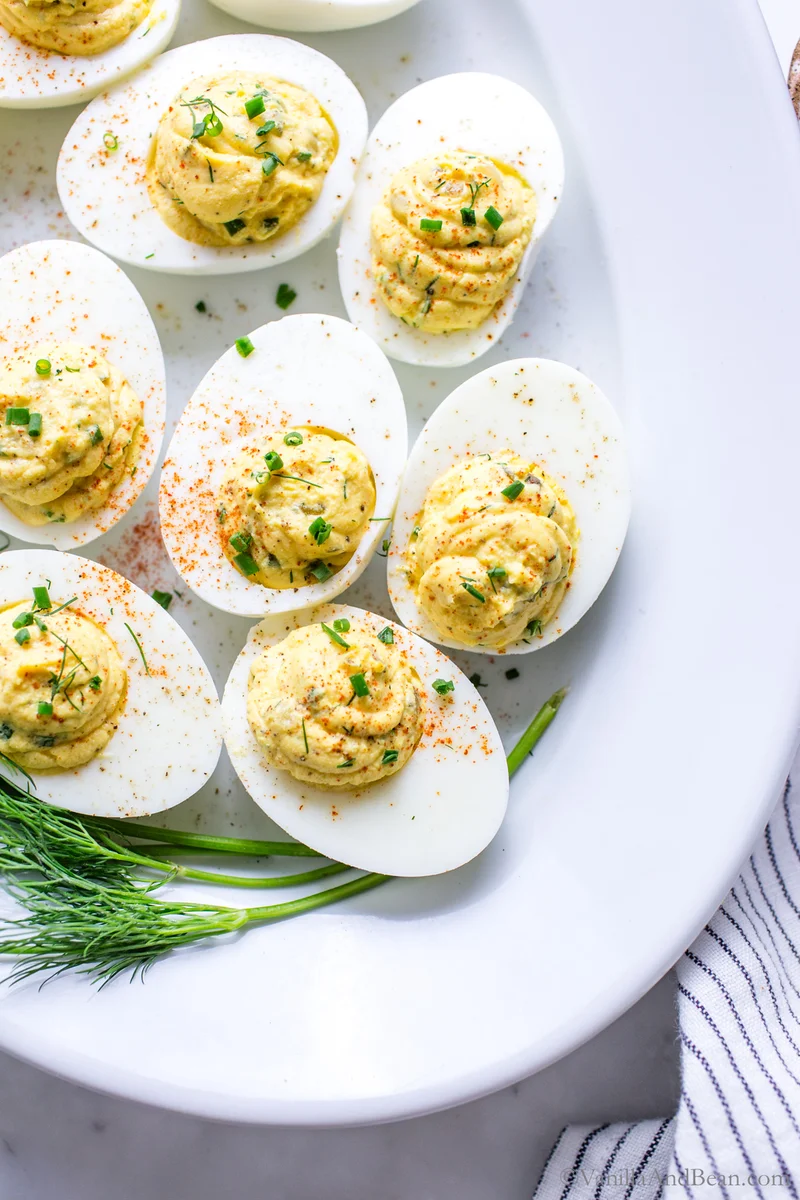
Double Pickle Dill Pickle Deviled Eggs
Nutrition per Serving
64
Calories
3g
Protein
1g
Carbs
5g
Fat
*Advance Prep Required* You'll need 8 Steamed Hard Boiled Eggs (easy to peel) for this recipe. My recipe for dill pickle deviled eggs has the creamiest yolk filling, crunchy, chopped dill pickles, and a splash of pickle juice. They're a bold, flavor-packed twist on the classic! Fresh dill and chives are optional. But, I do recommend at least fresh dill. Dried dill works too!
📝 Ingredients
- 8 large Steamed Hard Boiled Eggs
- 1/4 cup (60 grams) Mayonnaise
- 3/4 teaspoon Prepared Yellow Mustard
- 1/4 cup (50 grams) Dill Pickles (finely chopped)
- 1 1/2 teaspoons Dill Pickle Juice (from the pickle jar)
- 1/8 teaspoon Fine Sea Salt
- 1/8 teaspoon Ground Black Pepper
- 1/8 teaspoon Smoky Paprika (+ more for garnish)
- 1-2 dashes Tabasco
- 1 1/2 teaspoon Fresh Dill (chopped fine (optional), or 3/4 teaspoon dried dill + more for garnish)
- 1 tablespoon Fresh Chives (chopped small (optional) + more for garnish)
👨🍳 Instructions
- 1Peel cooled steamed hard cooked eggs then slice in half. Carefully transfer the hard cooked yolks to a medium mixing bowl. Set the egg whites aside on a serving platter. Mash with a fork or mini masher. The yolks will look crumbly.
- 2To the yolk mixture add the mayonnaise, mustard, pickles and pickle juice, salt, pepper, paprika, tabasco, dill and chives if using. Stir the mixture together, pressing the yolks into the side of the bowl to smooth, until creamy. Taste for salt and Tabasco adjustment.
- 3Spoon or pipe the yolk mixture, about 2 - 2 1/2 teaspoons each, into cooked egg white halves. Garnish with a sprinkle of paprika, dill and chives. Just before serving, sprinkle a touch of salt and pepper over the egg whites.
- 4To Store: cooked eggs must be refrigerated within two hours of cooking. Deviled eggs will store in the refrigerator in a lidded container for about two days.
About the Chef & Original Recipe
This recipe was published by Traci York on vanillaandbean.com. Visit the original source for step-by-step photos, chef notes and additional details.
Source: vanillaandbean.com