
Soft Hot Cross Buns (overnight or same day recipe)
Nutrition per Serving
356
Calories
7g
Protein
40g
Carbs
18g
Fat
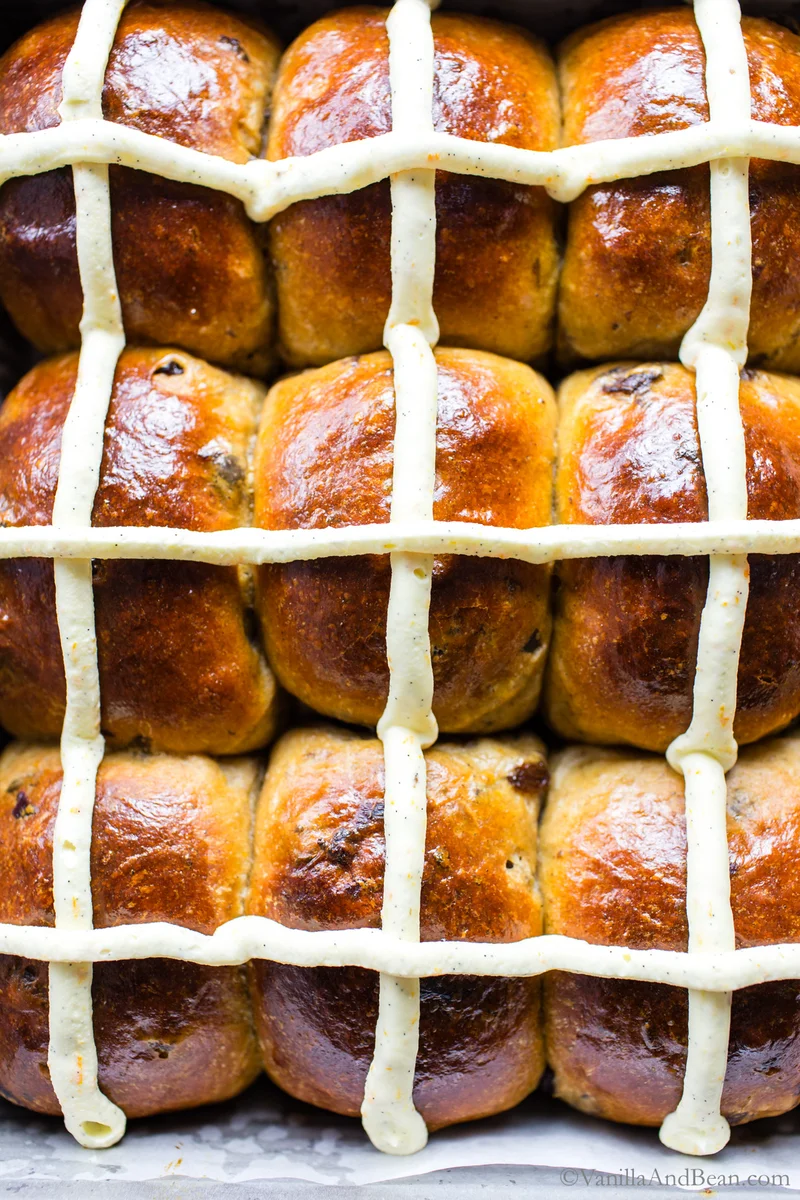
Fluffy and soft, Hot Cross Buns are a treat any time of year but make Spring holidays feel extra special. Naturally sweetened with maple syrup, these buns are infused with flavor from lemon and orange zest with spice highlights from cinnamon and a touch of cardamom. Dotted with currants soaked in rum or water, these yeasted buns can be made and baked on the same day or overnight for ultimate ease. Finished with an easy-to-make lightly sweetened vanilla-orange mascarpone cross or a powdered sugar drizzle.
📝 Ingredients
- 1/2 cup (115 grams) Milk (warmed to 105-110F (40-43C) plant or dairy milk with a pinch of sugar)
- 2 1/2 teaspoon Quick Rise Yeast (also known as Instant Yeast *see note)
- 2/3 cup (95 grams) Dried Currants (or raisins, **see note)
- 4 tablespoons Light Rum (or water)
- 3 Whole Eggs (two for the dough, one will be used for egg wash)
- 1/2 cup (113 grams) Unsalted Butter (melted and cooled to the touch, plant butter or dairy)
- 1 1/2 teaspoons Pure Vanilla Extract (or Vanilla Bean Paste)
- 1/4 cup + 1 tablespoon (75 grams) Pure Maple Syrup
- 2 2/3 cups (380 grams) All Purpose Flour (plus more for dusting)
- 1 3/4 teaspoons Cinnamon (ground)
- 1 1/2 teaspoons Cardamom (ground)
- 3/4 teaspoons Fine Sea Salt
- 1 Lemon (zested, about 1 teaspoon of zest)
- 1 Orange (zested, about 1 1/2 teaspoons of zest)
- 8 ounces (226 grams) Mascarpone Cheese (straight from the refrigerator)
- 3 tablespoons Powdered Sugar
- 1 1/2 teaspoon Orange Zest (from one large orange)
- 1/2 Vanilla Bean Scraped (or 1/2 teaspoon of vanilla bean paste)
👨🍳 Instructions
- 1--- For the Buns: ---
- 2Get Ready: Spray a 9"x9"x2" (23x23cm) baking pan with grease, then line the pan with parchment paper, and set aside. In a large mixing bowl, add the warmed milk, sprinkle yeast over the top, and add a pinch of sugar. Whisk and set aside for 15 minutes to proof. It will be bubbly and frothy when ready. Meanwhile, in a small bowl, pour the rum over the currants/raisins, cover and warm for 30 seconds in the microwave. This will plump them up. Drain, pressing the currants/raisins through a fine strainer just before using in the recipe.
- 3Mix: To the frothy milk/yeast mixture, add 2 eggs, cooled melted butter, vanilla extract, and maple syrup. Whisk thoroughly. To the wet ingredients, add the flour, cardamom, cinnamon, and sea salt. Use a wooden spoon to mix first, then as the ingredients come together mix by hand until there are no dry patches. Add the lemon and orange zest and the drained currants/raisins. Using one hand, gently lift and press the dough over and onto itself while rotating the bowl in quarter turns with each fold with the other hand. Do this for about one minute to thoroughly mix in the zest and currants/raisins. The dough will feel soft and greasy.
- 4Knead: Turn the dough out onto a floured work surface. Actively knead the dough for about 9-10 minutes until the dough has a tacky, not sticky, feel to it. If the dough sticking to your hands and/or work surface, dust with flour and continue kneading.
- 5First Rise: Roll into a ball by tucking the edges in underneath. Place in a lightly greased clean bowl, cover with a damp tea towel or plastic wrap and place in a warm location to rise (see tip in notes) to double in size.
- 6Divide and Shape: Turn dough out onto a lightly floured work surface. Gently roll the dough into a log and divide into 12 equal pieces (use a scale if you have one to portion each piece to about 74 grams each). Roll each piece into a ball and place into the parchment lined baking pan. (see options A and B for finishing the buns).Second Rise (proof): A. Overnight Buns: Cover the buns with plastic wrap and place the buns in the refrigerator overnight (8-24 hours). In the morning, remove them from the refrigerator and allow buns to rise until almost doubled in size. When ready, they should be squishing against one another. Use the TIP in the notes to speed this process along (my overnight buns take about two hours to proof after removing them from the refrigerator using the oven proof method). B. Same Day Buns: Cover the buns with a damp tea towel or plastic wrap and set buns in warm spot to rise (proof) until almost doubled in size. When ready, they should be squishing against one another. Use the TIP in the notes to speed this process along. (my same day buns take about one hour to proof using the oven proof method).
- 7If using the oven to proof your buns, remove the buns from the oven before preheating the oven. Bake: Preheat the oven to 375F (190C). Crack the remaining egg into a bowl and whisk with one tablespoon of water. Brush the tops of the buns with egg wash and bake for 23-25 minutes. If they're getting too dark, loosely place a piece of foil over the pan. The buns are done when a digital food thermometer inserted into the buns read between 190- 195 Fahrenheit (87 – 90 Celsius). The tops will be golden brown.
- 8Finish: Remove from oven and place on a cooling rack. Cool completely before piping the mascarpone icing crosses. You can also share the buns warm without the cross, and serve the mascarpone icing on the side. Aternatively, cool 5-10 minutes, then add the optional the drizzle (see notes).
- 9--- For the Mascarpone Icing (see notes for alternative drizzle): ---
- 10In a small bowl, add the mascarpone. Sift in the powdered sugar, add the orange zest and vanilla beans. Gently mix the icing just until the ingredients come together. Do not whisk or mix vigorously or the mixture could break. Transfer half the icing to a piping or zip bag and cut a small opening at the tip. Refrigerate the icing until ready to pipe. Once the buns are cool, pipe the icing in a cross shape over the buns. Share the remaining icing on the side for slathering. Alternatively, you can share warm buns with the icing on the side. Slice the buns open and slather the icing inside the buns.
About the Chef & Original Recipe
This recipe was published by Traci York on vanillaandbean.com. Visit the original source for step-by-step photos, chef notes and additional details.
Source: vanillaandbean.com