
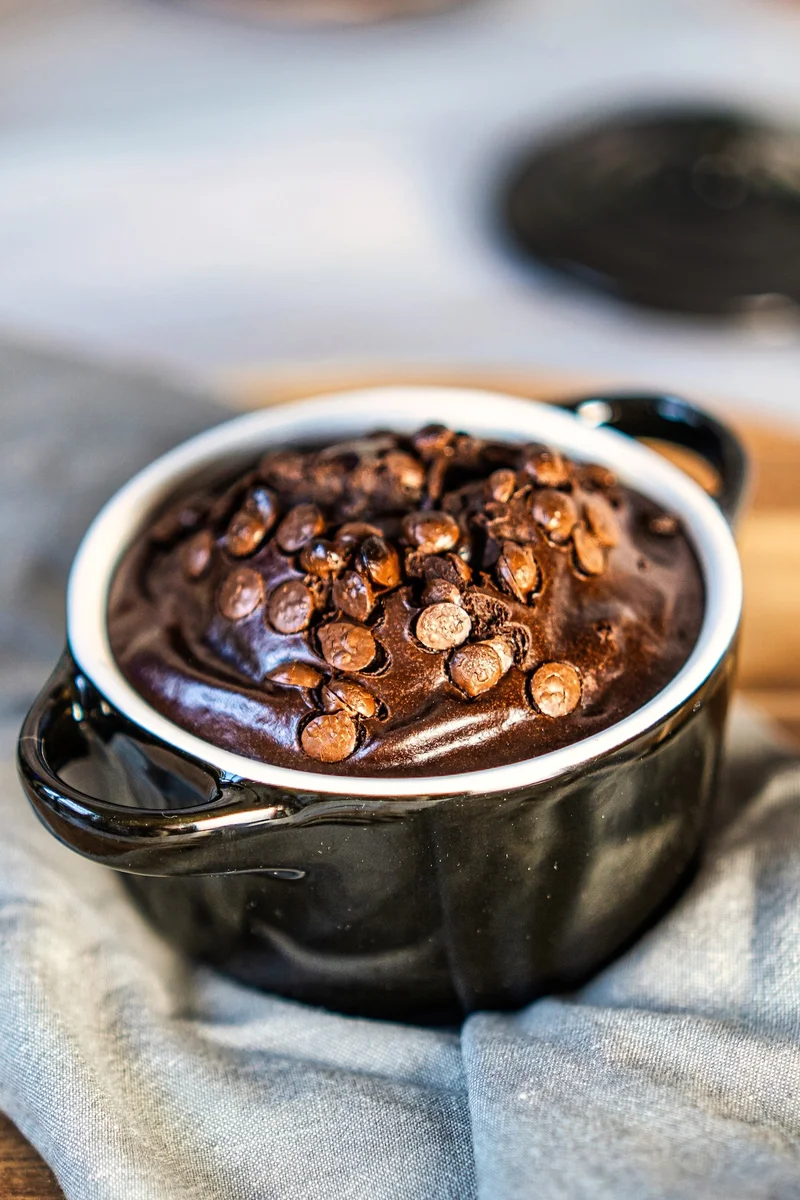
Cottage Cheese Chocolate Mug Cake
Nutrition per Serving
475
Calories
—
Protein
—
Carbs
—
Fat
Protein-rich cottage cheese chocolate mug cake in just 2 minutes. A quick, low-sugar, gluten-free, keto-friendly dessert.
📝 Ingredients
- For Cottage Cheese Chocolate Mug Cake
- 1 egg
- 1/2 cup cottage cheese
- 3 tablespoons unsweetened cocoa powder
- 3 tablespoons stevia or any sweetener of your choice
- 1 tablespoon peanut butter
- 1/2 teaspoon vanilla extract
- Dark chocolate chips for topping
- 1 piece 70% dark chocolate (optional)
- NOTE: Some ingredients can be replaced with their vegan counterparts.
👨🍳 Instructions
- 1--- How to Make Cottage Cheese Mug Cake ---
- 2In a blender, add cottage cheese, vanilla extract, egg, cocoa powder, sweetener, and peanut butter. Blend until smooth and creamy.
- 3Pour the batter into a microwave-safe mug, small baking dish, or ramekin (leave some space for it to rise). Gently press the 70% dark chocolate piece into the center (if using). Top with a few dark chocolate chips.
- 4NOTE: Watch the recipe video to learn how to perform these cooking steps.
- 5--- Cook in Microwave ---
- 6Microwave on high for 1 minute 30 seconds to 2 minutes, depending on your microwave power. Let it rest for 1–2 minutes before eating. The center should be slightly fudgy and moist. Enjoy it as it is or with toppings of your choice. You can also serve it chilled for a brownie-like texture.
- 7NOTE: Watch the recipe video to learn how to perform these cooking steps.
- 8--- Bake in Oven ---
- 9Preheat the oven to 180°C (350°F). Bake for 18–20 minutes, or until the top is set but the center is slightly soft. Allow to cool for 5 minutes before serving warm. Top with some whipped cream, peanut butter, coconut cream, or a few fresh berries for extra flavor.
- 10NOTE: Watch the recipe video to learn how to perform these cooking steps.
- 11--- ENJOY THIS RECIPE ---
- 12ENJOY THIS RECIPE.
About the Chef & Original Recipe
This recipe was published by Anupama on mygingergarlickitchen.com. Visit the original source for step-by-step photos, chef notes and additional details.
Source: mygingergarlickitchen.com