
Chocolate Pretzel Christmas Tree
Nutrition per Serving
430
Calories
—
Protein
—
Carbs
—
Fat
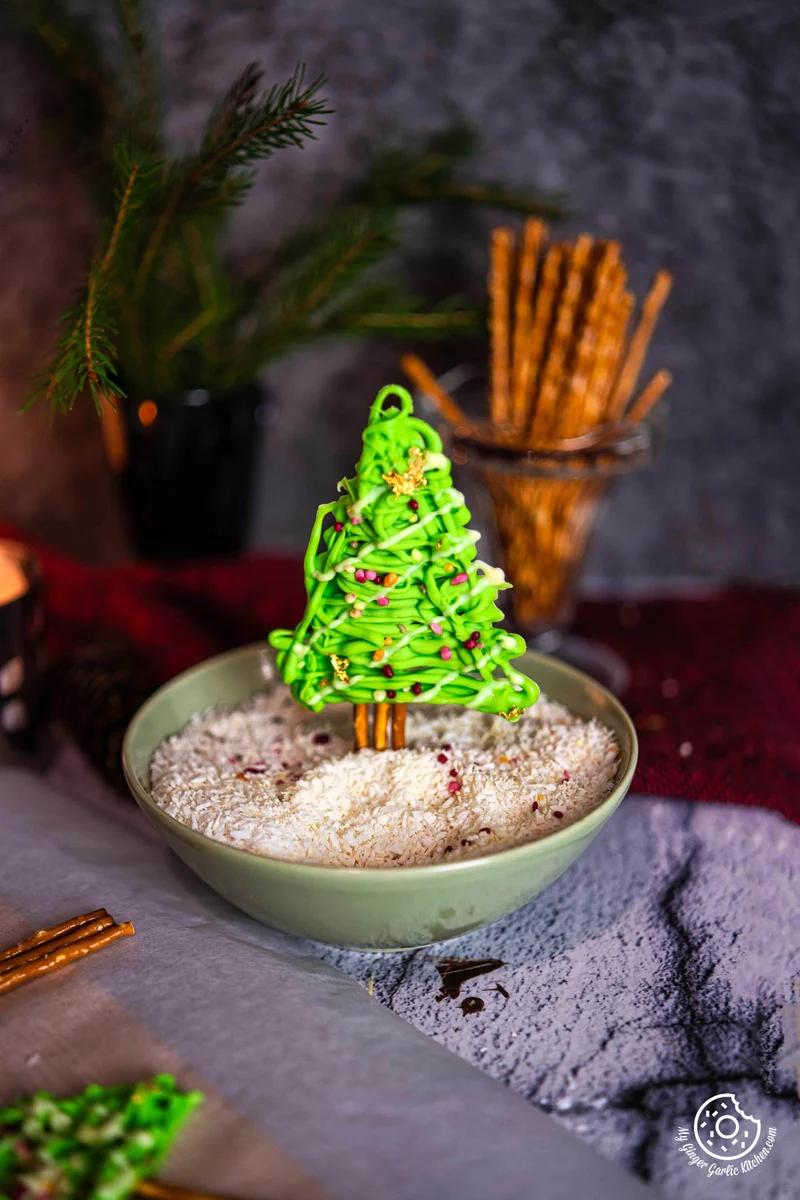
Transform ordinary pretzels into scrumptious chocolate pretzel Christmas tree for a delightful holiday treat. The Perfect DIY Treat for Kids!
📝 Ingredients
- For Chocolate Pretzel Christmas Tree
- 15 pretzel sticks
- 400 grams white chocolate or candy melts
- Multi-colored sprinkles
- 1 tablespoon coconut oil/butter
- A few drops of green food coloring
- Edible gold/silver leaves
- NOTE: Some ingredients can be replaced with their vegan counterparts.
👨🍳 Instructions
- 1--- How to make Chocolate Pretzel Christmas Tree ---
- 2melted. Remove and stir well until smooth. Scoop about 100 grams of melted white chocolate into a piping or sandwich bag and set it aside. Add a few drops of green food coloring to the remaining melted white chocolate, mix well, and let it cool for a few minutes. Scoop the melted green chocolate into a piping bag.
- 3Line a large baking sheet or a wooden board with parchment or wax paper. Place about 3 pretzel sticks to create each tree trunk on the baking sheet, spacing them a few inches apart. You can make 4 trees on this surface. Gently squeeze the green chocolate onto the middle top part of the pretzel sticks, forming the outline of the tree. Fill it by going back and forth to create a 'tree.' Repeat this process until you have your desired number of Christmas trees. Garnish with melted white chocolate for that snowy look. It's like painting a tasty canvas. Sprinkle multi-colored sprinkles and a few gold leaves on the trees to make them shine. Chill in the refrigerator for 30 minutes or until the chocolate has set.
- 4Remove from the refrigerator and enjoy the chocolate trees as a sweet and salty snack or use them as cake, cupcake or muffin toppers.
- 5NOTE: Watch the recipe video to learn how to perform these cooking steps.
- 6--- ENJOY THIS RECIPE ---
- 7ENJOY THIS RECIPE.
About the Chef & Original Recipe
This recipe was published by Anupama on mygingergarlickitchen.com. Visit the original source for step-by-step photos, chef notes and additional details.
Source: mygingergarlickitchen.com