
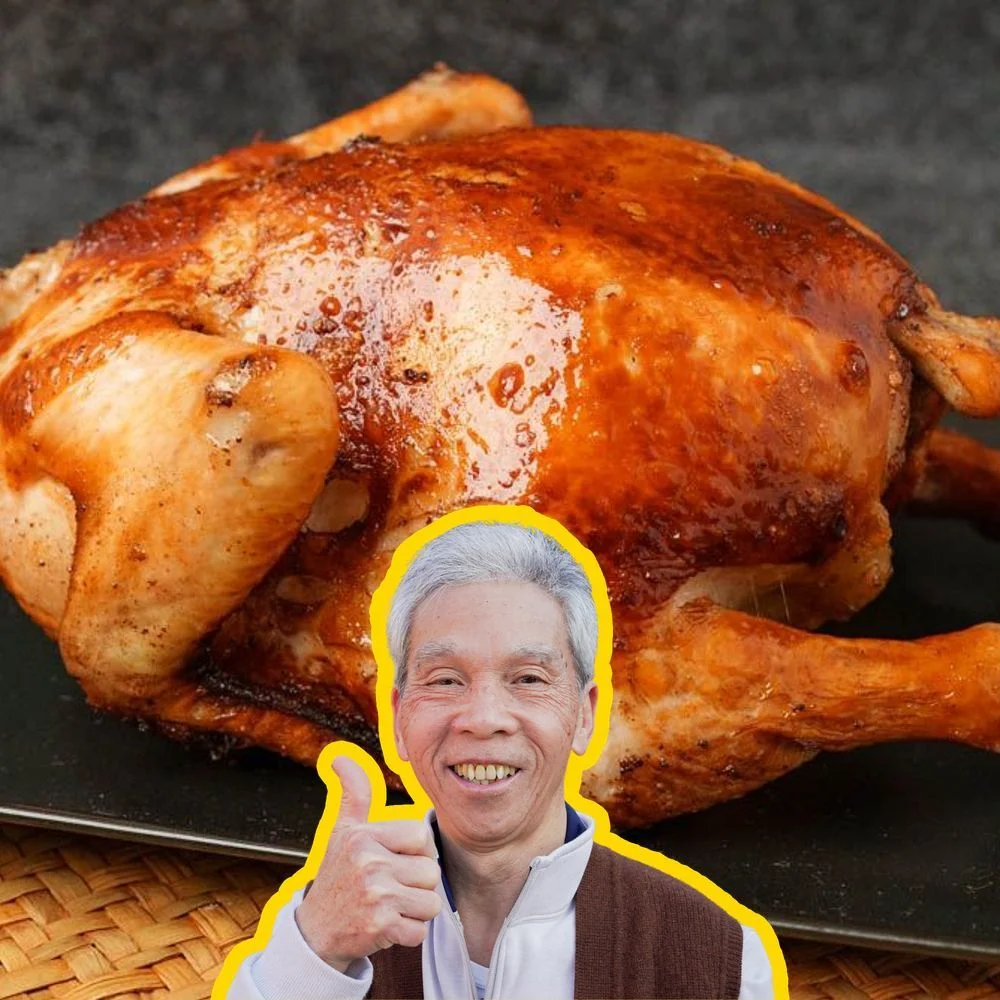
The Crispy Skin Chicken My Dad's Made 100,000 Times
Nutrition per Serving
—
Calories
—
Protein
—
Carbs
—
Fat
Learn how to make Crispy Skin Chicken from a 2x James Beard Award Winning Chinese Chef with 60+ years of experience
📝 Ingredients
- 3.5 lb whole chicken
- 1 lb oil
- 6 cup boiling water
- 0.5 tbsp salt
- 1 tsp five spice powder
- 0.25 tsp white pepper
- 1.5 tbsp salt
- 1 tbsp red vinegar
- 1.5 tbsp white rice vinegar
- 2 tbsp honey
- 2 tbsp salt
- 0.5 tsp five spice powder
- 0.5 tsp white pepper
👨🍳 Instructions
- 1Clean chicken: First, prepare the chicken. Chop off the feet at the joint and discard. It’s important to not cut the feet off above the joint because the skin will shrink when you fry it.
- 2Create dry rub & glaze: To create the dry rub, combine salt, five spice powder, and white pepper. If you don’t like or don’t have five spice powder, substitute with the same amount of garlic salt. Mix well and set it aside.
- 3Apply dry rub & salt to chicken: We’ll season only the inside of the chicken with the dry seasoning mix. Pour the mix into the cavity and rub it all over the inside of the chicken as thoroughly as you can. Don’t get the seasoning mix on the outside; it will burn, and the skin won’t fry uniformly.
- 4Blanch chicken: Boil a wok full of water on high heat; to fill our wok, we needed about 6 cups.
- 5Brush glaze onto chicken: Prop the chicken up with a sturdy bottle and let it dry for about 20 minutes. It’s ready when water no longer drips from it and the skin feels dry to the touch. You can speed it up by blowing the chicken with a fan.
- 6Create salt dip: Heat a dry wok on low heat.
- 7Start 1st fry: Use sharp kitchen shears to cut off the neck of the chicken. This will make the chicken easier to fry; we’ll fry this separately later, though you can discard if you wish.
- 82nd fry: When you’re ready for the second fry, heat up the oil to 375-400°F (190-204° C) and maintain the temperature there. Place the chicken with the breast side down onto a spider strainer.
- 9Chop chicken: Get to carving! If you haven't taken a cooked chicken apart before, just take it section by section.
About the Chef & Original Recipe
This recipe was published by Daddy Lau on madewithlau.com. Visit the original source for step-by-step photos, chef notes and additional details.
Source: madewithlau.com