
Earl Grey Crème Brûlée Tart Recipe
Nutrition per Serving
209
Calories
3g
Protein
11g
Carbs
18g
Fat
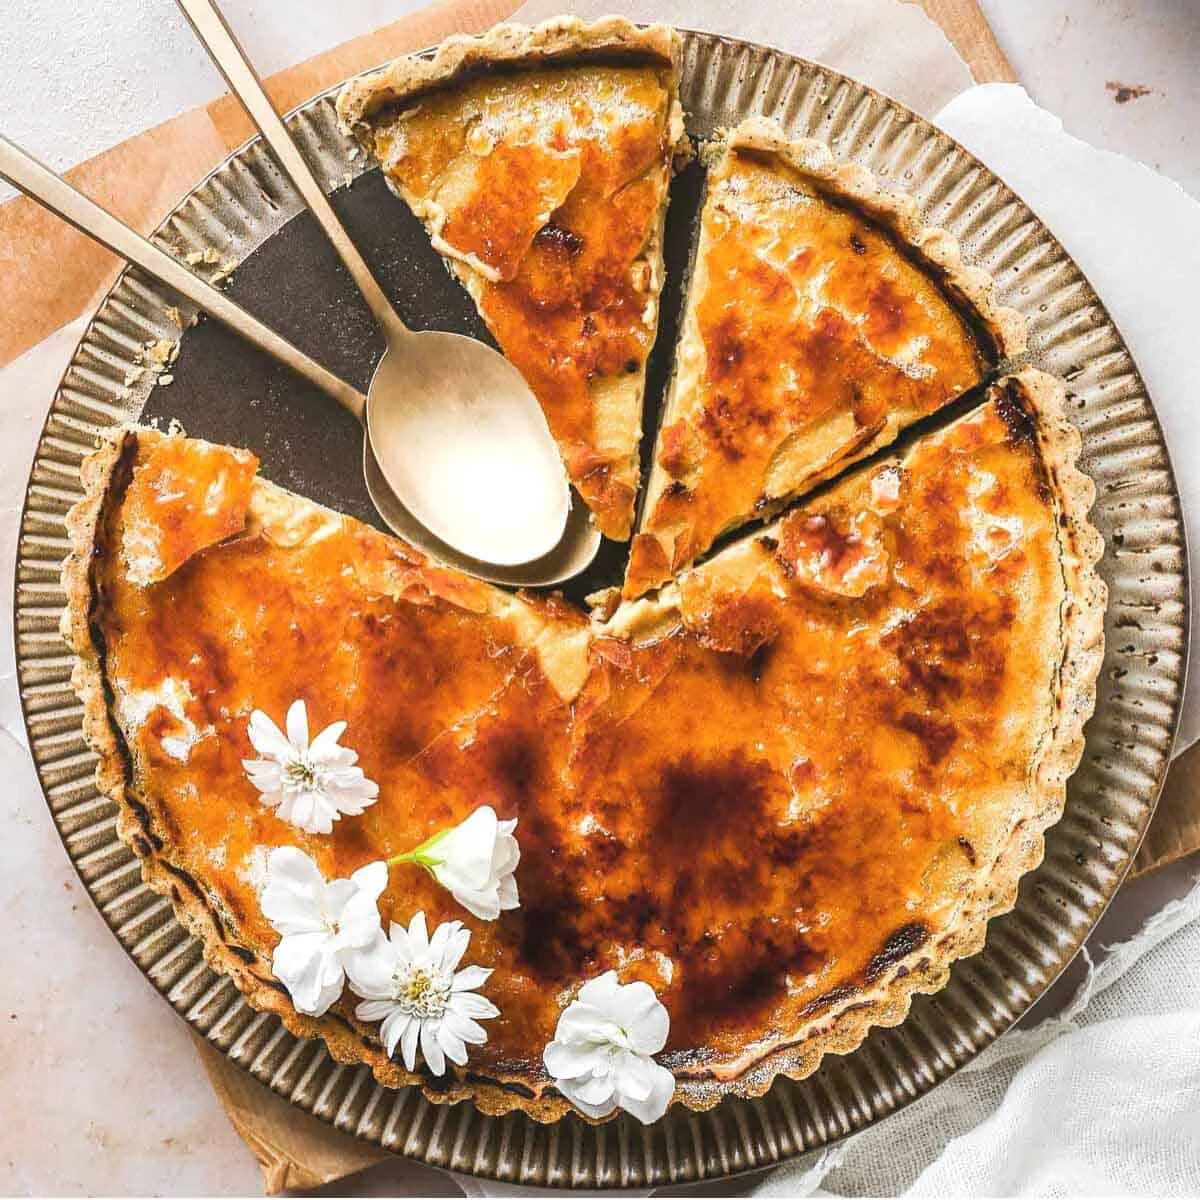
Lightly bergamot infused sweet shortcrust pastry tart, filled with creamy Earl Grey custard and topped with caramelised hardened sugar. Beautifully fragrant with that signature crunch on top.
📝 Ingredients
- 220 g plain flour (all-purpose)
- 40 g powdered icing sugar (confectioners’ sugar)
- 6 g ground earl grey tea leaves (see notes below)
- 1/4 tsp fine salt
- 110 g unsalted butter (chopped small cubes)
- 1 large eggs (lightly beaten)
- 15-30 ml ice cold water
- 1 egg plus 1 tbsp milk (for egg wash)
- 6 large egg yolks
- 70 g caster sugar (superfine)
- 480 ml double cream (heavy cream)
- 2 earl grey tea bags
- 1 tsp vanilla bean paste
- 40-60 g caster sugar (superfine) ( for the top)
👨🍳 Instructions
- 1--- Sweet Shortcrust Pastry ---
- 2Make the dough. Sift the flour, powdered icing sugar and salt into a large bowl. Add in the earl grey and butter and rub the butter and flour between your fingers until it resembles breadcrumbs.
- 3Stir the beaten egg and water into the flour mixture until it starts to resemble a dough. Use your hands to bring the dough together and shape it into a disc. Wrap in plastic wrap and refrigerate for 1 hour.
- 4Prepare the tart tin with the dough. Using a rolling, roll the dough out on a lightly floured work surface until it's the thickness of a coin and 30cm (12in) in diameter. Gently lift the dough into your tart tin. Use your fingers to push the pastry onto the sides of the tin. Trim off any excess, then refrigerate overnight.
- 5Blind Bake and seal. Preheat the oven to 180°C (350°F). Dock the bottom of the tart with a fork, place parchment paper in the bottom, and then fill with pie weights. Bake for 15 minutes. Remove the paper and pie weights. Seal the par-cooked pastry: Make the egg wash by whisking small egg and milk together. Brush the base of the tart with the egg wash and bake for another 10 minutes until the pastry is lightly golden and the base doesn't have any uncooked, 'soft' pastry. This creates a seal on the pastry ensuring that the liquid custard won’t soften for crisp pastry and turn it soggy. Remove from the oven and allow to cool completely. Reduce the heat of the oven to 150°C (300°F) whilst you make the filling.
- 6--- Earl Grey Custard Filling ---
- 7Steep the tea into the cream. In a saucepan on low heat, place the cream and 2 earl grey tea bags and heat gently until steaming with small bubbles around the edge. Remove from the heat and allow the tea bags to steep for 20 minutes. Squeeze the tea bags and stir them around every so often. Make sure to squeeze them gently when removing them.
- 8Whisk yolks and sugar and add cream. In a medium bowl, whisk egg yolks and sugar until pale and fluffy. Remove the tea bags from the cream and whilst whisking the egg mixture, slowly pour in the warmed cream. Add vanilla bean paste and stir till combined. Pass the custard through a sieve into a jug and skim off any foamy bubbles that may have collected on the surface.
- 9--- Assemble ---
- 10Pour the custard into the tart shell and bake. Place the tart shell onto the oven shelf and pour the custard into the tart whilst on the shelf. The custard has to reach almost to the top of the pastry rim. Placing it on the shelf means that you can avoid spillage.Bake at 150°C (300°F) for 40 minutes or until the custard has set but has a slight wobble in the middle.Gently remove the tart from the oven and allow it to cool completely, and then refrigerate to set for 2-4 hours.
- 11Sprinkle over the sugar and caramelise. To create the brûlée topping, sprinkle the remaining caster sugar evenly over the set custard. Using a blow torch, caramelise the sugar until golden brown in colour. If you prefer a thicker crunch, then sprinkle another layer of sugar over the tart and blow torch again until caramelised and golden. Allow the sugar to cool and harden for five minutes. Crack hardened sugar and serve!
About the Chef & Original Recipe
This recipe was published by Emma Duckworth on emmaduckworthbakes.com. Visit the original source for step-by-step photos, chef notes and additional details.
Source: emmaduckworthbakes.com