
Skillet Ground Beef Pie with Flaky Puff Pastry
Nutrition per Serving
—
Calories
—
Protein
—
Carbs
—
Fat
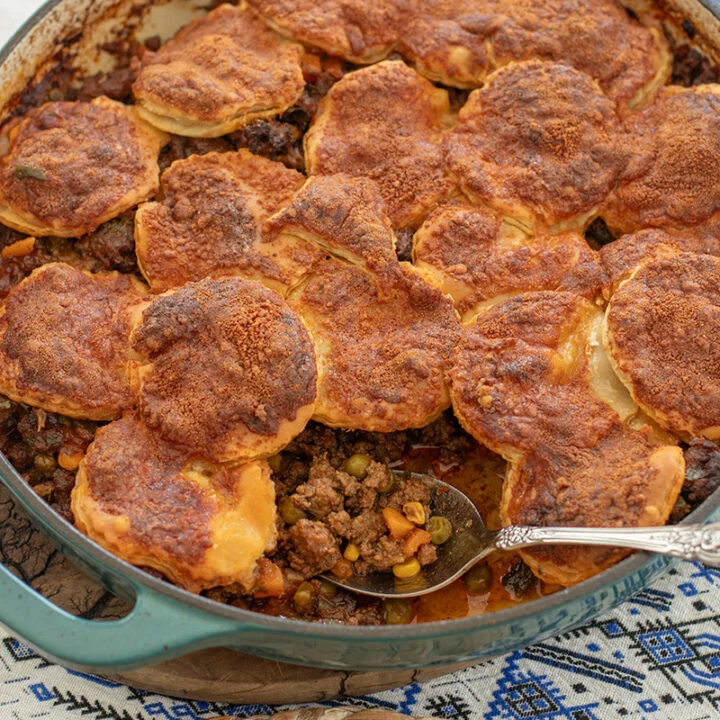
This skillet ground beef pie is simple comfort food done right. Savory ground beef cooked with onions, garlic, herbs, and a splash of balsamic for depth, then topped with flaky puff pastry and baked until golden. It’s easy, satisfying, and perfect for a cozy dinner or casual hosting.
📝 Ingredients
- 2 tablespoons olive oil
- 1 1/2 pounds ground beef
- Salt and freshly ground black pepper, to taste
- 1 large onion, chopped
- 3 cloves garlic, minced
- 1 tablespoon tomato paste
- 2 tablespoons balsamic vinegar
- 1 1/2 cups beef broth
- 1 teaspoon dried oregano
- 1/2 teaspoon dried thyme
- 1 bay leaf
- 1/2 teaspoon paprika (sweet or smoked)
- 1 tablespoon chopped fresh parsley (optional)
- 1 sheet puff pastry, thawed
- 1 egg, beaten, for egg wash
👨🍳 Instructions
- 1Preheat the oven to 400°F.
- 2Heat the olive oil in a large oven-safe skillet over medium-high heat. Add the ground beef and season with salt and pepper. Cook, breaking it up with a spoon, until browned and cooked through. Drain excess fat if needed.
- 3Add the chopped onion to the skillet and cook until soft and lightly golden, about 5 minutes. Stir in the garlic and cook for another 30 seconds.
- 4Add the tomato paste and cook for 1 minute to deepen the flavor. Stir in the balsamic vinegar and let it simmer for about 30 seconds.
- 5Pour in the beef broth and add the oregano, thyme, bay leaf, and paprika. Bring to a gentle simmer and cook for about 10–15 minutes, until the sauce thickens slightly. Taste and adjust seasoning. Remove and discard the bay leaf. Stir in parsley if using.
- 6Remove the skillet from the heat. Lay the puff pastry over the beef mixture, trimming if necessary, and tuck the edges slightly into the skillet. Brush the pastry with beaten egg.
- 7Bake for 20–25 minutes, or until the puff pastry is puffed and deeply golden.
- 8Let the pie rest for about 10 minutes before serving.
About the Chef & Original Recipe
This recipe was published by Dimitra Alexandrakis on dimitrasdishes.com. Visit the original source for step-by-step photos, chef notes and additional details.
Source: dimitrasdishes.com