
Blini (Thin Russian Pancakes)
Nutrition per Serving
—
Calories
—
Protein
—
Carbs
—
Fat
For best flavor the batter should rest 1-2 hours before frying. (The batter can even be made up to a day in advance, just keep it refrigerated until 30 minutes before you are ready to use it, and then continue the recipe from this point.)Yield: 20-24 (6 inch) blini
📝 Ingredients
- 2 1/2 c milk, (warmed to 80-90F)
- 1 Tbsp sugar
- 2 tsp active dry yeast
- 1 c whole wheat flour
- 1 c buckwheat flour (or whole wheat flour)
- 2 eggs, (separated)
- 1 tsp salt
- 1 Tbsp butter
👨🍳 Instructions
- 1Mix warm milk and sugar until the sugar dissolves. Sprinkle the yeast over top of the milk and let the mixture stand until the yeast begins to foam, 10 min.
- 2Mix in the flours and set the batter aside to rest for 1-2 hours. (The batter can even be made up to a day in advance, just keep it refrigerated until 30 minutes before you are ready to use it, and then continue the recipe from this point.)
- 3Mix the egg yolks and salt into the batter.
- 4Place the egg whites in a medium bowl and beat them until stiff peaks form. Fold the beaten egg whites into the batter just before frying the pancakes.
- 5Melt butter in a small, 8 inch skillet. Pour ½ cup of batter into the skillet, tilting the skillet to coat the entire bottom. Cook the blini over medium heat for roughly 2 minutes. When the top begins to dry out, flip the pancake and cook for another 1-2 minutes on the second side. (As you pan gets hot, you may need to reduce the heat to keep the blini from burning.)
- 6Place the cooked blini on a warm plate in a low oven while you continue with the remaining batter.
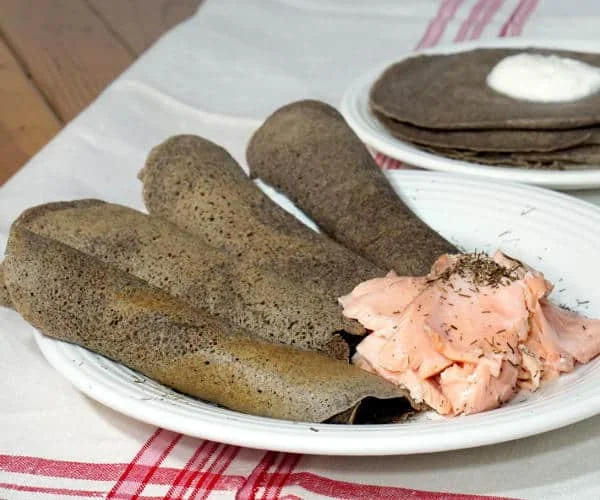
- 7To serve, roll the blini with smoked salmon, sour cream, chopped onions, pickles, fish, or caviar. For sweet blini, try topping them with jam or honey.
About the Chef & Original Recipe
This recipe was published by Sarah | Curious Cuisiniere on curiouscuisiniere.com. Visit the original source for step-by-step photos, chef notes and additional details.
Source: curiouscuisiniere.com