
How to Make Orecchiette Pasta (Easy Steps)
Nutrition per Serving
450
Calories
16g
Protein
91g
Carbs
1g
Fat
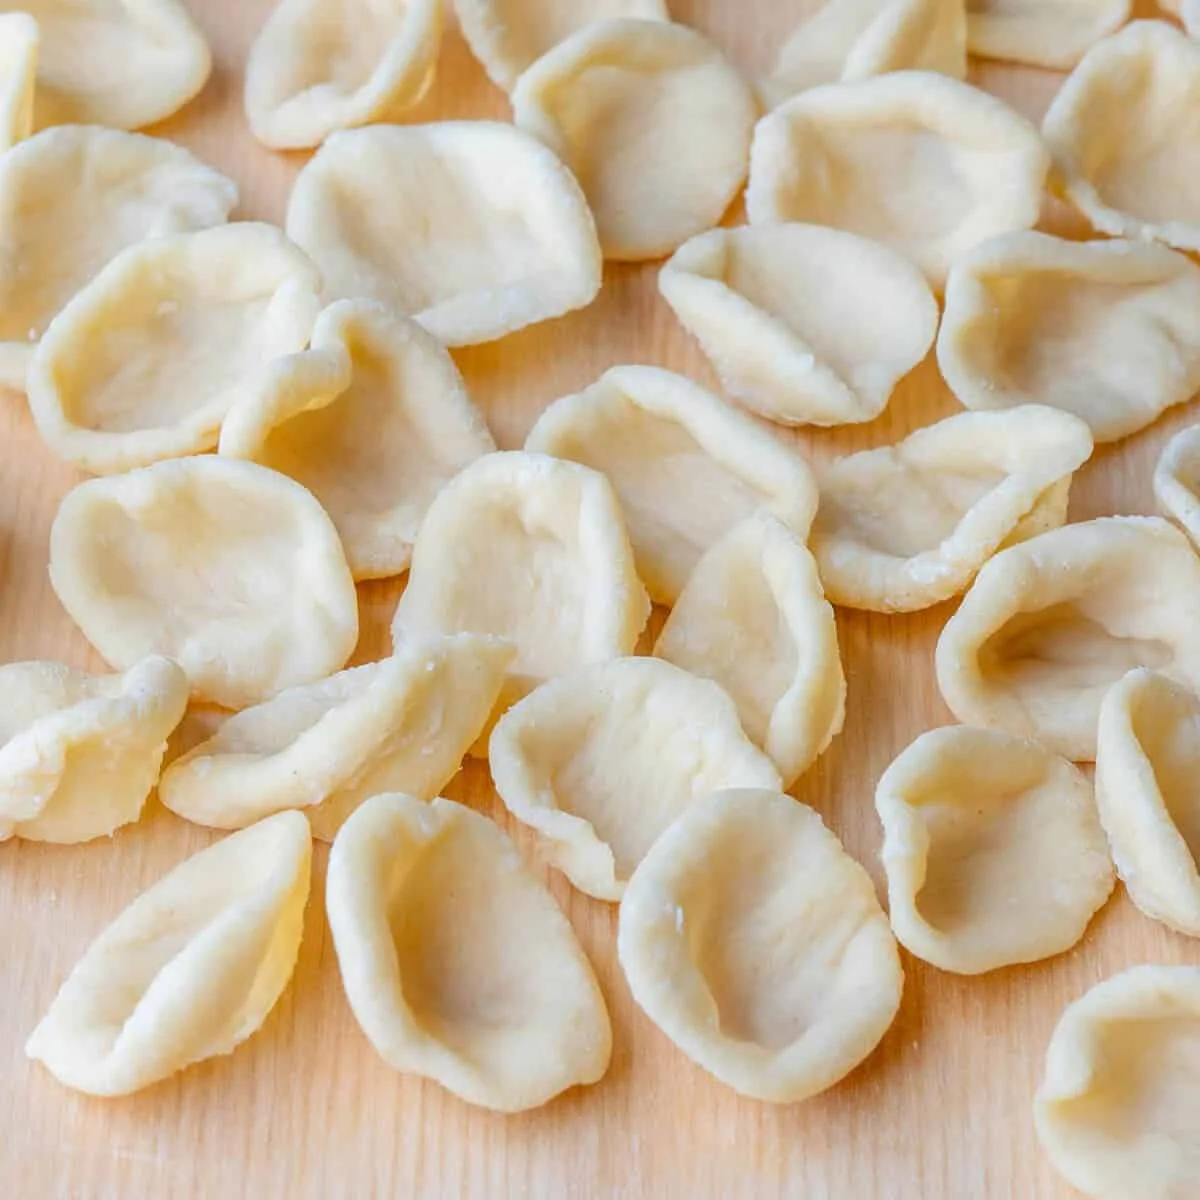
Learn how to make orecchiette, a traditional Italian pasta known for its cute "little ears" shape, perfect in catching delicious flavours in every bite
📝 Ingredients
- 250 grams semolina flour
- 125 grams room temperature water
- Italian tomato sauce
- Broccoli pasta
- Pasta e Fagioli
👨🍳 Instructions
- 1In a large bowl, add the semolina flour and slowly pour in the water whilst mixing it with your other hand. Keep mixing the dough until it mostly comes together in a rough ball, and transfer it to a clean work surface or a pasta board
- 2Using your hands, knead the dough for about 8- 10 minutes until it has become a smooth ball. Slice off a small piece of dough, approximately ¼ of the ball, and wrap the remaining dough in plastic wrap
- 3Using the heels of your hands roll this piece of dough into a long rope, around 1.5 cms / ½ inch in thicknessCut off a small piece around 1 cm in length, then using your knife press down on an angle, and guide the dough piece so it rolls towards you
- 4Using the knife, flick the piece back onto your thumb, and gently pull down the sides to create a deep little ear or bucket shape (refer to pictures and video in post for a better visual on these steps)Continue this process with the remaining pasta dough
- 5To cook the pasta, boil a large pot of water with a few teaspoons of salt. Add the fresh pasta to the salted water and cook for approximately 5-7 minutes, stirring every few minutes so they don't stick together.When the pasta is just under al dente (taste to check), add the cooked pasta to your pan with your preferred pasta sauce such as a classic Italian tomato sauce or Brocolli pasta.Add a ladle of the pasta water, stirring through to finish cooking the pasta and create a creamy sauce. Enjoy your homemade orecchiette!
About the Chef & Original Recipe
This recipe was published by Ayeh Manfre on cookingwithayeh.com. Visit the original source for step-by-step photos, chef notes and additional details.
Source: cookingwithayeh.com