
Homemade Lemon Pie
Nutrition per Serving
—
Calories
—
Protein
—
Carbs
—
Fat
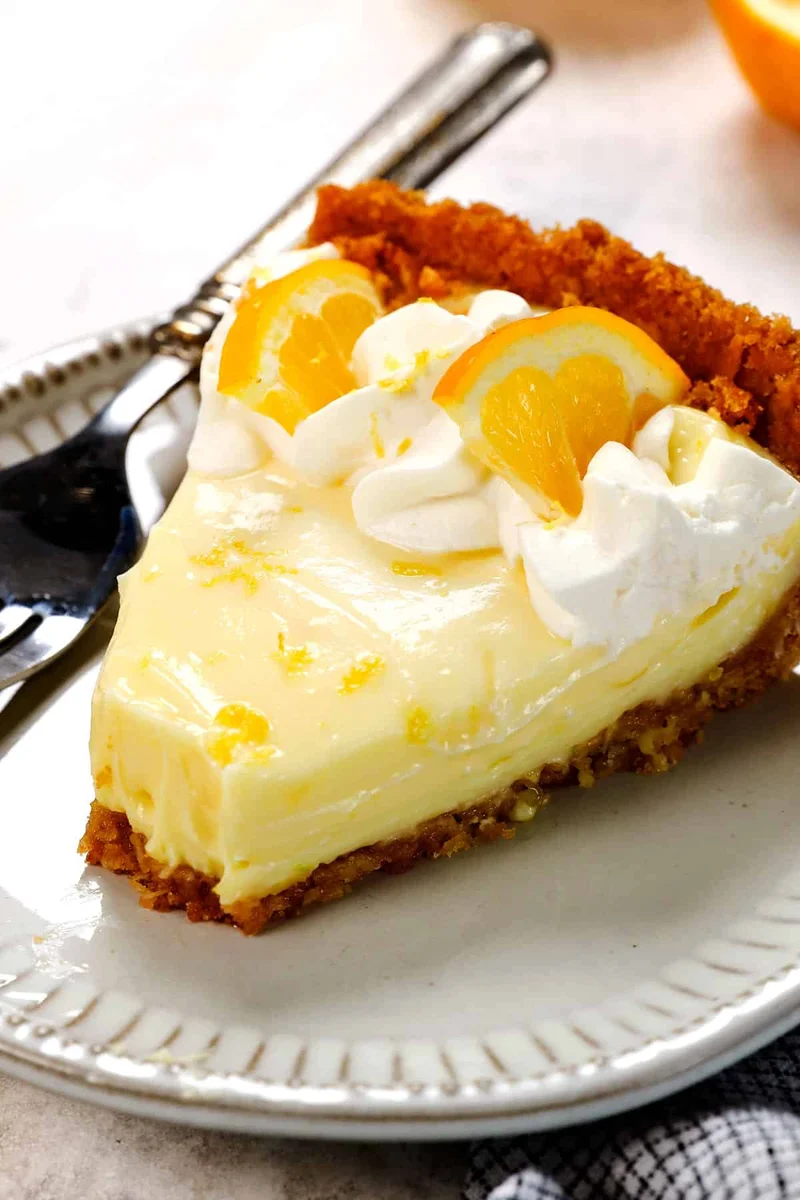
Your family and friends will go crazy over this cool and creamy lemon pie nestled in a coconut vanilla wafer crust! It’s delightfully quick and easy to make with tips and tricks, step-by-step-photos and how to video. Bonus, this lemon pie recipe can be made 100% ahead of time thanks to optional stabilized whipped cream AKA stress free entertaining!
📝 Ingredients
- 45 vanilla wafers (1 1/2 cups crumbs) ((I use Nabisco Nilla Wafers))
- 1 cup sweetened shredded coconut ((optional))
- 2 tablespoons granulated sugar
- 6 tablespoons butter, (melted)
- 4 egg yolks*
- 1/3 cup freshly squeezed lemon juice ((regular, not Meyer))
- 2 tablespoons lemon zest
- 1 1/4 cups granulated sugar
- 1/4 cup cornstarch
- 1/8 teaspoon salt
- 1 1/4 cups milk ((2% or whole))
- 6 tablespoons unsalted butter, (cubed)
- 1 1/4 cups full fat sour cream
- 1 teaspoon unflavored gelatin
- 1 1/2 tablespoons water
- 1 cup cold heavy cream
- 3 tablespoons powdered sugar
- 1 teaspoon vanilla extract
- thinly sliced and quartered lemon slices ((optional))
- raspberries ((optional))
👨🍳 Instructions
- 1--- CRUST ---
- 2Preheat oven to 350 degrees F.
- 3Add vanilla wafers to a food processor and process into fine crumbs (or use a rolling pin). Add coconut, sugar and butter and pulse or stir to combine.
- 4Press crumbs evenly up the sides and onto the bottom of an ungreased 9-inch pie pan or quiche pan. If using a quiche pan (pictured), only press 1 1/2 - 1 3/4 inches up the sides (because it's deeper than a pie pan).
- 5Bake the crust at 350 degrees F for 10 minutes or until lightly golden brown. Cool completely on a wire rack before adding the filling (about 1 hour).
- 6--- LEMON CREAM FILLING ---
- 7In a small nonreactive small saucepan (stainless or enameled), whisk the egg yolks together. Add the lemon juice, lemon zest, sugar, cornstarch and salt and whisk until the cornstarch dissolves. Whisk in the milk, then add the cubed butter.
- 8Turn heat to medium (medium-low if your stove runs hot) and cook, stirring CONSTANTLY, making sure to scrape the bottom and sides of the pan. Cook until thickened to the consistency of pudding and the filling registers about 195-200°F on an instant-read thermometer. (Don’t stop whisking, even while taking the temperature.)
- 9Once thickened, immediately remove from the heat and transfer to a large bowl. Let cool to room temperature. Once cool, fold in the sour cream. Taste and, if desired, add additional lemon zest for tangier or powdered sugar for sweeter.
- 10Pour filling into the cooled, baked pie shell. Cover with plastic wrap pressed against the surface of the filling (don't worry about "ruining" the aesthetics of the top, you can make it pretty after chilling). Chill in the refrigerator for 3 hours.
- 11--- Whipped Cream ---
- 12You may add the stabilized whipped cream at any point while the pie is chilling and return to the fridge (tented with foil) or skip the gelatin/water and add the whipped cream just before serving.
- 13Add unflavored gelatin to a small microwave safe bowl. Add the cold water and whisk together with a fork; let stand for 5 minutes. Microwave for 20 seconds. Stir the mixture, then set aside while you immediately begin to beat the heavy cream.
- 14Add heavy cream, powdered sugar, and vanilla extract to a large mixing bowl. Whip using an electric hand mixer just until soft peaks form (the peaks flop over when the beaters are lifted.)
- 15Turn the mixer to low and slowly pour in the gelatin mixture. Mix until combined then increase speed to medium and continue mixing until stiff peaks form (peaks stand straight up when the beaters are lifted).
- 16Transfer whipped cream to a piping bag and decorate as desired. The beauty of stabilized whipped cream is it will hold its shape indefinitely. If using regular whipped cream, top just before serving.
- 17--- TO SERVE ---
- 18Add lemon slices just before serving (if using) so they don't weep.
- 19Run a knife under hot water or fill a large glass with hot water, dip the knife in the hot water before each cut. Wipe the knife clean with a towel after each cut, then repeat. Serve leftover whipped cream on the side.
About the Chef & Original Recipe
This recipe was published by carlsbadcravings.com. Visit the original source for step-by-step photos, chef notes and additional details.
Source: carlsbadcravings.com