
Focaccia With Olives
Nutrition per Serving
201
Calories
5g
Protein
34g
Carbs
5g
Fat
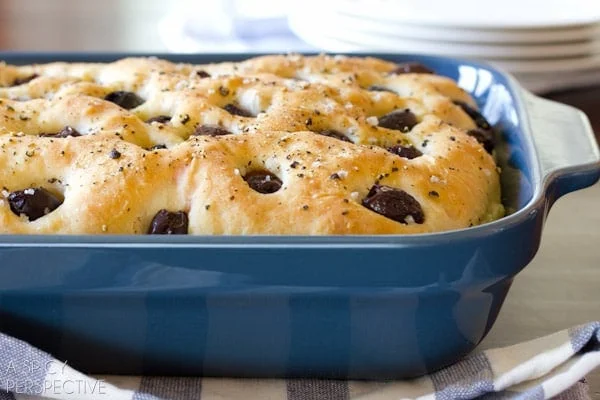
This tender and soft, impressive yet rustic Olive Focaccia bread with roasted garlic and olives has a rich olive oil flavor and makes a wonderful addition to any meal!
📝 Ingredients
- 1/4 cup hot water
- 1 packet dry active yeast
- 2 teaspoon honey
- 1 1/2 cup cold water
- 3 tablespoons olive oil (+ extra for the bowl and pan)
- 1 1/2 teaspoons sea salt
- 2 tablespoons roasted garlic (smashed)
- 4 cups all-purpose flour
- 2/3 cups pitted kalamata olives
- Salt and pepper
👨🍳 Instructions
- 1Pour the hot water and honey into the bowl of your electric mixer. Swirl the bowl around until the honey has dissolved and the water is just lukewarm. Add one package of dry active yeast and swirl around. Allow the yeast to foam for 10 minutes or so. Then add the cold water, 3 tablespoons oil, salt, and smashed roasted garlic. Using the bread hook attachment, turn the mixer on low and slowly add the flour. “Knead” on low for about 10 minutes.
- 2Pull the dough away from the sides and rub the bowl down with oil. Cover the bowl with plastic wrap and allow the dough to rise for 1 1/2 to 2 hours. Remove the plastic wrap and turn the mixer back on for 30 seconds.
- 3Thoroughly oil a 9x13 or 11x15 rimmed baking dish. Press to dough to the edges, don’t be afraid to let your fingers puncture the dough—this will created the bumpy, rustic texture of traditional focaccia bread.
- 4Once the dough is spread out, poke deep cavities in the dough and place an olive in each hole. Push the olives down far, otherwise they might pop out when the dough rises. Drizzle the top with more olive oil and sprinkle with sea salt and pepper. Cover the dough with a clean damp towel. Allow the dough to rise again for at least 1 hour.
- 5Preheat the oven to 400 degrees F. Bake for 35-45 minutes, until the top is golden-brown. (If you used a 11x15 dish, it might be more like 30-35 minutes.)
About the Chef & Original Recipe
This recipe was published by aspicyperspective.com. Visit the original source for step-by-step photos, chef notes and additional details.
Source: aspicyperspective.com