
Easy Crème Brûlée
Nutrition per Serving
543
Calories
6g
Protein
33g
Carbs
44g
Fat
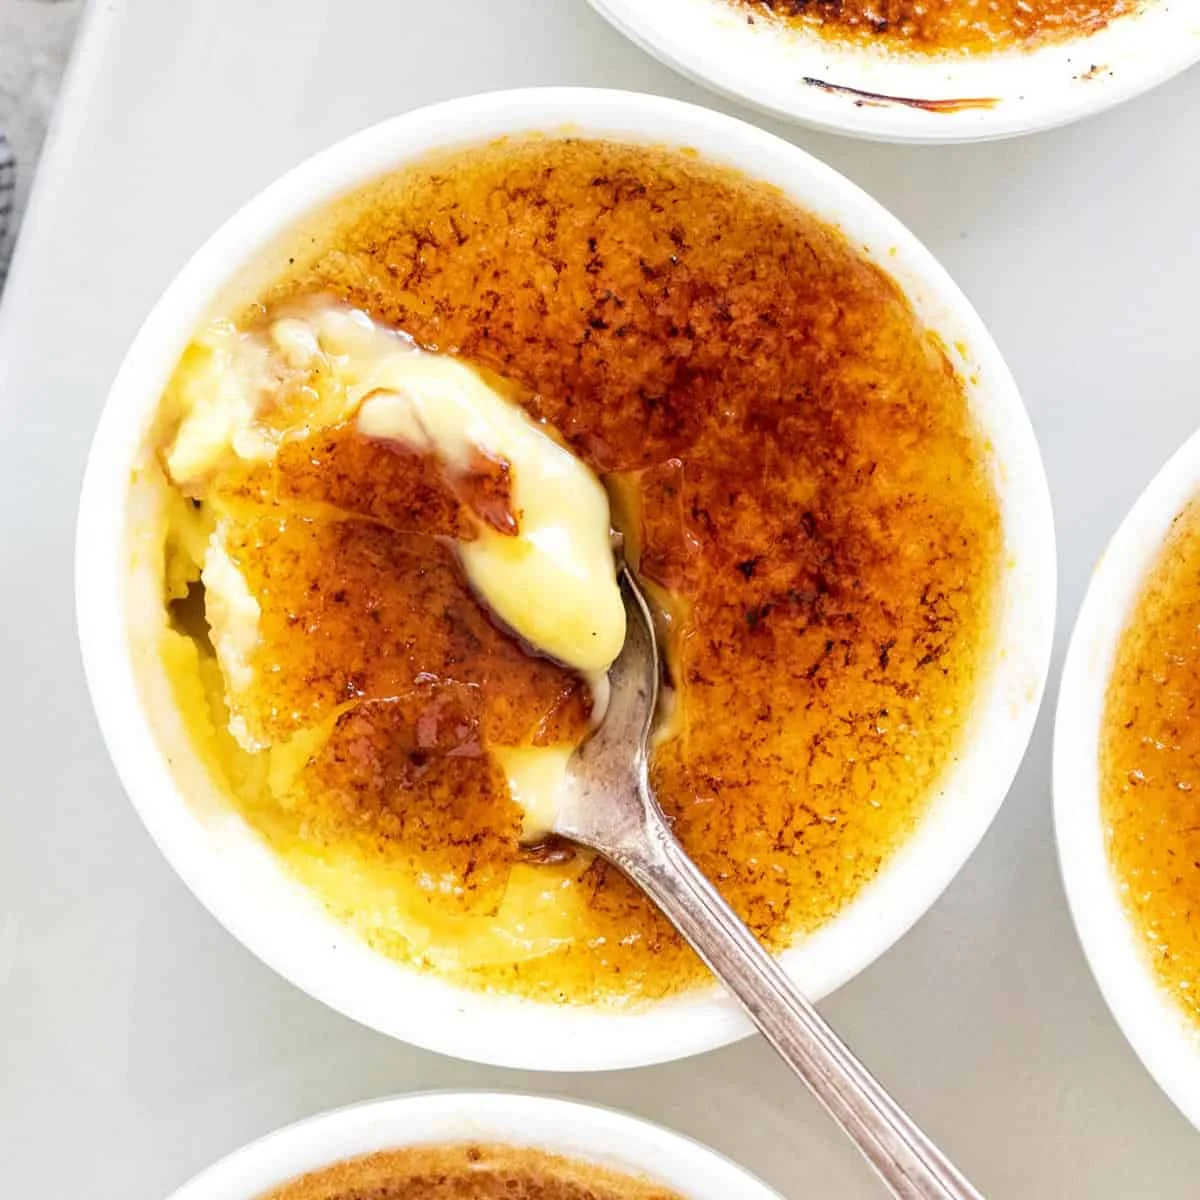
Homemade crème brûlée is easy to make! Serve up a simple elegant dessert with creamy vanilla custard and a crisp caramelized sugar surface.
📝 Ingredients
- 1 vanilla bean
- 1 3/4 cups heavy cream
- 5 large egg yolks (wait to separate)
- 1/2 cup granulated sugar
- 4 cups water
- 4 teaspoons granulated sugar (for topping)
👨🍳 Instructions
- 1Extract the Vanilla Seeds - Cut the vanilla bean pod in half lengthwise. Run the back a paring knife along the inside to scrape out the seeds.
- 2Preheat the Oven - Set the oven rack to the middle position. Preheat the oven to 325ºF (163ºC).
- 3Scald the Heavy Cream - In a medium saucepan, add the heavy cream, vanilla bean seeds, and the pod. Heat on medium-low until the mixture reaches 180ºF (82ºC), about 10 to 12 minutes. Stir occasionally and make sure not to boil. Remove from the heat and allow the vanilla bean to infuse, approximately 5 minutes.
- 4Separate the yolks from the whites: Combine the Yolks and Sugar - Separate the egg yolks from the egg whites. In a medium bowl, add the egg yolks and sugar, gently whisk to incorporate.
- 5Strain the Cream - Set a fine-mesh sieve over a medium bowl. Slowly pour the cream through, scrape the bottom of the sieve against the edge of the bowl to incorporate any vanilla seeds.
- 6Tempering the eggs: Temper the Eggs - Gradually add 1/3 cup of cream mixture into the egg mixture while whisking slowly to incorporate. Repeat with another 1/3 cup. Add the remaining cream into the egg mixture, making sure to scrape any vanilla seeds left in the bowl.
- 7Prepare the Water - In a medium saucepan or kettle, add the water and bring it to a boil. Turn off the heat, cover to keep hot. This will be used to make the water bath.
- 8Fill the Ramekins - Place four (4-ounce) ramekins inside a 9X13-inch metal pan. Slowly stir the egg mixture before adding. Fill each ramekin with ½ cup custard, or until almost full. Gently stir each one to distribute any vanilla seeds that may have sunk to the bottom. Pop any bubbles on the surface.
- 9Hot water bath (bain marie): Make a Hot Water Bath - Pour enough of the boiling water into the baking dish to come halfway up the sides of the ramekins. Be careful not to pour any water into the cups.
- 10Bake the creme brulee: Bake - Bake until the crème brulee sets, but still has a slight wiggle in the center, approximately 30 to 40 minutes. After 30 minutes, open the oven and gently tap the sides of the ramekins to check for doness. Bake longer as needed, checking every 5 minutes. The temperature should be between 175 to 178ºF (79 to 81ºC) in the center.
- 11Cool until the custard sets: Cool - Use an oven mitt to carefully remove each ramekin from the pan and transfer it to a wire rack. Let them cool to room temperature, about 45 to 60 minutes. Individually wrap each ramekin with plastic and place in the refrigerator for a minimum of 3 hours to set the custard, or refrigerate for up to 3 days.
- 12Add sugar to the custard: Add the Sugar - When ready to serve, remove the crème brulee's from the refrigerator. Gently blot any moisture on the surface with a paper towel. Evenly sprinkle 1 teaspoon of granulated sugar over the top of each ramekin. Hold at a slight angle, and gently tap the side so the sugar evenly covers the surface.
- 13Caramelize the sugar topping: Caramelize the Sugar - Using a culinary torch, ignite and hold it 3 to 4 inches from the ramekin. Start along the edges, moving in small circles, until you reach the middle of the custard. Continue this movement until the surface is browned and caramelized, being careful not to overburn the sugar. Repeat with each ramekin.
- 14Let the sugar harden before serving: To Serve - Once caramelized, let the sugar cool for five minutes at room temperature to harden. Alternatively, refrigerate for 5 minutes to cool the warmed custard beneath. The custards can be chilled uncovered for up to 1 hour and still have a hard crust. If desired, the surface can be torched for a few seconds to make the surface crisper.
About the Chef & Original Recipe
This recipe was published by jessicagavin.com. Visit the original source for step-by-step photos, chef notes and additional details.
Source: jessicagavin.com