
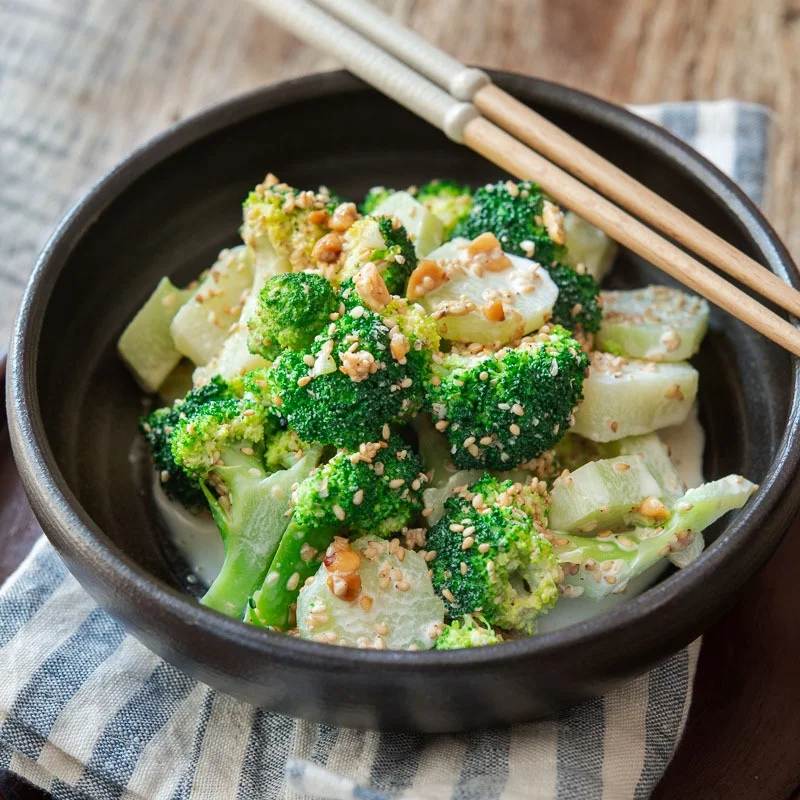
Asian-Style Broccoli Salad with Sesame Dressing
Nutrition per Serving
183
Calories
6g
Protein
16g
Carbs
12g
Fat
Asian-style broccoli salad tossed in creamy sesame dressing is ideal for spring and summer BBQs. Quick-blanching the broccoli florets removes a raw taste and makes it a popular Korean broccoli side dish.
📝 Ingredients
- 1 medium head fresh broccoli
- generous pinches salt
- 1 1/2 tbsp toasted sesame seeds (crushed)
- 3 tbsp mayonnaise
- 1 tbsp honey
- 2 tsp soy sauce
- 1 tbsp lemon juice (or citron juice)
- 2 tsp peanut butter
👨🍳 Instructions
- 1Cut the Broccoli: Slice a head of broccoli into small florets. Don't throw away the stem. Instead, trim off the tough outer layer and cut the tender inner core into thin slices.
- 2Blanch the Broccoli: Begin by heating a large pot of water to a boil. Once boiling, sprinkle in a generous pinch of salt. Add the broccoli florets to the boiling water and let them cook for just 1 minute. This quick boil helps keep their bright green color and crunch, while softening the raw edge a bit. After boiling, immediately transfer the broccoli to a bowl of ice water or rinse under cold running water to halt the cooking process. Thoroughly drain the broccoli once cooled; pat dry with a kitchen towel to remove as much moisture as possible. Excess moisture can dilute your salad dressing.
- 3Crush the Sesame Seeds: Lightly crush the toasted sesame seeds using a mortar and pestle or a suribachi. Alternatively, you can crush them with your hands. You want to keep about half of them coarsely crushed to add texture.
- 4Mix the Dressing: In a big bowl, combine the crushed sesame seeds with mayonnaise, soy sauce, honey, lemon juice, and peanut butter. Season with a pinch of salt and stir everything together well.
- 5Combine and Serve: Add the well-drained broccoli to the bowl with the dressing. Toss everything together until the broccoli is evenly coated. This salad can be served chilled or at room temperature, according to your preference.
About the Chef & Original Recipe
This recipe was published by beyondkimchee.com. Visit the original source for step-by-step photos, chef notes and additional details.
Source: beyondkimchee.com