
Grilled Pizza
Nutrition per Serving
915
Calories
36g
Protein
109g
Carbs
37g
Fat
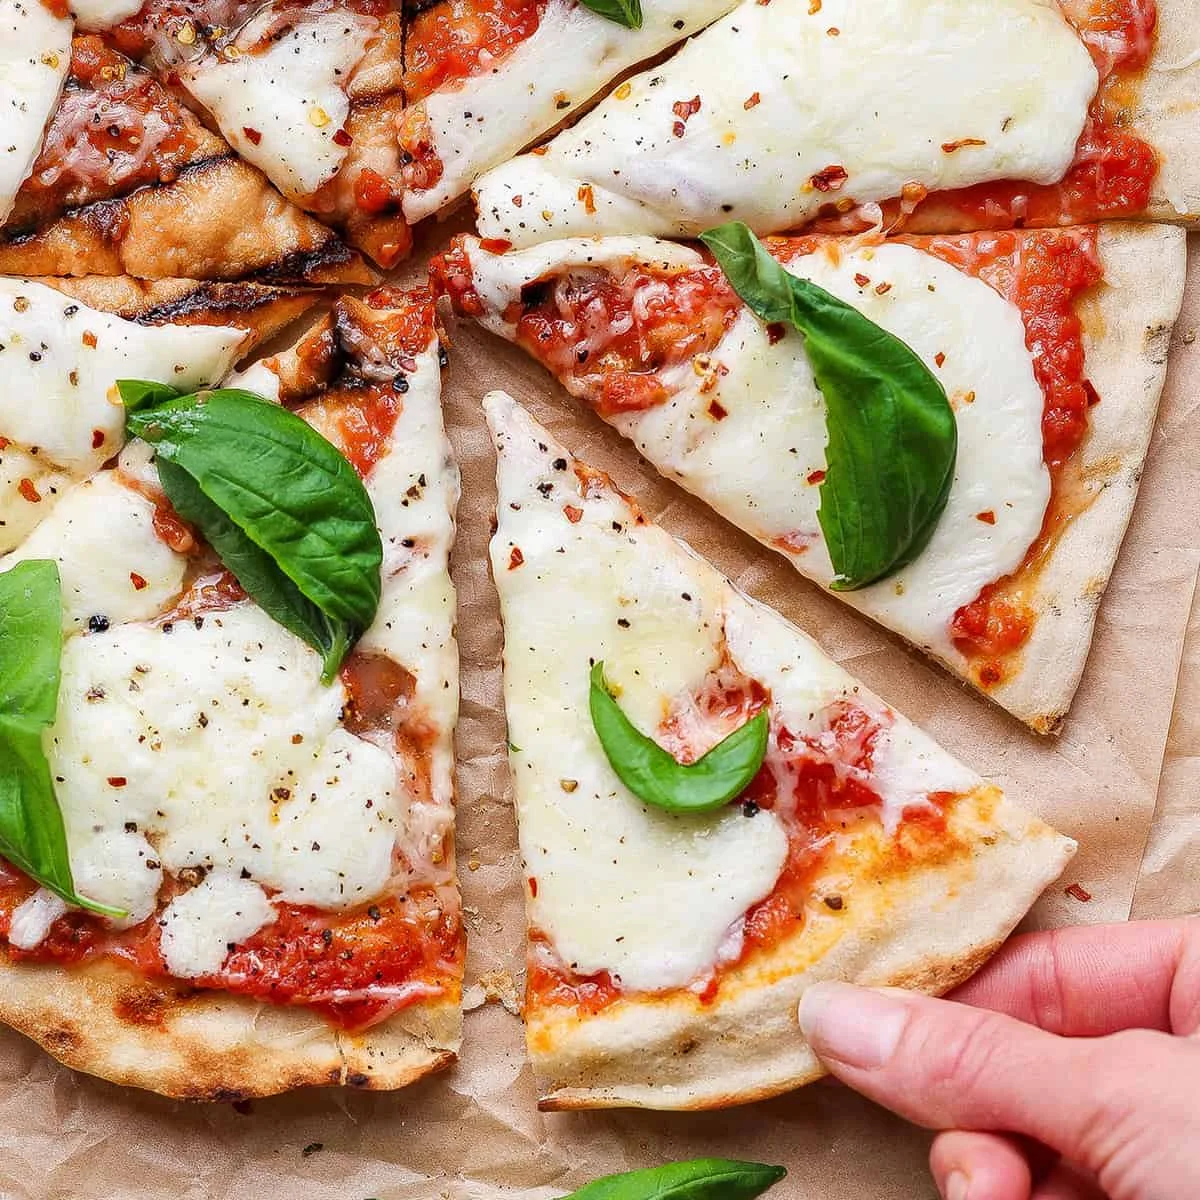
This recipe includes an easy homemade dough for a thin, crispy crust that doesn't fall through the grates, plus a simple, fresh-tasting red sauce. It's homemade pizza perfection!
📝 Ingredients
- 1 1/4 cups warm (105℉) water
- 2 teaspoons granulated sugar
- 2 teaspoons instant dry yeast
- 4 cups "00" pizza flour, (plus a bit more for flouring the countertop if needed)
- 1 teaspoon Morton kosher salt
- 2 tablespoons + 1/2 teaspoon extra-virgin olive oil, (divided)
- 1 can (28 ounces) whole peeled tomatoes ((I use Muir Glen brand))
- 1 large clove garlic, (minced)
- 1/4 teaspoon Morton kosher salt
- 1/8 teaspoon red pepper flakes
- 1 big pinch granulated sugar
- 8 teaspoons extra-virgin olive oil, (divided)
- 4 ounces freshly grated Parmesan, (divided (use the small holes on a box grater))
- 8 ounces fresh hand-pulled mozzarella, and up to 16 ounces if you prefer more cheese,
- 1/2 teaspoon red pepper flakes, (divided)
- 8 big grinds freshly ground black pepper, (divided)
- fresh basil leaves
👨🍳 Instructions
- 1--- Grilled Pizza Dough ---
- 2Add warmed water to a 2-cup liquid measure or similar sized bowl. Add sugar, then sprinkle yeast evenly over the top of the water. Let stand for 5-10 minutes, until yeast is frothy.
- 3Meanwhile, add flour and salt to bowl of a stand mixer fitted with a dough hook. Stir to combine.
- 4Add frothy yeast mixture and 2 tablespoons of the olive oil to flour mixture. Combine on low speed for about 30 seconds, just to combine the wet and dry ingredients. Then increase speed to medium and let the dough hook knead the dough for 2 minutes. There should be no loose flour left in the bottom of the bowl.
- 5Form dough into a ball and flatten it slightly into a disk shape on the countertop. Use a bench scraper to divide dough into four equal portions. Roll each portion into a ball on countertop, firmly using the palm and heel of your hand, adding a little flour to the countertop if needed.
- 6Drizzle remaining ½ teaspoon olive oil over the bottom of an 8"x8" baking dish. Add dough balls and roll them in the olive oil to evenly coat. Lightly spray a piece of plastic wrap with non-stick spray and cover pan of dough balls, sprayed side down. Let rise at room temperature 1-2 hours, until doubled in size.
- 7--- Simple Red Sauce ---
- 8About 45 minutes before the dough is ready, make the red sauce. Add tomatoes to a colander set over a bowl. Use a wooden spoon to gently press on individual tomatoes, and split them open with the side of the spoon, to release juices inside. Let drain for about 30 minutes, shaking the colander and pressing on tomatoes occasionally. I always use Muir Glen whole peeled tomatoes and strain away at least 1⅔ cups of tomato juice. You really want as much juice strained away as possible.
- 9Place strained tomatoes in a small bowl with tall sides, along with the garlic, salt, red pepper flakes, and sugar. Use an immersion blender to blitz everything until smooth. (This could also be done in a blender.)
- 10--- Margherita Pizza Toppings ---
- 11Also, while dough is rising, prep your toppings. Place prepared toppings on a rimmed pan or tray, something that's easy to carry out to the grill. You will be adding red sauce and toppings to individual pizzas out by the grill.
- 12--- Put It All Together and Grill! ---
- 13Heat grill to 435℉. Make sure grates are very clean and oiled well. Prepare a space near the grill for pizza toppings and pizza assembly.
- 14Punch down one of the dough balls to release air bubbles, then transfer it to a piece of parchment (should be at 12"x12") on the countertop. Cover remaining dough balls in the pan with same piece of plastic.
- 15Form dough ball into a flattened disc, and with both hands, use your fingers to press into an 11" circle. Work from the center outward, creating an even thickness all the way across. Do not create a raised outer crust at the perimeter. The dough will be quite thin, and the parchment paper will help the dough retain its shape. However, if the dough wants to shrink back a bit, let it sit for a minute or two to relax before shaping further. Due to many variables (different ingredients, room temperature, humidity, etc), if you have any issues, try pressing out the dough right on the countertop (not on parchment), using a roller if you find that easier, and then transfer the 11" dough circle to a piece of parchment.
- 16Brush a thin layer of olive oil over the top of the dough, then slide parchment with dough circle onto a large non-rimmed cookie sheet and head to the grill. Quickly yet gently, lift the parchment with dough and flip it over onto the grates, placing the oiled dough directly onto the grates. Peel the parchment paper off the top.
- 17Close grill cover and cook about 1½ minutes, until crust is set, with crisp charred grill lines on the bottom side. While you wait, set out your pan of pizza toppings.
- 18Use a large spatula or tongs to transfer par-grilled crust to cookie sheet, grilled side still facing down. (Close grill cover.) Lightly brush olive oil over top of crust, then flip crust over so the grill marks are facing up. Add ⅓ cup red sauce and spread evenly over the crust. Sprinkle some grated Parmesan over the top. Then tear mozzarella into thin pieces that are about 1" to 2" in diameter and scatter over the top. Drizzle with a little bit of olive oil.
- 19Place pizza on the grates and close the grill cover. Cook for about 4½ minutes, or until cheese is melted and bottom of crust is cooked to your liking. If needed, lower grill temperature slightly to keep the cheese melting while not overcooking the crust.
- 20Transfer pizza to cookie sheet. Sprinkle with a bit more Parmesan, followed by a big pinch of red pepper flakes and a couple grinds of black pepper. Finish with a sprinkle of small whole basil leaves or thinly sliced basil leaves.
About the Chef & Original Recipe
This recipe was published by Brenda Score | A Farmgirl's Dabbles on afarmgirlsdabbles.com. Visit the original source for step-by-step photos, chef notes and additional details.
Source: afarmgirlsdabbles.com