
Gefüllte Paprika nach philippinischer Art
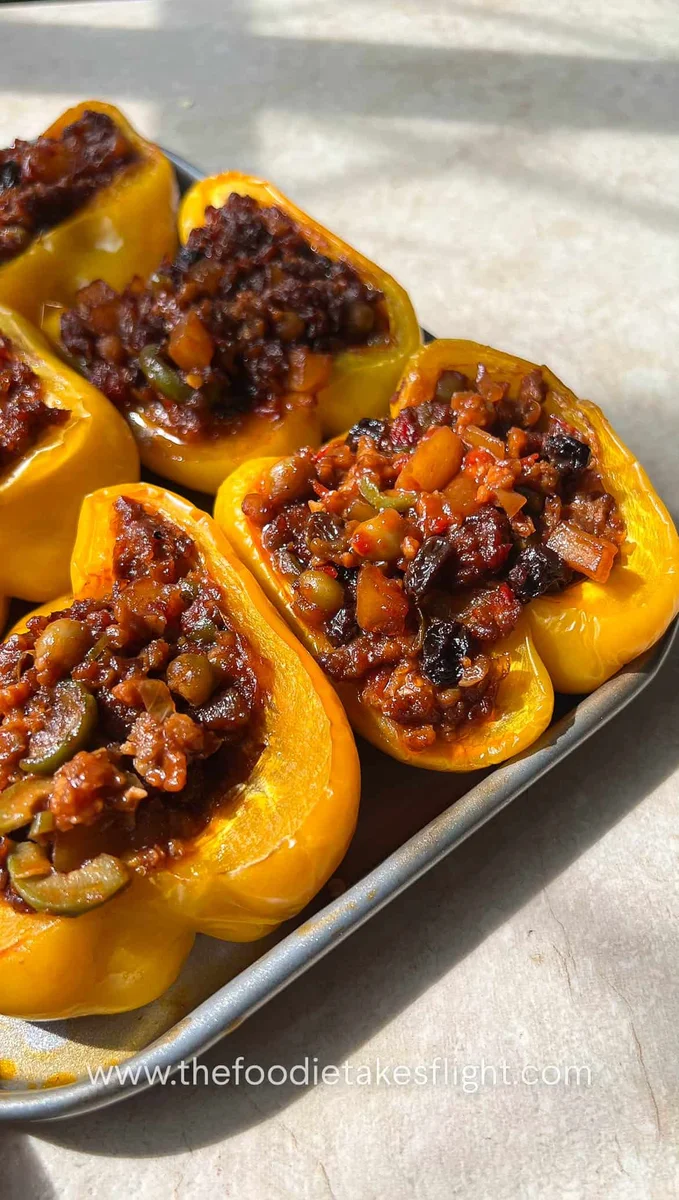
Diese gefüllten Paprika nach philippinischer Art enthalten pflanzliches Hack, das in einer kräftigen Tomatensoße nach dem Vorbild des philippinischen Arroz a la Cubana gegart wird. Das pflanzliche Hack wird mit Kartoffeln, Paprika, Rosinen und Oliven zubereitet und erhält so eine süß-herzhafte Umami-Note sowie unterschiedliche Texturen. Jede Paprikahälfte wird mit dieser Mischung gefüllt und gebacken, bis die Paprika beginnt, ihren Saft abzugeben, und sich die Aromen der Füllung weiter verbinden. Da wir Filipinos Reis lieben, habe ich diese gefüllten Paprika mit Sinangag, also philippinischem gebratenem Knoblauchreis, serviert.
Zutaten
- 1 tbsp neutral cooking oil
- 1/2 small white onion
- 2 cloves garlic (minced)
- 1/2 small red bell pepper
- 1 small green chili (optional for extra head)
- 1 small potato (peeled and diced)
- 10.5 oz vegan ground ‘meat’ or mince ((plant-based ground meat substitute), see notes)
- 1/2 to 1 tbsp soy sauce
- 2 tsp liquid seasoning (I used Knorr, option - you can just season with salt or soy sauce)
- Freshly ground pepper
- 2.5 tbsp tomato paste
- 1/2 cup water
- 1.5 - 2 tbsp brown sugar (adjust to desired sweetness)
- 4 green olives (sliced)
- 1.5 tbsp dried raisins
- 3.5 oz green peas
- 3 large bell peppers (I used yellow bell peppers)
- Filipino Fried Garlic Rice or Sinangag
Zubereitung
- 1
--- PREPARE THE FILLING ---
- 2
Heat a large pan or skillet over medium heat. Add the oil.
- 3
Once hot, sauté the onion until translucent, around 1 minute.
- 4
Add the garlic and sauté until lightly brown. Mix in the diced red bell peppers and chili (if using) and cook until tender.
- 5
Add the diced potatoes. Turn up the heat and leave the potatoes to cook for 2-3 minutes or until half-cooked.
- 6
Season the potatoes with some liquid seasoning (I used Knorr) or some salt, and pepper to taste.
- 7
Afterwards, add in the vegan ground ‘meat’ or mince.
- 8
Separate with your spatula and allow the ground ‘meat’ to cook.
- 9
Once the vegan ground ‘meat’ is cooked, taste a portion and then season with soy sauce and liquid seasoning, as needed.Note: This will depend on the type of ground ‘meat’ you used - some brands already come seasoned, so just adjust to your taste as needed.
- 10
Mix in the tomato paste and water into the pan. Stir until the tomato paste is dissolved. Add the sugar and pepper. Mix until well incorporated.
- 11
Add the olives, raisins, and peas. Mix well with the ‘meat’ mixture. Taste the filling and season with more soy sauce and/or sugar if needed.
- 12
The filling will be quite saucy, while will be just right to stuff into the peppers so the filling will not be too dry.
- 13
--- STUFFING THE PEPPERS ---
- 14
Preheat your oven to 350F/180C.
- 15
Slice the bell peppers vertically in half. Remove the seeds.
- 16
Place the bell peppers on baking tray. You can brush some oil onto the tray to avoid the peppers from sticking.
- 17
Scoop generous amounts of the filling. Carefully press the filling down into the peppers.
- 18
Repeat for the rest of the peppers.
- 19
Bake the stuffed bell peppers in the oven for 30-35 minutes or until the bell peppers are cooked and tender to your liking.
- 20
If air-frying you can start by air frying these for 15 minutes or until tender.
- 21
--- TO SERVE ---
- 22
Since we Filipinos love rice, I served these peppers with Filipino Fried Garlic Rice or Sinangag - you can find the recipe here. But of course, it's really up to you how you want to enjoy these peppers. They're great as-is or pair it with a salad.
- 23
Enjoy the peppers while still hot!
Nach dem Original kochen
Dieses Rezept stammt von thefoodietakesflight.com. Dort findest du die Fotos, Notizen und Tipps der Autorin oder des Autors – der beste Ort, um es nachzukochen.
Rezept auf thefoodietakesflight.com öffnen